


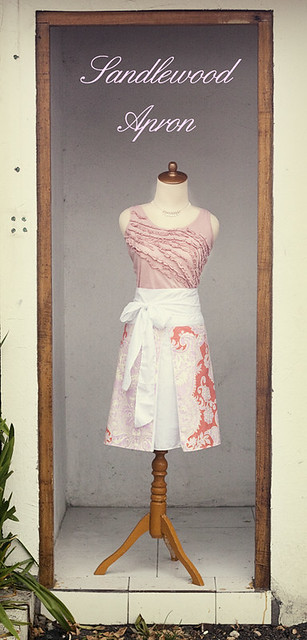
I took several pictures of our tree this year and this was my favorite. It is odd packing the christmas decor away without knowing where in the world we will be living next year when we unpack it. Have you packed your tree away yet? The one good thing about this is now I get to start thinking about SPRING!!! I had this wonderful season on the brain when I was organizing my fabrics this weekend. I have been saving and saving and saving the last little bit of my Amy Butler Sandalwood fabric. I love it so much I just couldn't ever use it (um, am I the only crazy one like that). But, after folding and putting away the fun fabric I realized I didn't have all that many options left (the 15 yards is down to 7, this is NOT a hint for ANYONE to send fabric, just a heads up on the status of the "experiment"). I plunged in and used it and LOVE how it turned out:
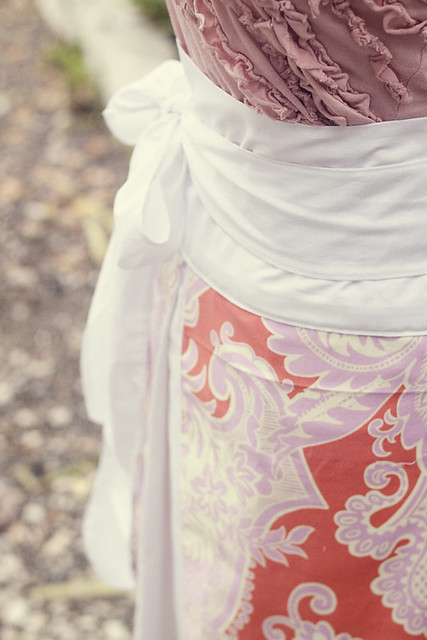
I am not going to lie I kind wish I had just bit the bullet and made it a skirt ha! Can I just say how much I love box pleats? They looks so clean and crisp and as my mom might say "smart". What I think is funny about "half aprons" though is that, to me, they are made for chefs who do not splatter and splash on themselves but rather want something to wipe their hands on. I am generally more of a splatter and splash girl so I think this will probably end up being a "hostess" apron :)
What I am really excited about with this tutorial is that I am going to walk you through creating your own pattern. No enabling today :) I promise it is so easy and when you are done you will have the fabulous feeling of creating something beautiful from nothing. This is such an easy apron that I would totally suggest making it for a girlfriends night out activity or Enrichment night. Especially because they can be made to fit each person so perfectly.
Shall we jump in?
What you will need:
1/2 yard Main fabric
1/2 yard box pleat fabric, waistband and ties
Scissors
Sewing Machine
Straight Pins
Iron
Measuring tape (very important)
Pen & Paper for jotting
Grab your measuring tape. First we are going to construct the waistband. I wanted my waistband to come to about two inches away from the center of my back on both sides. I wanted it high across my waist. I took the measuring tape and reached back to the place I wanted the waistband to end then ran it across my waist where I wanted it to rest and back behind to the other side. Write down the measurement. This will be the width of your waistband, making sure to add some for the seams.
Alert Alert Alert it is important to cut the top of the waistband on the fold.
Now we need to determine the length. Find the spot across your upper waist and start there. Drop down the measuring tape and find where you want your waistband to stop. This plus a little bit will be the length of your waist band. If you are Sally Seamstress you could measure across your lower abdomen where the waistband will stop and taper it a bit but I don't think it makes a big enough difference to take the time but it is up to you :) Now with the numbers you jotted down you can either make a pattern out of paper OR just use your measuring tape and cut the fabric directly. I tend to make a paper pattern so I can hold it up to myself and make sure it is what I want. Once you are done with this it is time to make the main part of your apron. Grab your main fabric. You already know the width of your main part as it is the exact same as the width of your waistband.
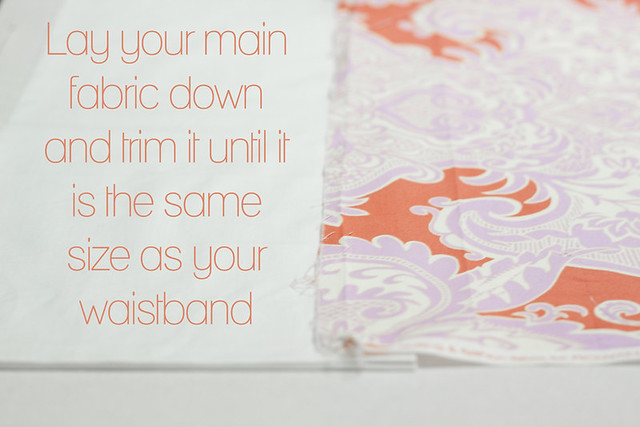
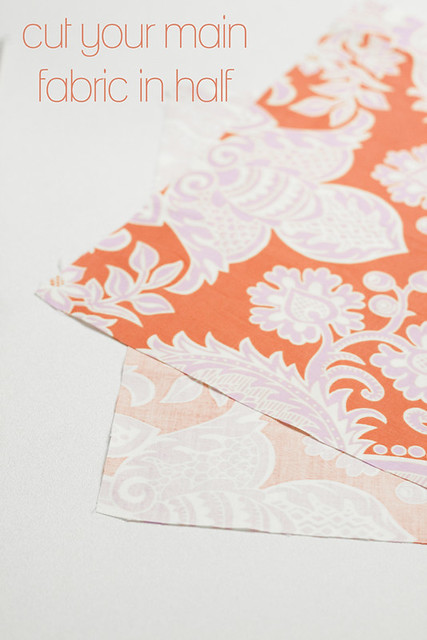
All you need to know now is how long you want it to be. Find the spot where your waist band will end. Starting there drop down your measuring tape and find the spot you want your apron to end, look at the measurement and add a little bit for seams, this will be the length of your apron. Now with numbers in hand cut out your main rectangle of fabric. To cut the box pleat fabric all you have to do is cut a rectangle that is half the width of the main apron but the exact same length. Wow, sewing has a lot of math ha!! Simple math but still. As for your ties it is up to you. I decided to take it easy on myself and I cut two LONG strips of fabric and simply hemmed the raw edges. If you would like to do fancier ones feel free! Okay now that we have our pieces cut out lets get sewing!!
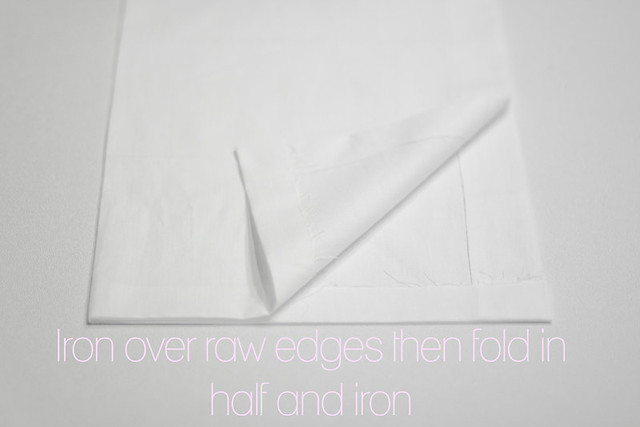
Take your waistband piece and head to the iron. Iron over all your raw edges, then iron the fold.
next...
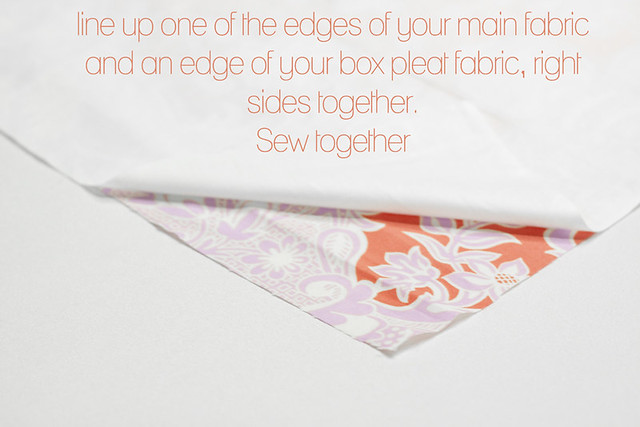
Line up the raw edges of the piece of main fabric that used to be in the center with one of the raw edges of your box pleat fabric, right sides together. Then sew along the raw edge.
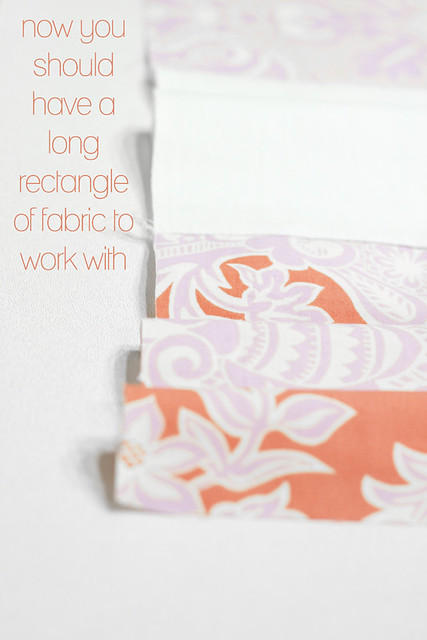
Once you are done iron down the seam and topstitch what you just sewed. Repeat this process with the other piece of main fabric so that you end up with a long rectangle of fabric.
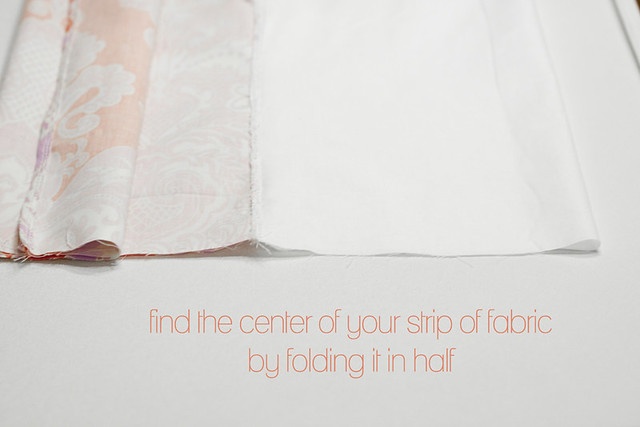
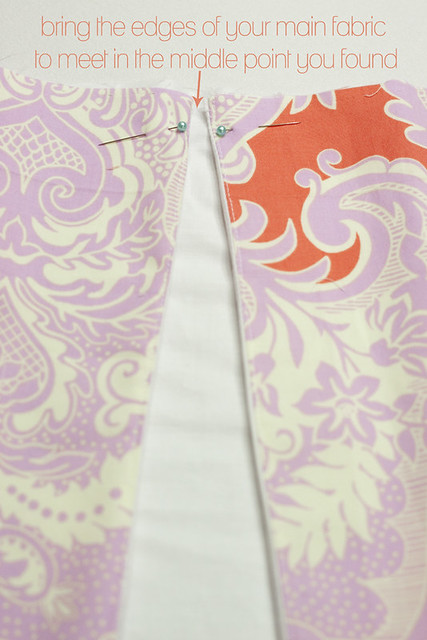
Now, fold your rectangle of fabric in half to find the center. You can mark it with a straight pin if you need.
Now bring the two corners of your main fabric into the center at a slight angle (this will make it so you actually see the box pleat fabric). If you like you can trim the top so it is straight again.
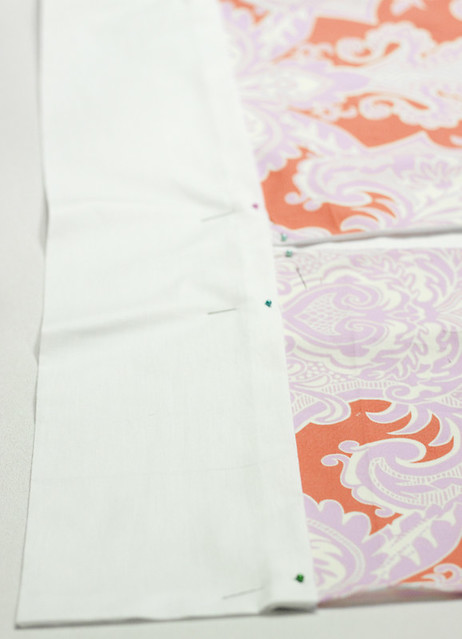
Now slide the entire top in between the ironed edges of the waistband and pin all the way across
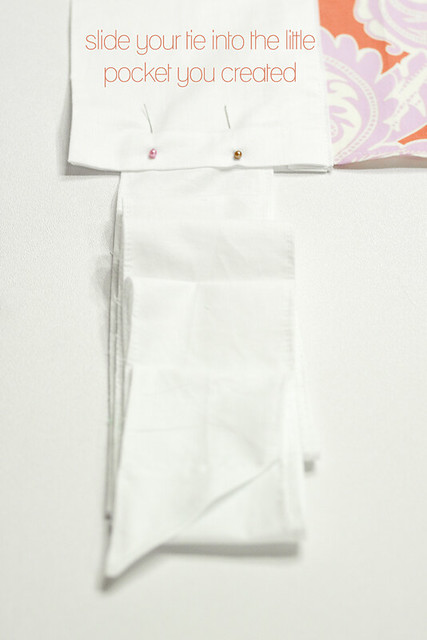
Now sew across where you pinned, making sure to sew through all the layers. Now take the ties that you made and slide one into either end of the apron, pin and sew.
That is it!! Isn't that so totally easy? I really love how elegant they look and think I really could have used some solid fabric with a peep of color and loved it as well. I hope the instructions were clear and you are wiping your hands on your own Sandalwood apron soon!


Love it! I have a love affair with aprons so I am so excited about this series...{and I packed our Christmas tree away wondering what next year in the Amazon will be like! How far in advance will you find out where you are moving? How exciting!}
ReplyDeleteSo pretty :)
ReplyDeleteBeautiful! Thank you!
ReplyDeleteAnother great one. We're putting away our tree soon. I'm excited about the new year, too.
ReplyDeleteLove your aprons. I am looking forward to making the Tea & Crumpets apron.
ReplyDeleteI nominated you for a Stylish Blogger Award. Stop by my blog to accept it and pass it on!
Can't wait to have a sewing night with my sister! Looks so gorge and simpleto make.
ReplyDeleteIt makes a very beautiful apron! And I'm also a huge fan of the box pleat!
ReplyDeleteI think I need a new apron this year, and I agree about the half aprons. They are fun and easy to make, but I need more coverage when I cook. ;)
Thank you so much for teaching us how to make our own pattern. I love learning new sewing techniques. This apron is so pretty and indeed "very smart" looking! Now my gfriend and I just need to quit changing our minds as to which aprons to make!
ReplyDeleteJust had to say that I LOVE this apron! And I can see why you would wish you had made it a skirt, it is beautiful!! I would be afraid to wipe my hands on it! :)
ReplyDeleteLove, love, loooooove Apron Week! Thanks so very much for this lovely tutorial! :)
ReplyDeleteI made this apron last night. Terrific! It turned out so awesome. I blogged about it here with a link back to you: http://tawnykw.blogspot.com/2011/01/get-into-kitchen-with-your-sassy-self.html
ReplyDeleteThank you for the glorious tutorial :D
Thanks so much for this tutorial, I blogged about the apron I made using your tute http://www.theaccidentalcrafter.com/sewing-2/sewing-aprons/pleated-half-apron
ReplyDelete