


The last post was deleted due to minor controversy and I thought it would be easiest just to delete it.
I wanted to finish my tips for newborn shoots with talking about making your own in home studio. Now bear in mind this is for the beginning photographer who is still working with natural light. This is my own little system which may not work for everyone, but when I was starting out and I couldn't sink thousands of dollars on lighting, backdrops etc. it worked out pretty great! First I found an area in my home that received lots of soft natural light for an extended period of time. This then became "my spot" I moved everything out of the space giving myself about a three foot by five foot area to work with. (You can of course work with a smaller space, I was just lucky that this was at a location we never used) I then purchased myself an inexpensive curtain rod from Target, mine was $1.99:


I wanted to finish my tips for newborn shoots with talking about making your own in home studio. Now bear in mind this is for the beginning photographer who is still working with natural light. This is my own little system which may not work for everyone, but when I was starting out and I couldn't sink thousands of dollars on lighting, backdrops etc. it worked out pretty great! First I found an area in my home that received lots of soft natural light for an extended period of time. This then became "my spot" I moved everything out of the space giving myself about a three foot by five foot area to work with. (You can of course work with a smaller space, I was just lucky that this was at a location we never used) I then purchased myself an inexpensive curtain rod from Target, mine was $1.99:
If you know you are going to keep this location for a long time you can go ahead and screw the hardware into the wall. Since we are never anywhere to terribly long I use 3m hooks instead! That way when I am done I simply pull them off the wall and take them with me.
I place one 3M hook about 3 feet off the ground. Then I use my leveler to place the second hook a little over 2 feet straight across (as long as your curtain rode opens that wide), at the same height as the first. I then went in search of some good "backdrop" fabric. I perused my favorite back drop website "Drop It Modern" to get an idea of what would look good.
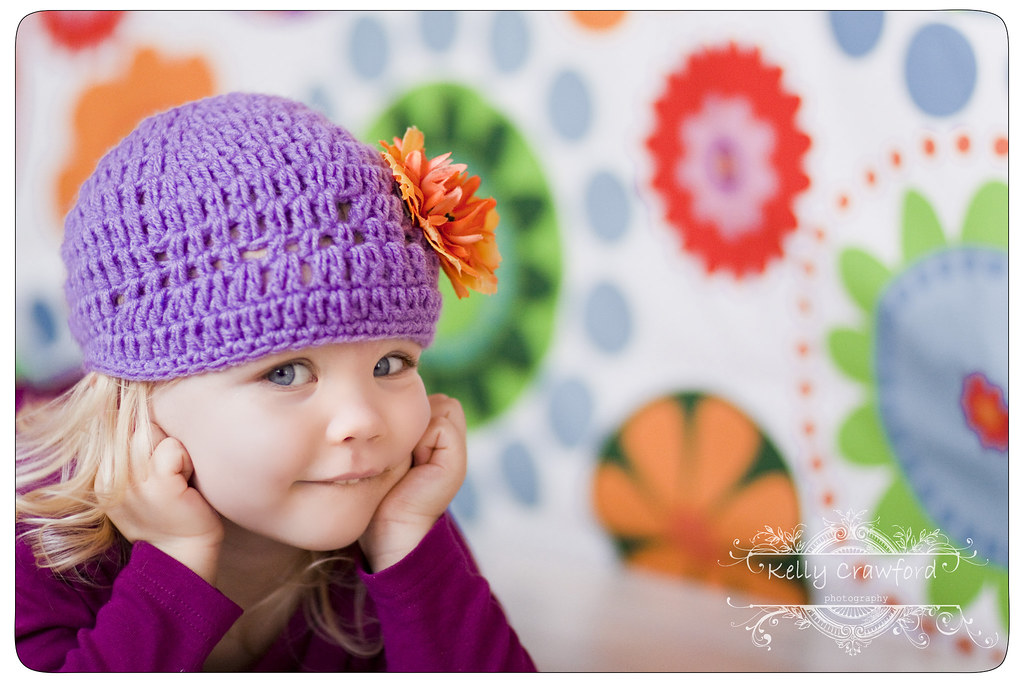
I have found that the thicker the fabric the better. I usually stick to the home decor section. It is great to find some fabric with dimension such as a damask with a lifted velvet. These look great in pictures. One of my favorites is from Ikea:
Once I have found some great fabric, I purchase at least two yards (the more you have to work with the better) I take it home and wash it per the instructions then iron the heck out of it :) I then sew a hem across the top wide enough for the curtain rod to slide through. Taddah back drop!
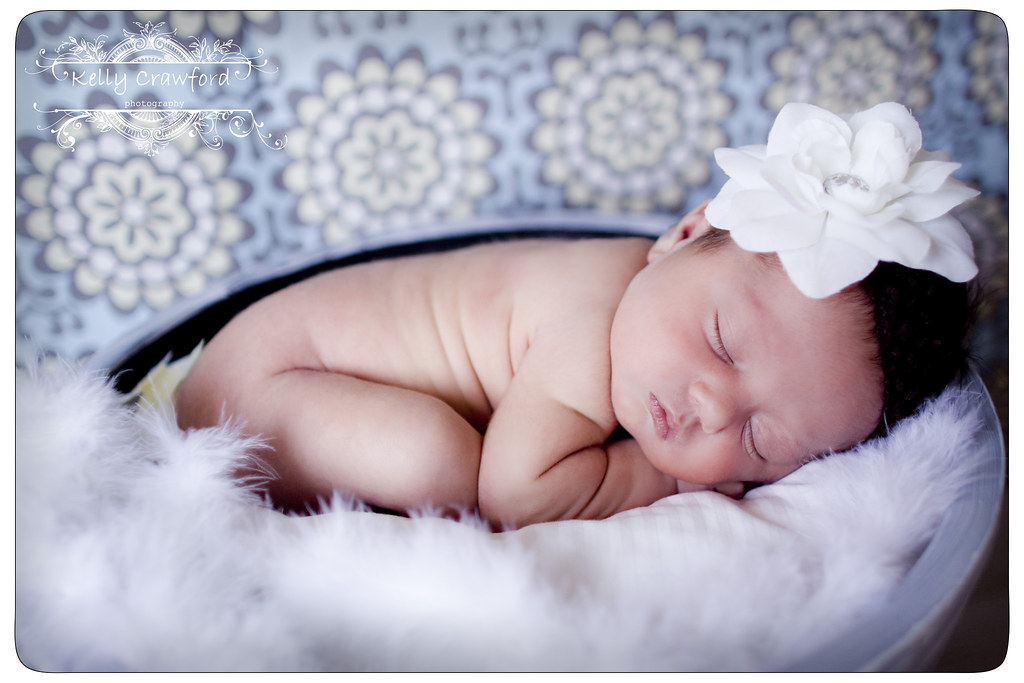
Now for my favorite part. Since I like an array of poses (some close, some full body etc) and I didn't have super cute wood floor in my apartment I went searching for a solution. I found different sites selling different "barn wood flooring mats" etc. but they were too expensive. Then I was walking through Home Depot and saw a gorgeous, but opened box of white birch wood flooring.
I hauled it up to the customer service and asked the manager how much he wanted for it (there were two pieces missing). He looked it over and said "five bucks". I almost dropped it on the floor. I bought it and ran to my car before he could change his mind. I set up my backdrop curtain and then snapped together the pieces of wood flooring. I was worried that there wouldn't be enough space but there was PLENTY! I was so excited I made all my kids come over and lay on it for some pictures
Once my backdrop is set up I slide my pieced together flooring up against the wall so it is nice and flush.
Now if I catch some of the flooring it will look cute! Then if you have these Sugar Snappers actions under your belt and you don't even have to worry about buying another set of flooring:
I also use the wood flooring covered with pretty fabric for top view pictures. This way the fabric lays nice and flat and the basket rest evenly.
What is great about this is when I am done I simply unsnap the boards and put them in a closet, take down the curtain rod and fold up the fabric! Easy up, easy down! I hope this helps if you have been toying with the idea of doing studio photography. If nothing else you can do this set up super affordably and take some fun pictures of your kiddos! Happy picture taking!


I wondered if anyone would get in a tizzy because of the post. I read the other links and it was great to get a bit of education about that type of work.
ReplyDeleteThank you for the tips! I have been trying to make my photos look better with the kids and I thought about making my own backdrop--this gives me a place to start.
I sooo need photoshop and an slr.
ReplyDeleteyou make me way too excited about these things. I am so glad to have a goal to look forward to.
I was lucky enough to read the last post before deleted. I'm proud that you were honest. I know it was a sensitive area, but really.. the people described need to learn to be more "sensitive" themselves.
ReplyDeleteSorry if you've been getting too much 'crap' from it, your opinion is your own and you have every right to express it.
I've been enjoying your blog for awhile now, although I think this is the first time I've commented. Thank you for the gorgeous visuals and inspiration you continue to provide through your obvious talents! I have daughter envy..(two son's here that I love deeply, just can't dress them up in frills...)
:-)
What an awesome post! So excited to use some of these tricks. I mostly just do shoots with my kids and nieces and nephews so I haven't invested in any backdrops but these are great. Especially the floor! I can haul that back and forth in my van when I go visit family.
ReplyDeletewhat great ideas! Thanks for sharing the photography links :) (And, PS, I appreciated the past blog post but I understand the need to bring it down...)
ReplyDeleteI read the first post but don't recall anything controversial. Love these ideas you've given! Now if I can only get my model to cooperate I'll be in business.
ReplyDeleteHope your feeling better. What ever became of the broken sewing machine?
awe man. i'm mad i missed the last post!
ReplyDeletewas it about photography?? i'm a beginner and would have loved to hear your other tips!!!!
your opinions are your own... not every one will like them or agree with them... and those people should keep it to themselves.. this is YOUR blog where YOU share YOUR feelings!
Lovely post, Kelly! I am going to try the home decorator weight fabrics...I've been using a solid colored quilt back.
ReplyDeletethat's brilliant, the second part! I hadn't thought of that... we have leftover click-in laminate from doing my craft room and it's JUST enough to make a lovely little area to photograph in! I love an idea that uses stuff I have on-hand...
ReplyDeleteI very much enjoyed your last post and was glad I had the opportunity to read it. Thank you for sharing.
ReplyDeleteBy the way, your photography is amazing. I was trying to figure out a way to schedule our summer vacation to coincide with your time in CA so I could hire you for our family photos. Not sure we can swing it though. Someday it will work out.
LOVE this idea! Thank you so much for sharing it with us!
ReplyDeleteAs some others have mentioned, I'm not sure why your last post should have been controversial. You should be allowed to share what you observed and your opinion without any drama, especially since you didn't "name names" and were actually pretty objective. I enjoyed the post and totally sympathize with the embarrassment that you felt at some of the behavior you observed. It's such a shame. Thanks for all the work that you and your family do (because it's definitely WORK to have to be far away from family and friends in a much less "desirable" locale than a cushy US home) and for sharing what you do.
ReplyDeleteOh nuts, I missed the last post.
ReplyDeleteI have been following along for a while now and I have to say Kelly you are amazing getting all that you do done and being mum to your kids and with another on the way all in Timor. Amazing. I love your ideas and thank you for sharing all that you do with us the blogging world.
I read your deleted post and I don't get the controversy. But I understand that it is a balancing act because you both work for the embassy. And I do get your feelings watching the way some behaved, I would feel exactly the same! Thanks for sharing and giving us a peak behind the scenes.
ReplyDeleteI'm planning to make the Yorkshire mini for my DD. Could you tell me for which size the pattern is? Thank you!
Thanks for your ideas! I love the IKEA fabric. I didn't realize you only need such a small amount - but that makes perfect sense given how tiny the subjects are.
ReplyDeleteI second everyone else here, I thought your deleted post was FASCINATING. I clicked on the other links and learned a lot. It makes me thankful that despite elected officials checking their brains at the door, we have people like your family out there representing our country. Thank you and your husband for your sacrifices and hard work!
ReplyDeleteI'm very sad I missed that post :(
ReplyDeleteThe curtain rod with 3M hooks is an amazing idea!
ReplyDeleteVery nice, thanks for the information.
ReplyDeletesell your house fast