


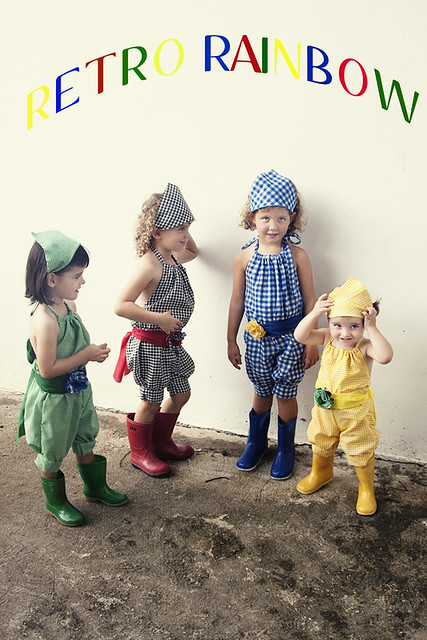
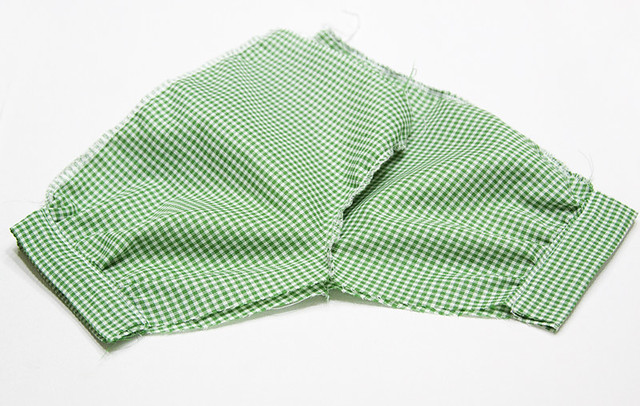
Hi friends!! I am so excited to share this tutorial and pattern! You can download the pattern for size 4/5 HERE and 6- 12 mnths HERE. If you don't feel like making your own make sure to leave a comment to win them HERE. First I just wanted to mention a super quick housekeeping item. After Dana's bizarro situation HERE (which she of course handled with superb grace and dispensed some invaluable information simultaneously) I decided to license the information presented on my blog (as you can see to the right at the top). I also am probably going to make my pictures unclickable. If you would like to share some pictures from my site I would LOVE it. All you need to do is drop me a line and I will send them your way! I am also working on copyrights for all my patterns (it helps to have a husband who is a lawyer ha!). Again please feel free to use the patterns to make as much as you like and even sell the products you make, just please do not reuse the pattern itself in any form. Muchas gracias amigos! Okay now on to the fun stuff! I wanted to thank my amazing friend in Jakarta who went and got the boots and stuck them in the mail for me and I thought it would be fun to make her cutie a romper. I had just received the cutest striped fabric from Little Lizard King (a great store on Etsy with fun fabric and patterns!). The funny thing is half the tutorial pictures were mysteriously deleted from my camera so a few of these pictures will be from the green gingham romper, don't let it weird you out :)
What you will need:
1 yard main fabric
1/8 yard lining
1 yard elastic
Iron
Safety Pin
Sewing Machine
Scissors
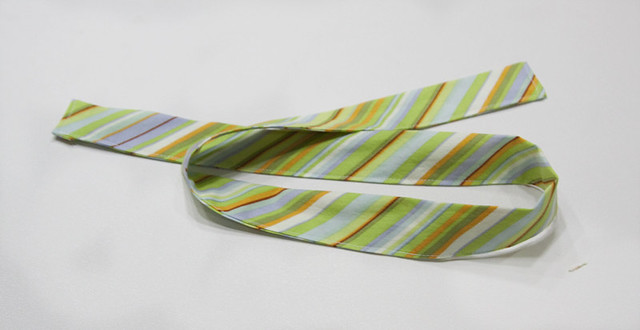
Once you printed out your pattern pieces, taped them together and cut out your fabric you will also need to cut a long strip of fabric at least four inches wide. This will be used as your neck tie so make it as long as you like. (Please keep in mind the length if you are making it for an infant and think safety thus no long pieces). Once done you should have 11 pieces:
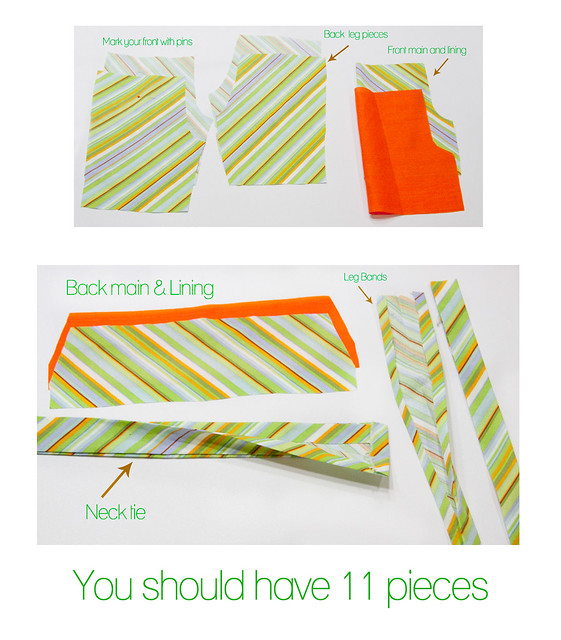
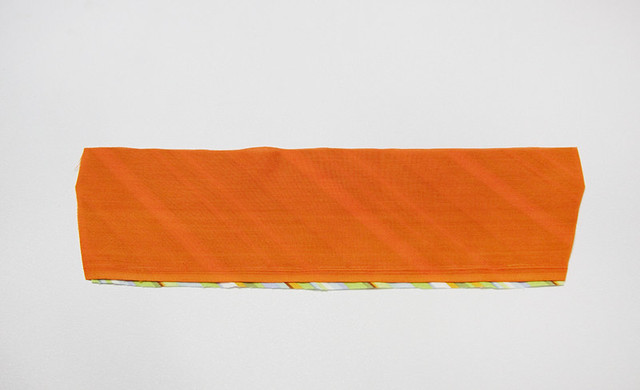
I like to have all my pieces ironed and ready to go. Take your neckpiece and your leg bands to the ironing board. Iron over all the long raw edges, then fold in half lengthwise and iron it. Now you are ready to get going! Take your top pieces and lay them right side together and pin them
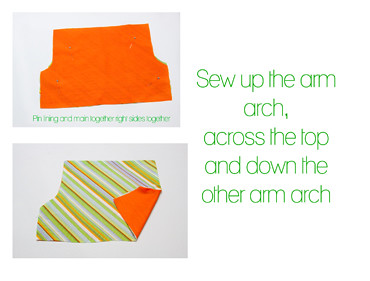
Turn everything right side out and iron it. Now fold down the top about an inch and iron, once done sew across the bottom finished edge to create a pocket to slide your necktie through.
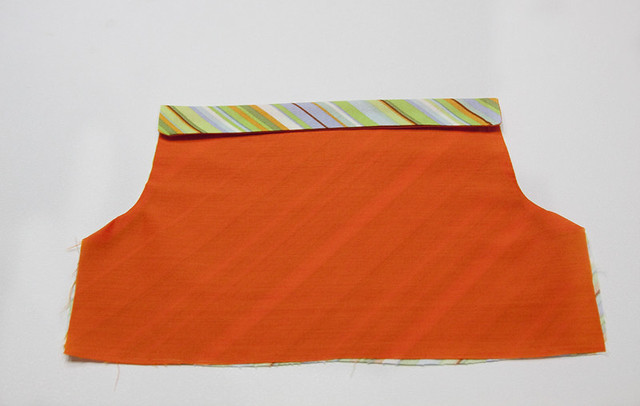
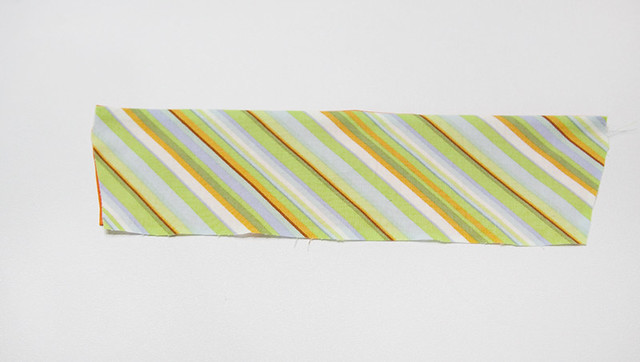
Now take your back main and back lining. Once again lay them right sides together and pin in place.
You are only going to sew across the top (long) edge. Once done flip everything right side out and iron.
Now you can do one of two things, if you think the back is going to big you can fold it over or make a hem, and sew it, that is why it is kind of a funny shape. If you think it will be a good size as is all you have to do is line your sewing machine foot up with the top of the back piece and stitch all the way across. You will now have a little pocket made in between the lining and main. Cut yourself a small piece of elastic (on the 6-12 mnth this should be really small), pin a safety pin to it and feed it through the pocket you just made.
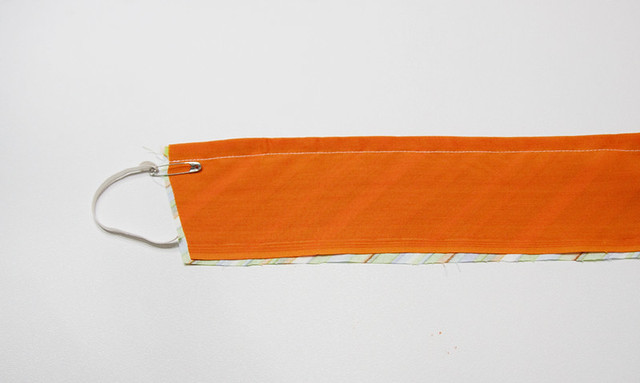
Once you have feed it through secure it on both sides with pins so that you can then sew it into place.
Now with right sides together pin both back side pieces to the sides of your front piece:
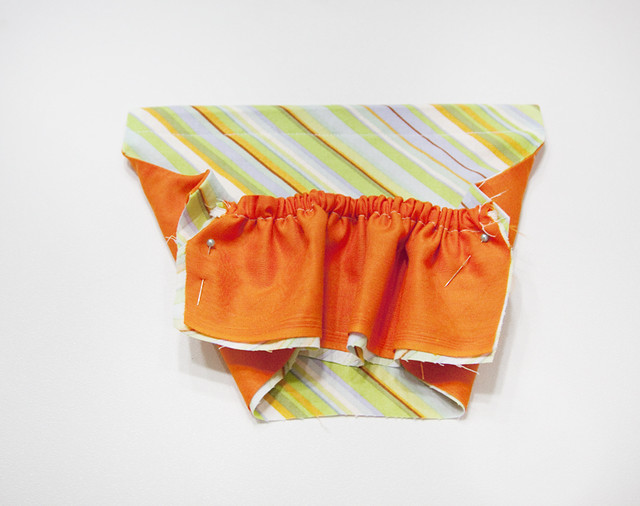
Now sew up both sides connecting the back piece to the front. Flip everything right side out
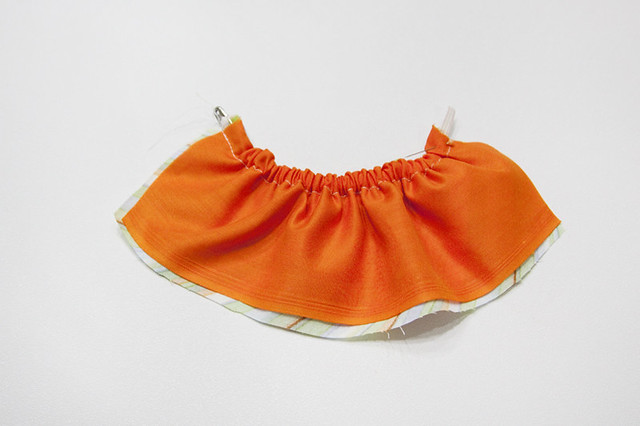
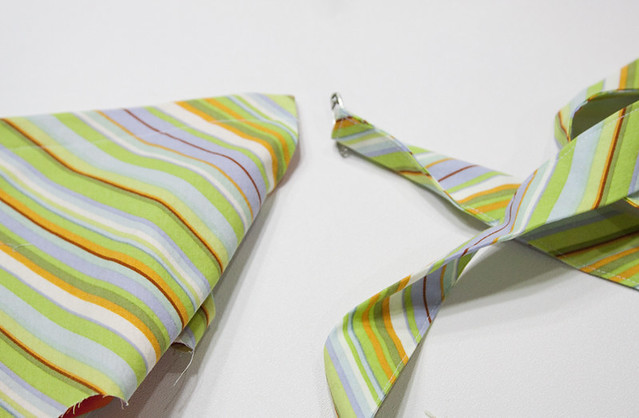
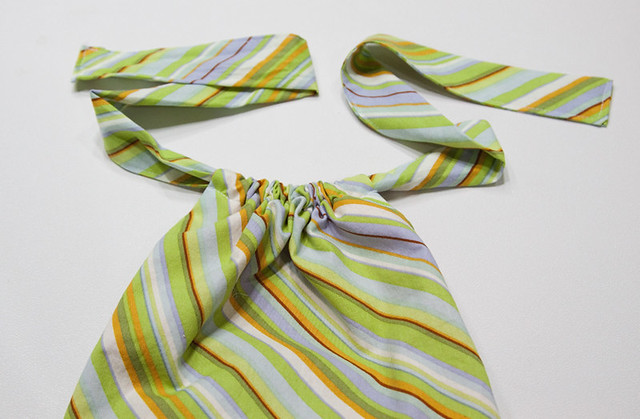
(You can skip this part and come back to it at the end if you prefer, I just did it now) Grab your ironed neck piece. Sew up all the open edges.
Attach a safety pin and feed it through the little pocket you made earlier.
Taddah! Your top is done!
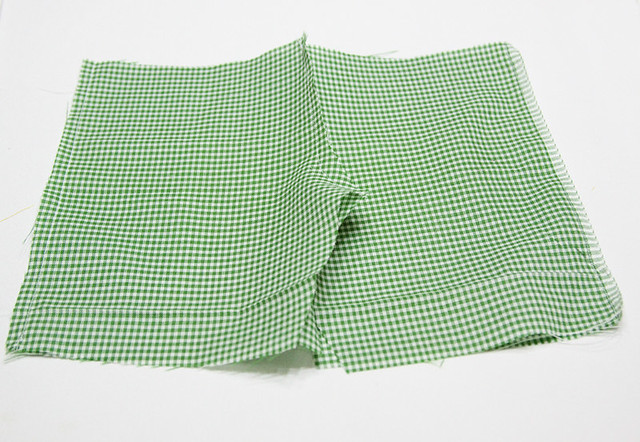
Set your "top" aside for now. Grab your short piece. Lets work with your front pieces first. Lay them so that they are right sides together. No sew down the sloped portion stopping when you come to the center, so that when you open them up they should look like this:
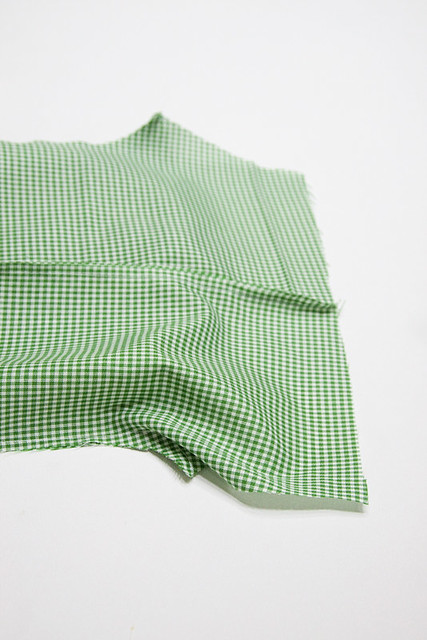
Repeat this step with your back pieces. Now lay your front piece right sides together with your back piece, lining up the raw edges on the sides. Now sew up both straight sides.
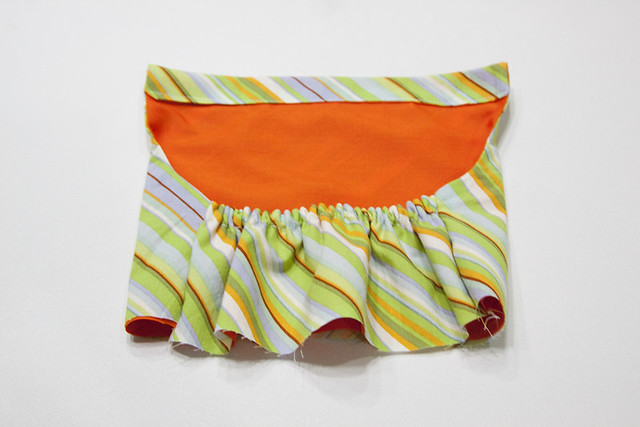
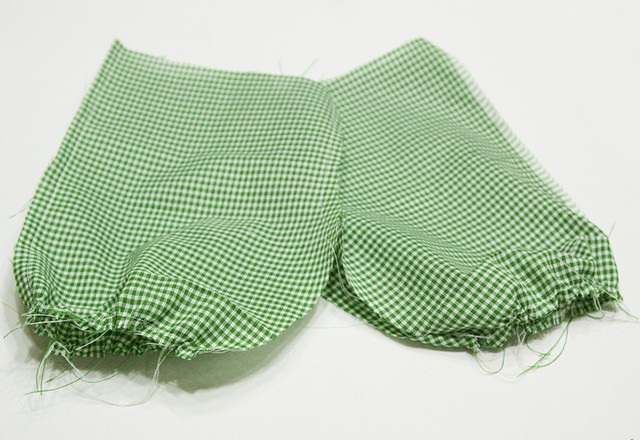
Now you should have something that resembles shorts with a lot of raw edges :) We are now going to gather both of the bottoms of the legs.
Open them up and stitch a gathering stitch across both leg bottoms.
Now take your leg bands and slide the gathered edge into the little pocket you made by ironing the raw edges earlier. The leg band may be longer then you need, this is fine, I made it this way so that cuties with thunder thighs will just have less gathered knickers. If you do not need all of it simply trim the excess. Either way pin the bands into place and then topstitch the leg band removing the pins as you sew.

Now flip everything inside out and you will need to sew the last center arch.
Once done flip everything right side out :) Now we are going to attach the top to the bottom. Find the center of the top by folding it in half.
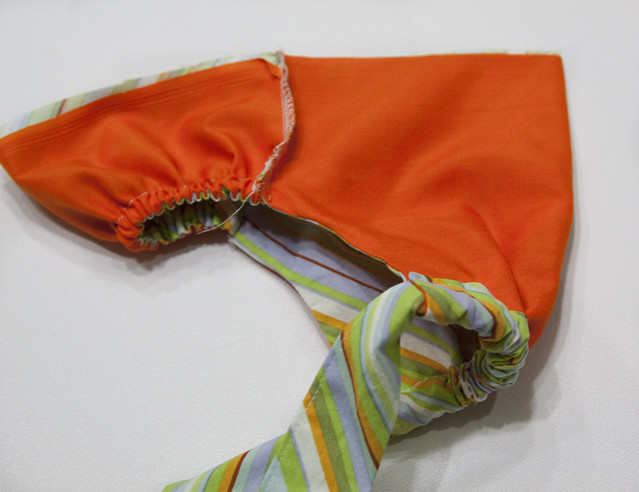
Now, Slide your knickers up into the top so that the right sides are facing each other and the wrong side of the top is out. Match up the center of the top with the center of the front of the knickers. Pin all the way around.
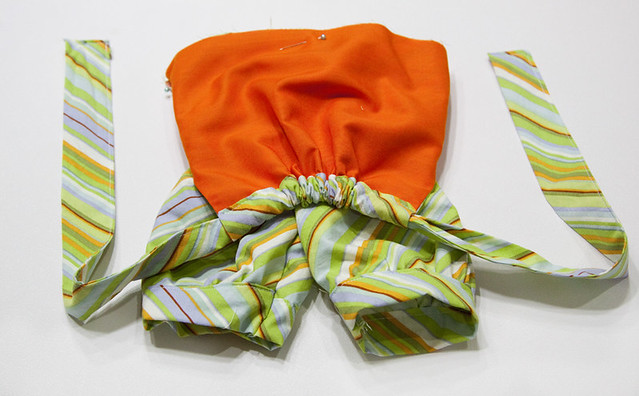
Now sew all the way around the raw edges. Now here is the kind of but not really, tricky part. We are going to make a pocket to feed the waist elastic through by folding DOWN the raw edge we just sewed and topstitching all the way around. Leaving a little opening that we can thread the elastic through.

Don't worry if there are a few wrinkles, once the elastic is feed through you will never notice! Once feed through sew the two ends of elastic together and let is slip back into the pocket. Then sew the opening shut. You are done!!!
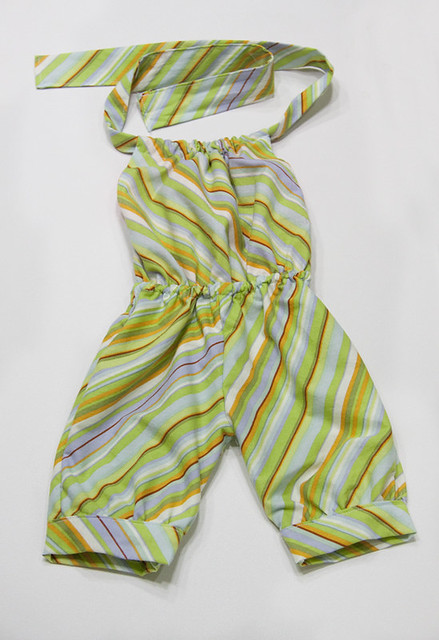
If I were going to sell this I would make sure I cut the pattern so that all the stripes lined up but I don't think she will mind :) Thank you for the fabric Little Lizard King it is sooo cute! Now go brighten your day and think about when it will be warm enough for your little cutie to wear her new romper!


thank you for the tip - I had been meaning to copyright my webpage for some time now, and hadn't gotten around to it. This was a great help!
ReplyDeletewww.mesewcrazy.com
Wonderful Tutorial. Thanks for sharing your hard work with us and helping me become a better sew-ist! Thanks again.
ReplyDeletethis is awesome and I want to try this, it looks doable for sby who is not an experienced seamstress :)
ReplyDeleteThank you so much for posting this today! I have been waiting since you posted it for the PR&P contest. I can't wait to get started.
ReplyDeletewww.myyellowtulip.blogspot.com
I'm so making one (or seven) for my daughter. Thank you for posting this.
ReplyDeleteYour tutorials are amazing--you put a lot of work into your blog and it shows! Thanks for all the great ideas!
ReplyDeleteThis comment has been removed by the author.
ReplyDeleteAHhh I have been waiting for this!! Thanks so much I am so excited to make one!!! :-)
ReplyDeleteI'm SO excited about making this! I just got yards of gingham fabric and knew it would be perfect for something little girl--and now I know exactly what! I love the gingham for this pattern and am ready to get sewing away. Thanks so much for all your amazing tutorials that you share so generously. LOVE your site.
ReplyDeleteI think it is awesome that you are protecting your stuff ..... but ..... it won't let me right click on the text links anymore so that I can open them in a new tab!!!! I have to normal click and that takes me away from your blog and I'm sure you don't want that to happen ;)
ReplyDeleteI totally understand the want to protect yourself. If I could ask for you to allow right click on the links to open in a new window it would be VERY helpful. When going to sites such as media fire etc. it opens on your page and at times it's hard to go back to the place we left to get there so it means loading your page all over again. I know it seems like a whiney request but in this case, I wanted to download both sizes and the page loaded over yours in the window and then going back to your blog to click the next size argued a bit.
ReplyDeleteOR, if you at least wrote the code to open new window on click, that would also help. Thank you for considering this.
Thank you too for such an adorable pattern. You did a wonderful job.
Ooooh! So, so, so cute! I have 2 year old twins, but I'm totally keeping this baby back for when we get a little bigger! Thank you!
ReplyDeleteThanks! Do you have any tips for sizing this up another size? My daughter is more of a size 6 and I am determined to make her one! I love it and ran out this weekend to get the fabric! So excited!
ReplyDeleteYou don't know how happy I'm to find out you have a tutorial of this. I just saw this on PR&P and I love this design!! I have two little girls that I'm going to make this for! Thank you!!
ReplyDeletedo you have any photos of the backside to share???
ReplyDeleteThese are great! I'd love to win them! Although, I am going to go and make a few myself too:)
ReplyDeleteThank you so much for sharing your designs. I know I appreciate it so much. It is a little cold for a romper right now in Colorado, but it will be perfect for this summer.
ReplyDeleteThat is such a gorgeous pattern!
ReplyDeleteYay, made one today and it turned out sooooo cute! The tutorial made it super easy, thank you. I already have another romper cut out, waiting to be sewn up tomorrow.
ReplyDeletethis is sooooo cute!!! I love the retro look of all the gingham! I linked to your tutorial over at Craft Gossip Sewing:
ReplyDeletehttp://sewing.craftgossip.com/tutorial-retro-romper/2011/02/10/
--Anne
I absolutely love that romper, but i was wondering if you had a bigger size for it. My daughter saw the pics and fell in love with it,requested at least 3 for the summer (with matching boots of course), the problem is she is a size small adult (she just turned 12). I am absolutely terrible at changing the patterns. It would be a great help, thank you.
ReplyDeletecashischaos.blogspot.com
Thank you so much for posting this. I have only really been sewing for about 6 months but feel like I have tried every skirt/dress pattern. This is a wonderful and adorable change. It was simple and fun to make and turned out great. Fit perfectly for my size 3/4 daughter.
ReplyDeleteThis looks great! Just what I needed to figure out how to make my girls rompers. I've posted it on my blog, The Handmade Experiment in a Must Make Monday post - http://wp.me/pkcUM-DO
ReplyDeleteThanks!
I love it! I'm gonna give it a try.
ReplyDeleteI absolutely love rompers on my 5 yo daughter. I have a ton of fabric laying around in my sewing room and just might have to size this up a little to work for her. Thanks!
ReplyDeleteWhat you said made a lot of sense. But, think about this, what if you added a little content? I mean, I dont want to tell you how to run your blog, but what if you added something to maybe get peoples attention? Just like a video or a picture or two to get people excited about what youve got to say. In my opinion, it would make your blog come to life a little bit.
ReplyDeletecomputer store
I wish this pattern were for a larger child - I need to make clothes for my 8 year old great-niece.
ReplyDeleteHow do I get access to the pattern for this cute romper?
ReplyDelete