


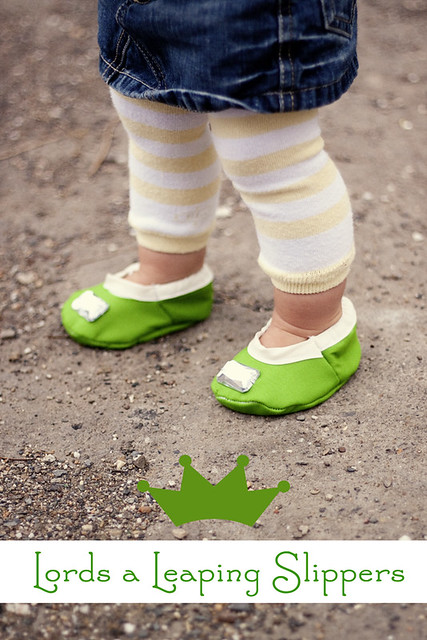
You could do this in some super cute patterns. I really wanted a pair to go with this outfit though so yellow and green it was
I wish I had access to some suede or soft leather for the soles. I would totally suggest using some to make them a little sturdier and better for outside
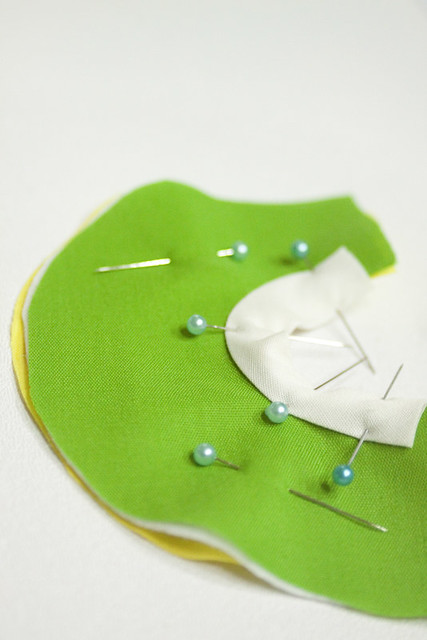
These are loosely (very loosley) based on Heather Bailey's Bitty booties. These are a snap to make and I love that they take very little items to make. All you need is some scrap fabric (one for main one for lining), some felt, some bias tape and a tiny bit of elastic. The pattern can be downloaded HERE. Once you have downloaded your pattern and cut out the fabric accordingly we will start with the toes. We are going to be making a lot of fabric sandwiches. For the toe lay down one toe lining piece, one felt piece and then your main piece. Once you have sandwiched them together pin them in place.
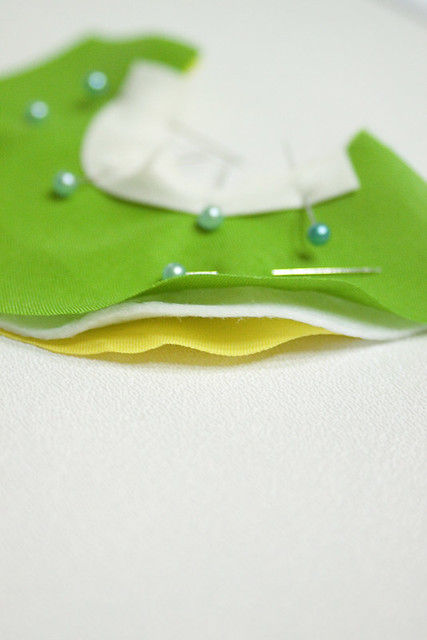
Once you have the layers pinned grab a small length of bias tape and pin it around the top of the toe. I left a little bit without it at the end to make sewing easier.
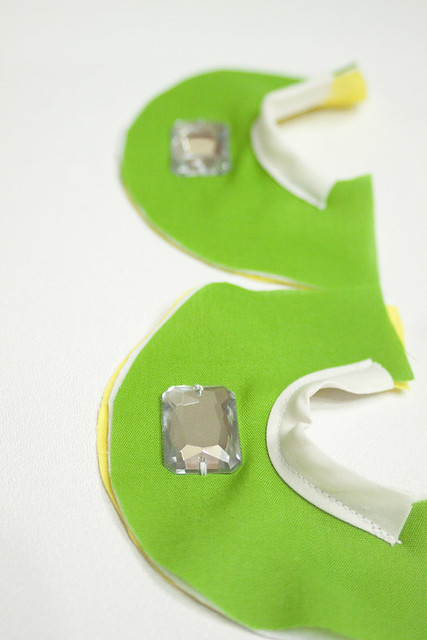
Once you are all pinned sew the bias tape into place making sure to catch all the layers. Once you are done now is a good time to attach any embellishments while the toe is still easy to work with.
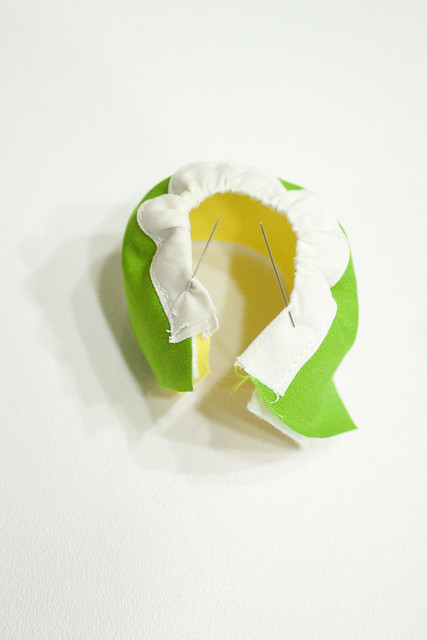
Now repeat with your second "toe" piece. Once are done set these aside and we will work on our heel. Again sandwich your lining, your felt and your main fabric. Then with the shorter slant to the top we are going to pin some more bias tape across the top.
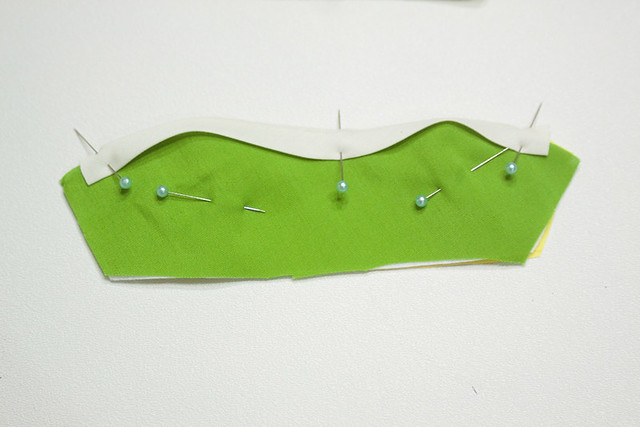
Again sew it in place. Once you are done take your small piece of elastic and feed it through the pocket of the bias tape.
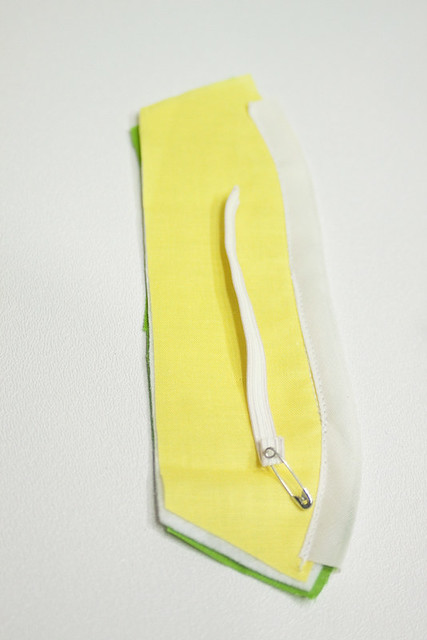
When you are done pin trim any extra elastic and pin the two ends into place. Sew across both ends to keep the elastic in place.
Repeat the process with your second heel piece. When done take your two heel pieces and your two toe pieces and we are going to connect them. Pin both ends of the toe right sides together with the two ends of the heel:
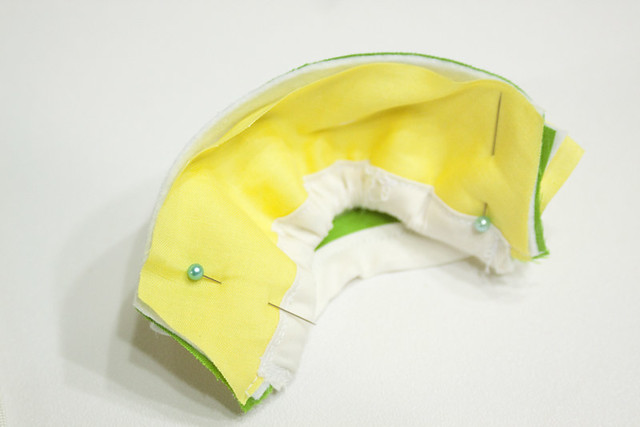
This might be a better pic:
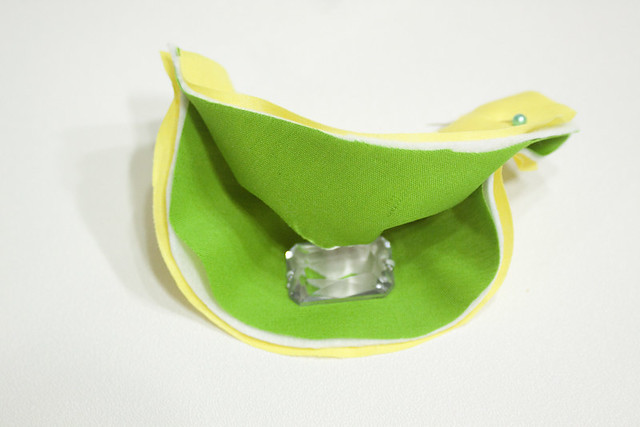
Now sew down each end back and forthing at both ends. Repeat with your second set of toe and heel pieces. Once done we need to connect the top of the shoe to the bottom. I decided to take the lining of my shoe and cut it down a bit. This way I could slip it in after I sewed everything else and it would cover the seams. You can do this or you an include the lining piece in your fabric sandwich, either way works. What ever you decided once again stack your fabric up. Once you are done find the middle of your bottom and the middle of your top and match them up then pin all the way around. I would NOT advise pinning the way that I did. I was sticking myself the whole time I don't know what I was thinking.
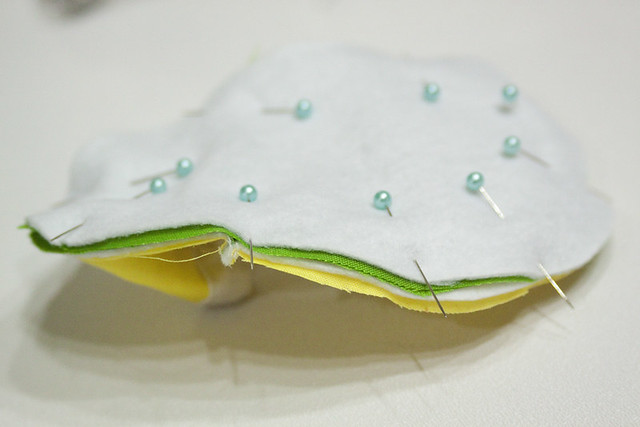
Once you are all pinned sew all the way around.
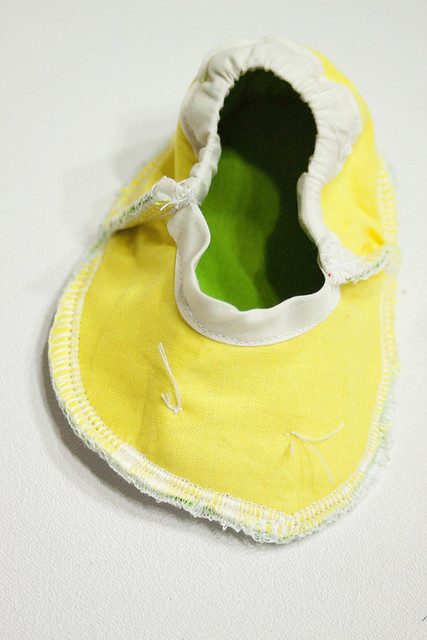
Turn the shoe right side out, repeat with the slipper and you are done!!
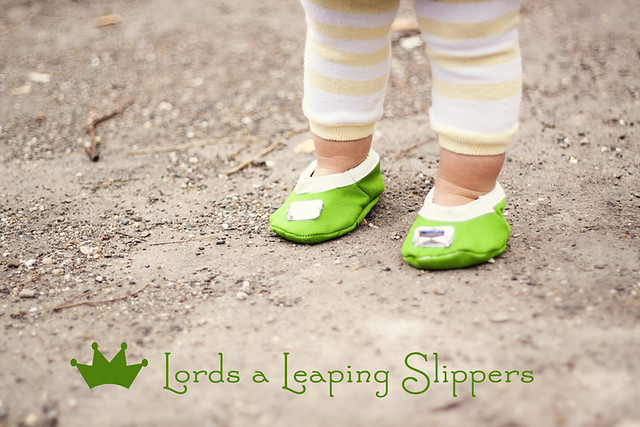
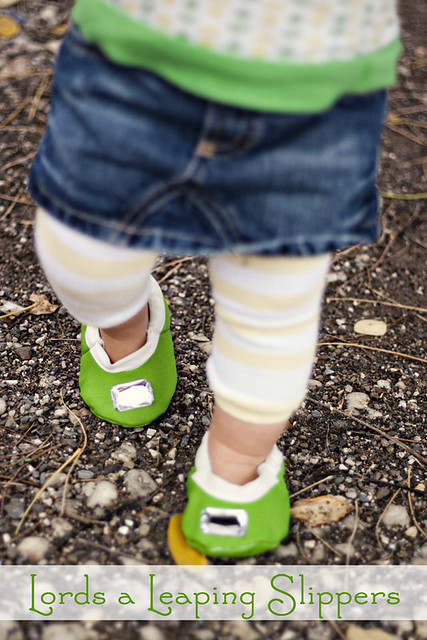
Total chinche right? I hope to see lots of your cuties leaping around in them!


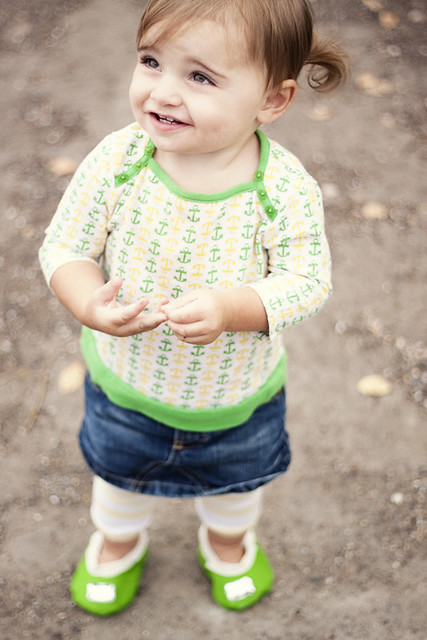
cutie patootie!
ReplyDeleteThese are really cute..I have been wanting to make my babies some really cute shoes but Im too scared:o) but this makes it look really easy..might have to try it now!!
ReplyDeleteomg! adorable!
ReplyDelete