


I had such a great response when I asked about Aprons I am thinking about doing "Apron week" the first week in January. If you like this idea let me know AND email me a picture or link to any aprons you would like ot see made and I will tackle it! I love a challenge! Would you guys like to do this?
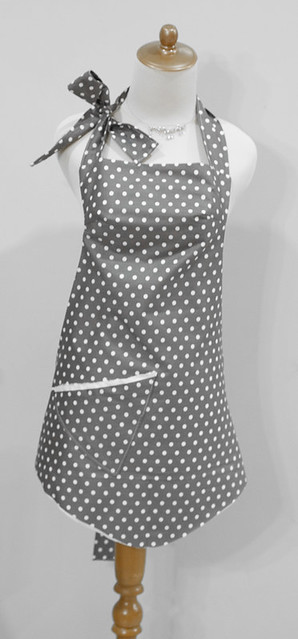
I love love love pretty aprons and I actually think this is the one area where Anthropologie prices aren't that bad. BUT having said that free is always better! (My husband would be quick to point out that using things you have on hand does not necessarily mean free because I did buy it at some point ;)) It's good enough for me! You have to have a good apron for the holidays and believe me these are so easy you will definitely have time to crank a couple out :) They make AWESOME girlfriend gifts as well. The two aprons I made patterns for and will have a tutorial for today are the Lady's Apron:
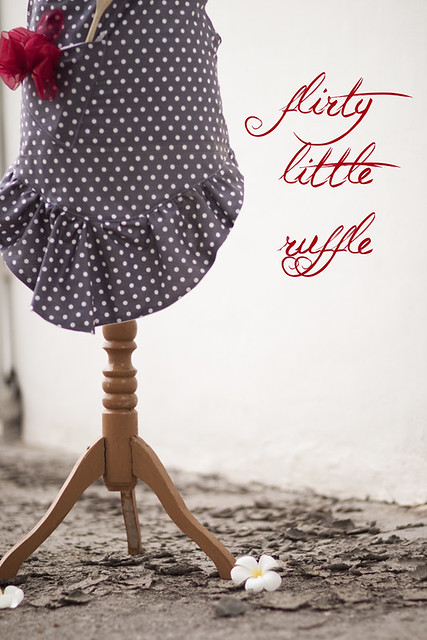
(It was SUPER windy, and then down poured, while I was trying to get these pics so the ruffle wouldn't lay straight)
Unlike Anthro's I lined mine. This makes the sewing WAY easier and I think it gives it some nice weight.
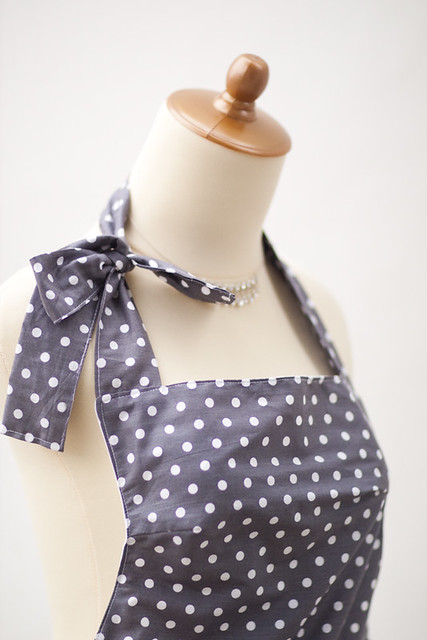
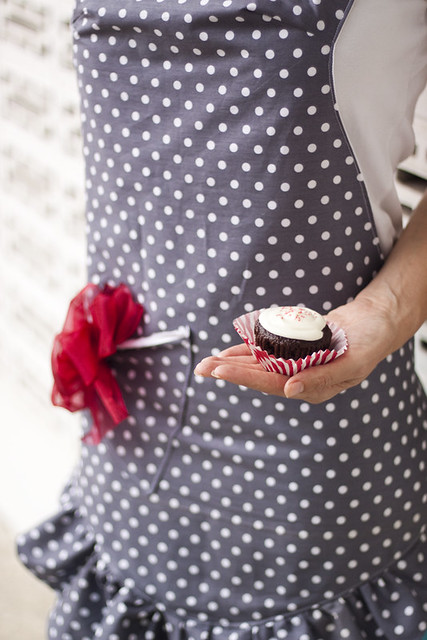
I did a triangle pocket like the original but didn't do a large bow (you totally can if you like). Instead I did a red ribbon clip on that can easily come off for washing. I also made mine a bit longer for coverage but you are welcome to shorten it (I would do so in the middle of the main piece).
I like to have some pictures with what I make actually on a human (because not all of us have awesome unproportional bodies like the mannequin) I told my friend if she would let me take pics I would let her choose an apron to keep and I promised not to get her face in the pics as she claimed not to be camera ready :)
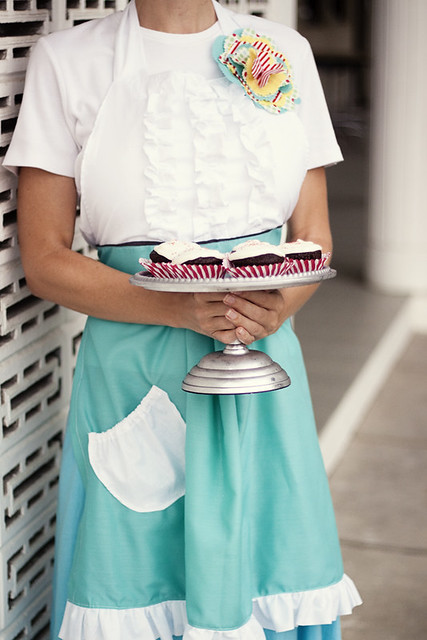
Second is the Tea and Crumpets apron.
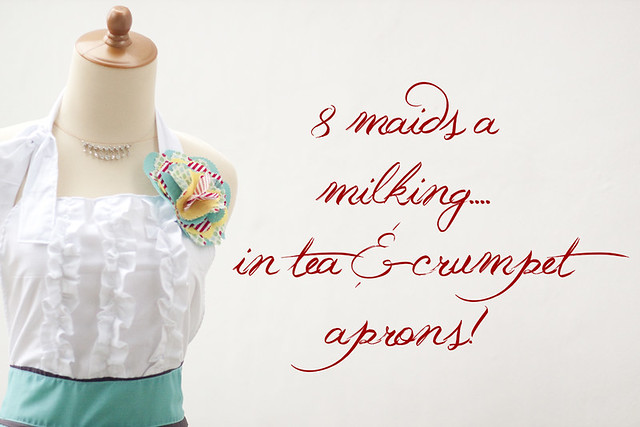
This apron is seen in several different version on the website so if you need some inspiration hop over HERE. This is probably my favorite apron on the site.
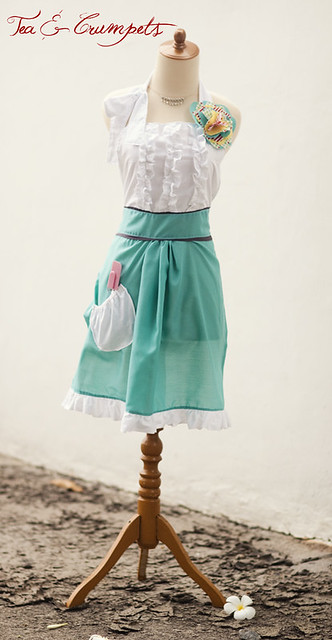
I mean hello I wish I could wear it as a dress, that has got to say something. I love the ruffles on the top

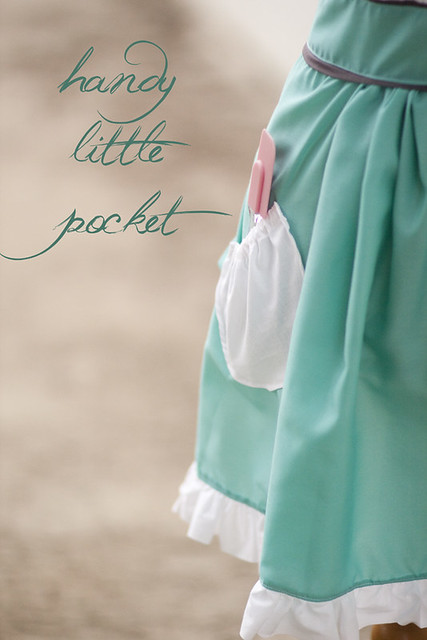
the dainty pocket and ruffle along the bottom
And I am crazy about the big flower at the sholder that gives it a much needed punch of color.
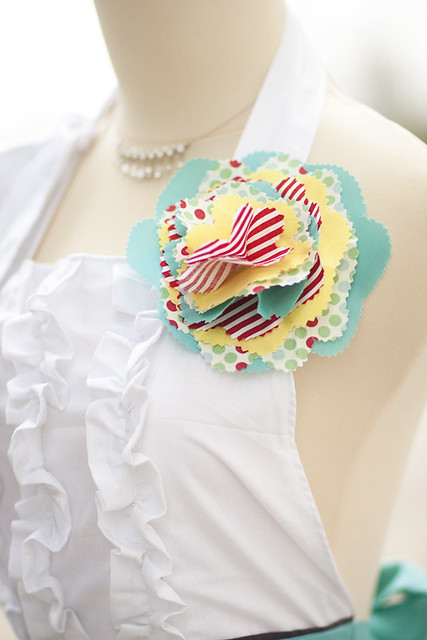
Reading the reviews online one of the complaints was that the flower was not removable so of course I remedied that by simply gluing it to a hair clipy thingy (yes that is the technical term) so it is easily removed. Again some live shots:
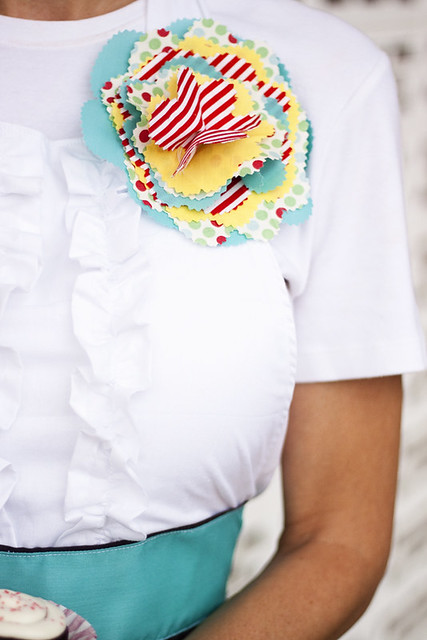
The blues kinda clash but oh well ha!
This pattern really is the base for a lot of the aprons so go to town, be creative, "make it your own" ha! As for the HMS Lollipop I will be doing a tutorial later on. I made it an upcycle which I think will be really fun to share :)
To learn how to make them simply click below to read more!
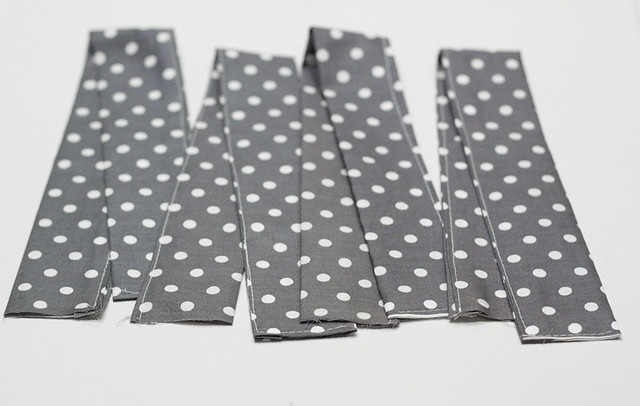
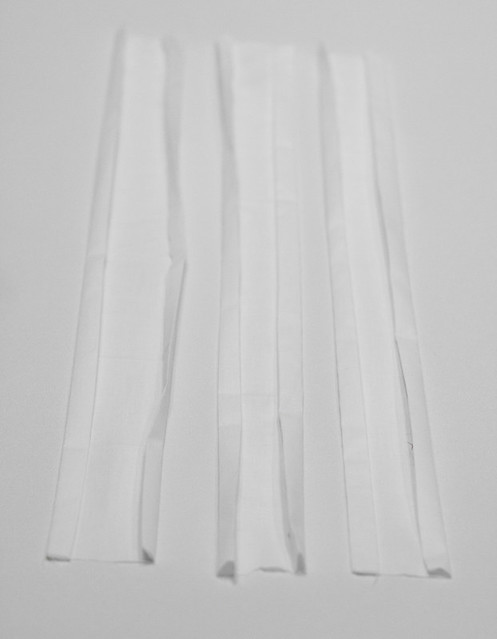
Alright so lets begin with the Lady's Apron. The pattern can be found HERE.. Once you have the pattern cut out all your pieces. I was lucky enough to have a meter of polka dot on hand. I used this for the front and then cut the second pieces out of a nice white cotton. Once you have all your pieces cut out you will need to make your shoulder and waist straps. For mine all I did was take a long strip of fabric, I iron over one raw end then iron in both long raw edges, then fold the piece in half and sew up the side. You can see how to do it HERE. I use this technique often. Once you are done you should have four strips similar to this:
Now grab your two ruffle pieces:
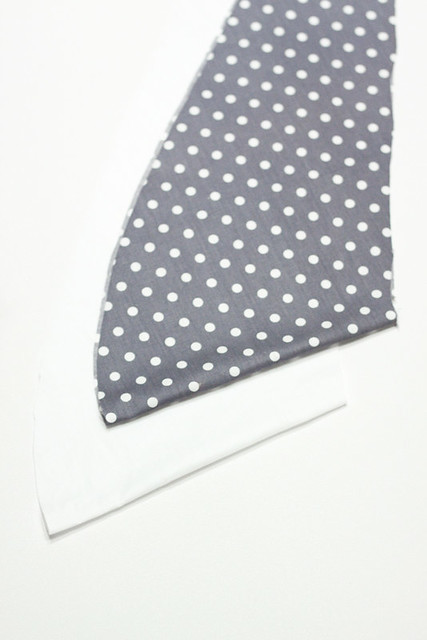
Lay them so that they are right sides together and sew down the side, all the way across the bottom and up the other side. Do not sew across the top at all. Turn everything right sides out and iron. You may need to trim a little excess her and there.

Once you are done set it aside. If you are going to put a pocket on now would be the time. I didn't do a pocket pattern because you can decided if you want a triangle or half circle etc. Attach the pocket in the location you think best.
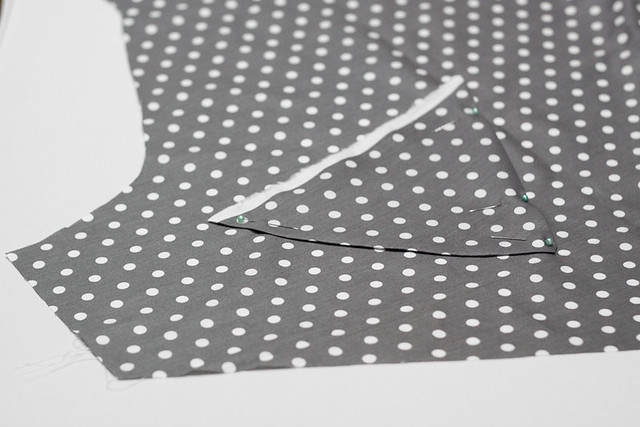
Take your two main pieces. Now I did little darts at the bust but that is totally optional. Lay your two pieces right sides together. At the neckline slide a neck tie at either end of the neck line in between the two pieces of fabric then pin around sliding your two waist in between the two fabrics at your hips.
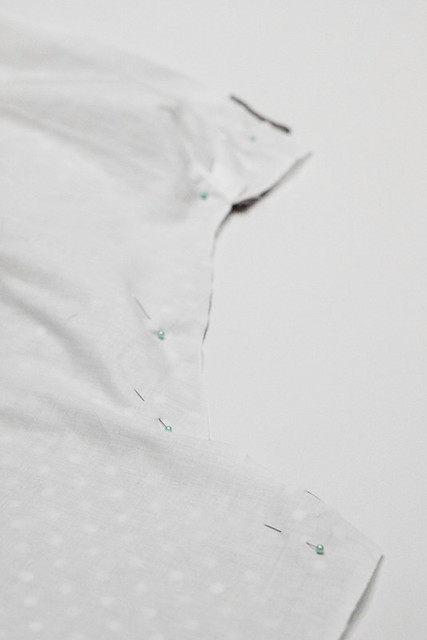
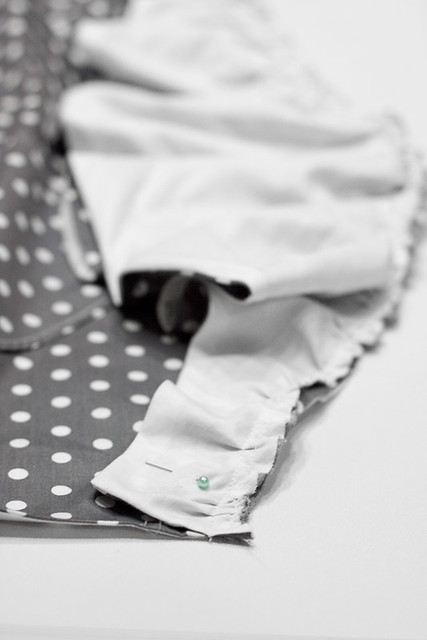
Sew all the way around back stitching a few times where the ties are to add strength. Do not sew across the bottom. When you are done flip the whole thing right side out and you should see something like this:
If you wanted to shorten the apron now would be a good time to cut a chunk off the bottom :) If not grab your "ruffle" and sew a gathering stitch across the top. Now lay it right sides together with the bottom of the "main" part of the apron. Gather the ruffle up until it lines up with the main. Once it does pin it in place. Sew along the raw edges. If you do not have a serger I would go back over the stitch with a zig zag.
Once you are done I would topstitch what I just sewed to keep the ruffle laying nicely. And that is it!!! See I told you, totally easy!
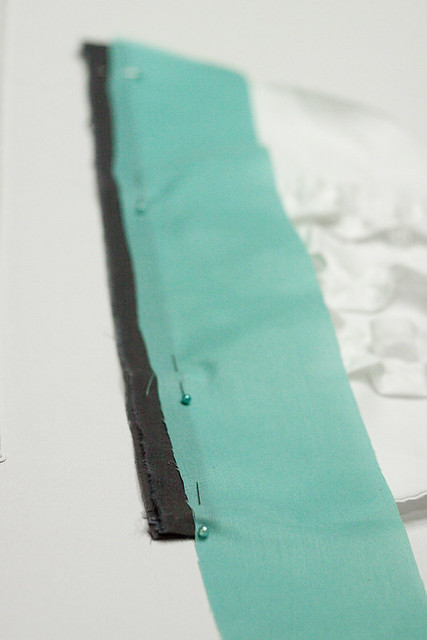
Now on to the Tea and Crumpet apron. The pattern for it can be found HERE, HERE, HERE & HERE (I am trying out google docs). Again you are going to need to make your own straps. You will also need some "piping" that is made exactly like the one made in THIS tutorial. It is just a long strip of fabric ironed in half. I tried to make mine similar to the grey in the online version:
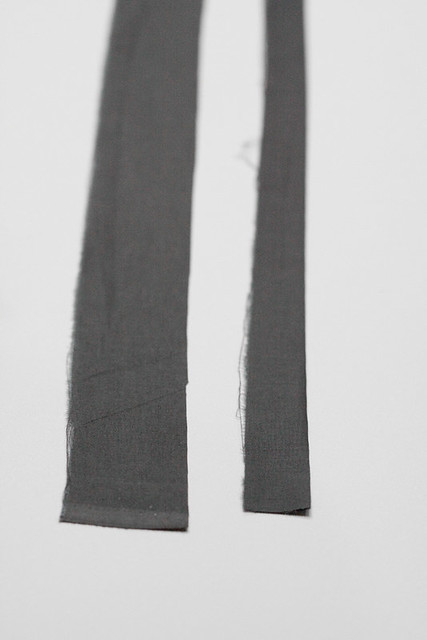
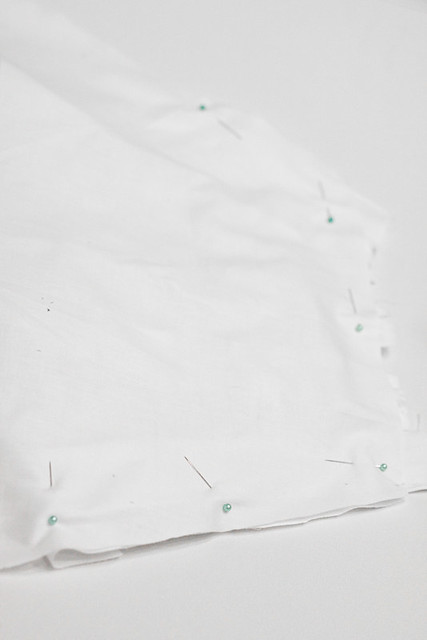
Once you have everything cut out per the instructions take the three ruffle pieces you cut. Hem all the raw edges. I ironed mine first:
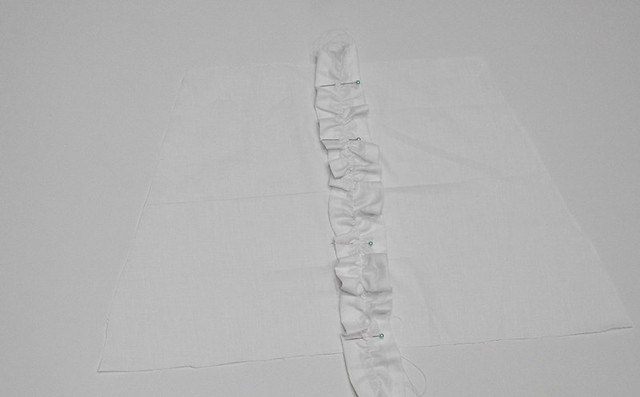
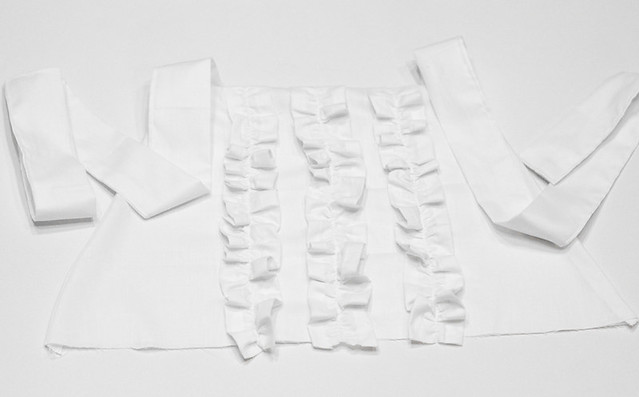
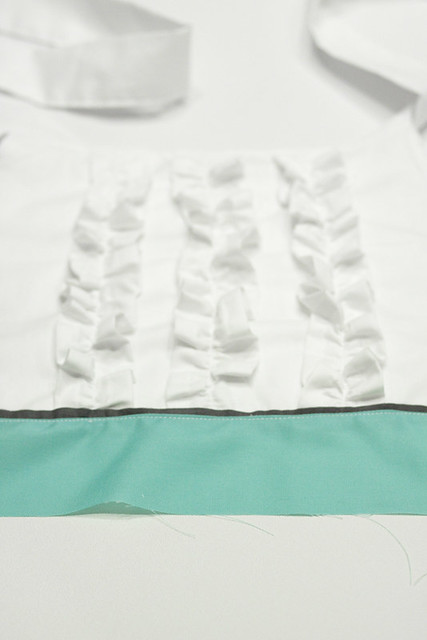
Then I sewed up the sides. You don't have to worry about the ends, they will be hidden. Now sew a gathering stitch right down the middle, ruffling up the strip. Once you are done take one of your apron "tops" and we are going to pin a ruffle right down the middle. Adjust your gathering so that there is a little bit hanging off either end. Then sew straight down the middle attaching the ruffle to the top:
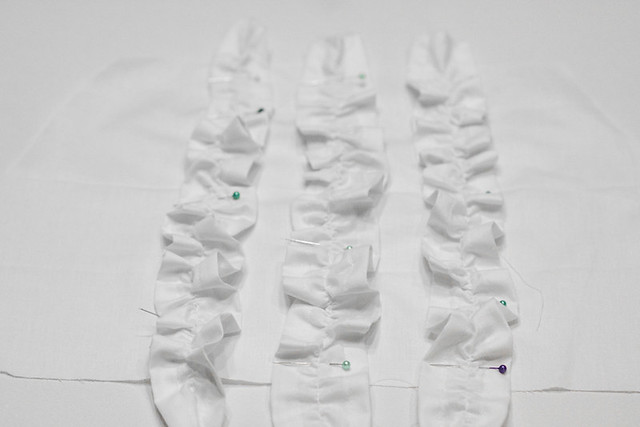
Now pin and sew a ruffle on either side of the center ruffle.
Now take your second piece of apron "top" and lay it right sides together with the first.
Slide the two neck straps in-between the two pieces of fabric on either end of the neckline
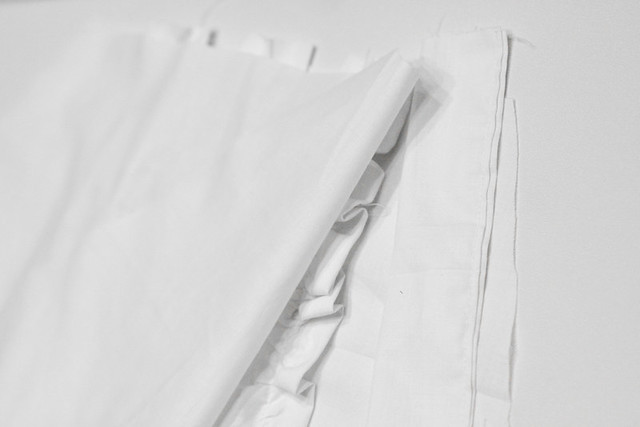
Now sew up the sides and across the top. Do not sew along the bottom. When you turn your top right side out you should have something similar to this:
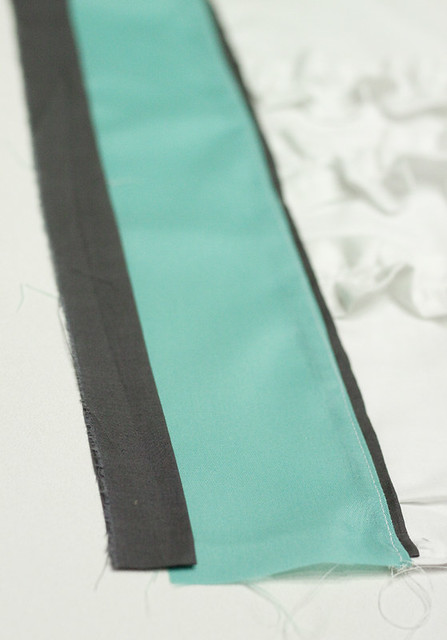
Take one of your long strips of grey and you are going to lay it across the bottom, finished edge up:
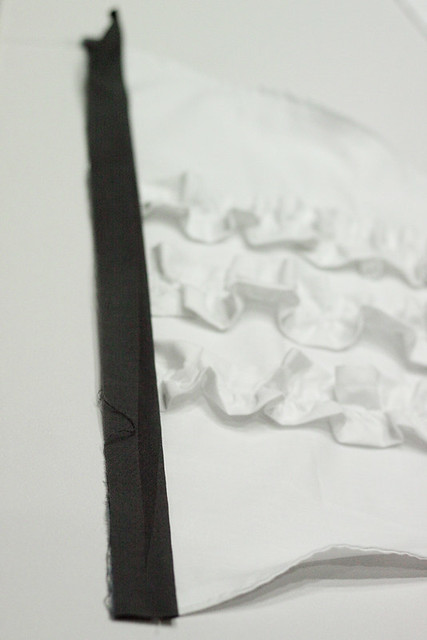
Now take your waist strip and lay it right sides down. The edge of it should line up with the edge of the white cotton. The Grey strip is just an accent so only let it peak out really. Pin it in place then sew.
When you are done flip down the waist piece and topstitch what you just sewed
Now grab your bottom piece of fabric. To cut this piece decide how long you want your apron to be, keeping in mind you will be attaching a small ruffle and that the waistband is a "high waist". Cut the fabric to that length. Now for the width. Lay your wasitband nice and flat. How ever much longer the skirt piece is than the waist band is how much you are going to have to gather aka the longer the piece the fluffier your skirt. Again keep in mind you have to hem the sides. I only gathered my skirt in the middle and only a little bit (I think this would be SUPER cute to do if you were preggers and make a nice big fluffy apron bottom!) Once you have this piece cut hem up the sides (leave the bottom alone). Then sew a gathering stitch across the top middle of the skirt and gather until the bottom lines up with the top:
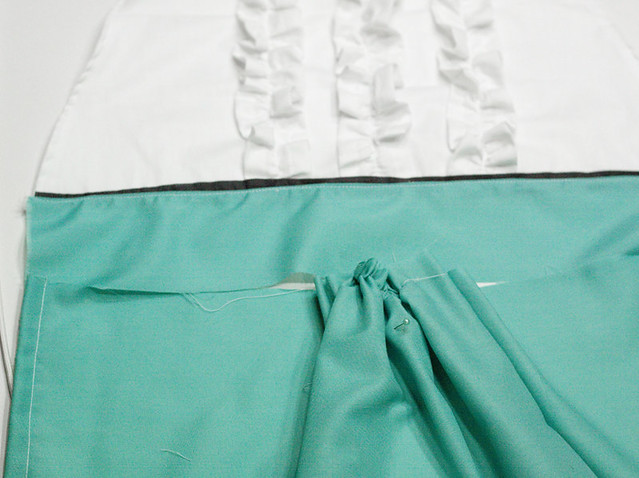
Once you have it the right size grab your second piece of grey material and lay it finished edge up on the bottom of the apron top:
Take the Apron bottom and lay it right sides together with the apron top, lining up the raw edges (there should, as before, be some grey peaking out) Sew across the raw edge. Again, flip it down when you are done and top stitch. Now you have two steps left and I totally can't find my pics for them but they are super easy so its okay. Attach the waist ties you made to either side of the waist band. Then, if you like, make a ruffle for the bottom and attach it. I think my ruffle is a tad big but thats okay :) I decided to add a small gathered pocket on one side. This is totally optional :) Now for the fun part, making yourself a flower. I grabbed out random fabrics that sort of resembled the original. I took my pinking sheers and cute big sloppy flower petals then stacked them on top of each other.
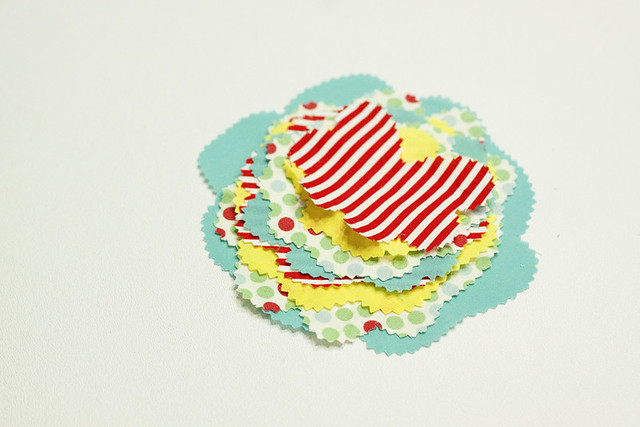
I hand stitched them together so that I could pinch and manipulate them a bit.
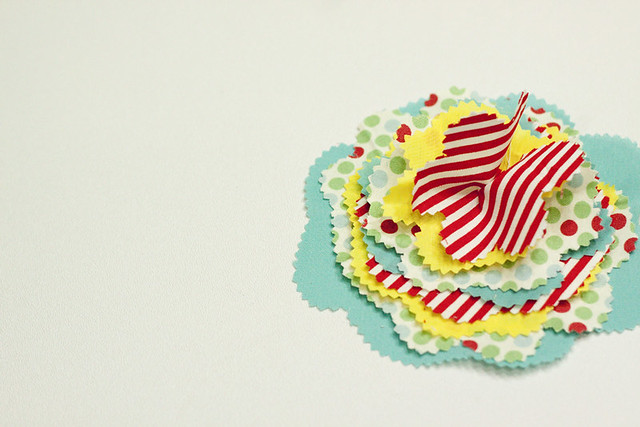
I then hot glued it to a hair clippy thingy :) Then I clipped it on the shoulder :)
Totally easy right? I hope you are able to make your own gorgeous apron. Please send me a pic if you make one for the round up!


Amazing!!! I am hoping for a snow day tomorrow. I have the perfect person in mind for this. (and the perfect fabric)
ReplyDeleteYou could almost make these aprons into summer dresses they are so cute! Thanks for posting :)
ReplyDeleteI love it! I've been wanting a super cute apron and didn't ever want to pay for one since my fabric pile is a bit out of hand and I need to use it up. But, the holidays have me going in circles. Thank you for taking the time to figure this out and post it for me!
ReplyDeleteLove them!
ReplyDeleteUnable to find the pattern doc through google. I get a msg saying document not found. Any help will be greatly appreciated. Thanks!
ReplyDeleteI got that same message.
ReplyDeleteI love them!
Okay, I am still learning google docs but I think I have to link to each pattern piece individually, ughh. so I changed that in the post. Hopefully that works. It works when I try it but then again I think that is because my computer recognizes me and brings me to my docs... fingers crossed :)
ReplyDeleteKell
This is too darling. If you do apron week, I will die and go to a special heaven for people who spend too much time around fabric.
ReplyDeleteI adore your aprons!!! OMG-absolutely lovely...I make aprons a lot here in England, and give them to friends. I made a TON of toddler smocks/aprons this year and they were a hit. I'd love to see "Apron week" :o)
ReplyDeleteMaybe I'll post my toddler version and then link to your blog for more inspiration.
Happy Holidays,
All the best,
natalie
www.1hungryhippie.blogspot.com
I love the aprons. Would you please link the rest of the Lady's Apron pattern - only the ruffle is showing. Thanks!!
ReplyDeleteDoes anyone have any suggestions for getting the apron pattern pieces to print off properly? Some pages seem to print the image "off the page".The aprons are darling but google docs is driving me crazy! Thank you!
ReplyDeleteI love them all!!
ReplyDeleteCan't wait 'till apron week!! :)
ReplyDeleteOoooh, Apron week. I would love that!. I also couldn't get anything more than the ruffle pattern for the Lady's Apron. I would love to make it.
ReplyDeleteHave the same problem as the others, only the ruffle is showing.
ReplyDeleteamazing!! that's my favourite Anthro apron too! :)
ReplyDeletei wish i was good at making patters, (or even knew anything about making patterns) because i would LOVE to see this apron as a dress!
ReplyDeletegreat job. and awesome tute!
So cute! I am trying to make this apron right now but am having trouble figuring out the pattern. "Tape to a" & "Tape to b" aren't making sense to me. Are they the pattern pieces for the top? I am new at this...help!
ReplyDeleteI really want to make the Lady Apron but only the ruffle pattern piece is coming up. Are there more links that I am overlooking?
ReplyDeleteI am on the one of the last steps for the tea and crumpets apron and I find that I still have an extra waistband piece that the tutorial doesn't tell me what to do with. Do I sew it on to the back of the apron? Will that not make another seam on the front of the apron? Help! I am rather new at this.
ReplyDeleteI would like to make the lady's apron but all the pattern pieces are not posted in your first link. Can you repost please? I am dying to make this adorable apron!
ReplyDeleteThanks for the patterns! These are so cute. I just made a few in different colors and posted them on my blog http://cutesycrafts.blogspot.com/2011/12/aprons.html. Love them!!!
ReplyDeleteCan anyone else not get the tea apron patterns to work? I can only get the top apron pattern to work
ReplyDeleteWas this ever fixed? I still can only see the ruffle pattern, the rest do not show up for the lady's apron! help!
ReplyDeleteHow much fabric is needed to make this apron? Thanks!
ReplyDeleteI just found the entire tutorial for the Lady's Apron here: http://sewingin-nomansland.blogspot.com/p/tutorials.html
ReplyDelete