


What you will need:
6 scraps of coordinating fabric
Sewing machine
Small square of felt for stem
Small piece of felt for leaf
Hot glue gun
Scissors
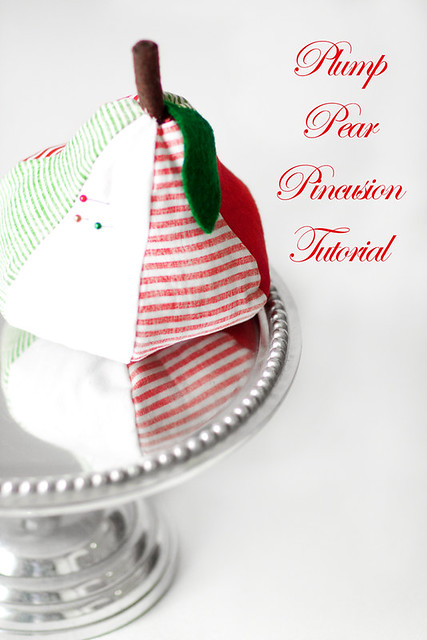
I made two pears for myself. For my Christmas themed one I wanted the colors to be more muted (I would have LOVED to use some burlap but there is none to be found on the island) so I used the wrong side of some SUPER cute fabric sent to me by a very kind reader, some red felt and some white fleece:
The one in the tutorial is my everyday use pear pincushion. So, lets make it! Once you have gathered your scraps of fabric you will need to cut out 6 pear pieces with the pattern from above.
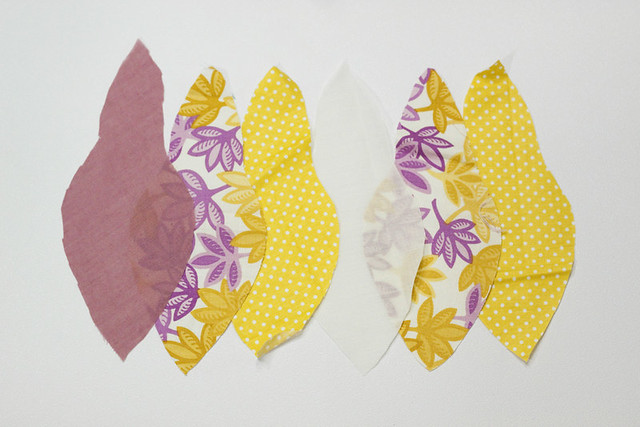
Line them up in the order you would like them and bring them over to the sewing machine. Take the first two slices of the pear and lay them right sides together lining up the sides. Now sew along one side.

Once you have sewn you can do as I did and iron it a bit and then topstitch or simply move on to the next piece:
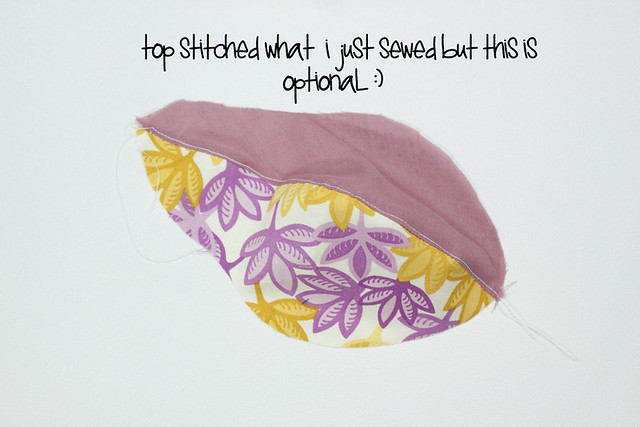
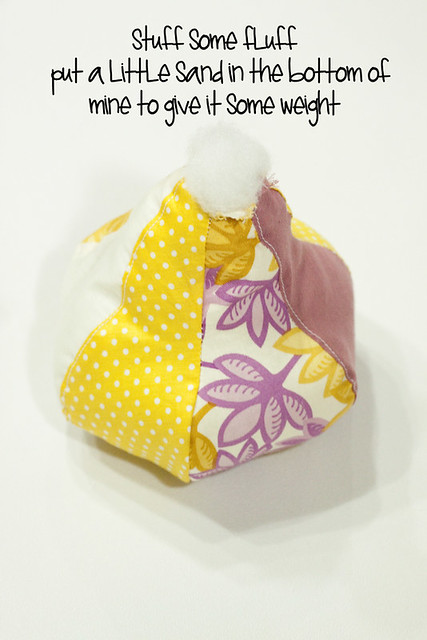
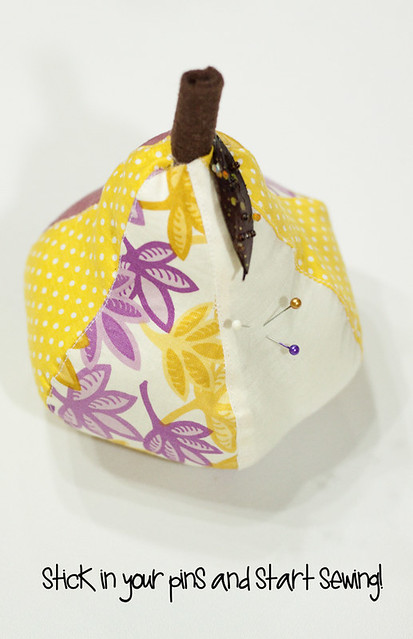
Either way once you have the two connected grab your third piece and sew it to the second piece in the exact same manner. Continue to do this until all the pear pieces are in a nice long chain. Then fold the chain in half (right sides together and sew the last slice of pear to the first slice of pear, thus creating a circle. If you sew all the way to the bottom on each slice you should have no hole. If you do happen to get a little hole you could hot glue a small circle of felt to the bottom to cover it up. Now turn the pear right sides out and fill it up! I put some sand in the bottom to give it some weight and then stuffed the rest with fluff.
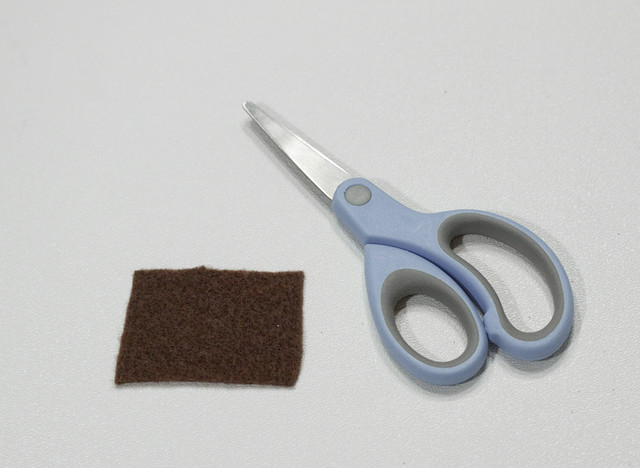
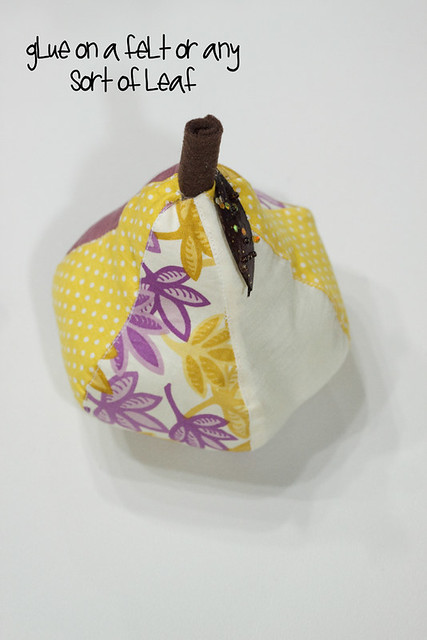
Now cut a small square of felt (or you could always use a cute thick twigg).
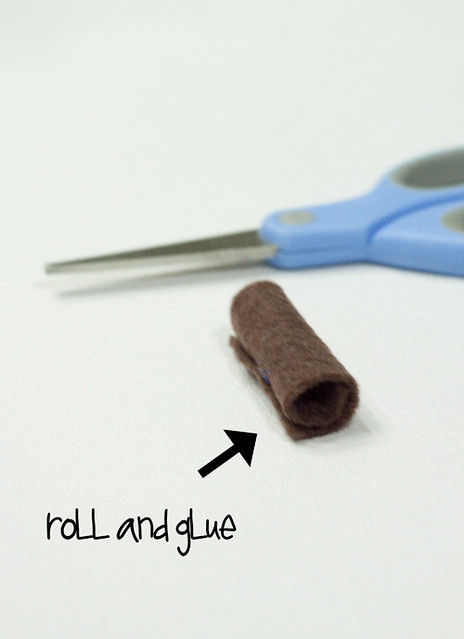
Roll up the felt gluing with hot glue every now and then
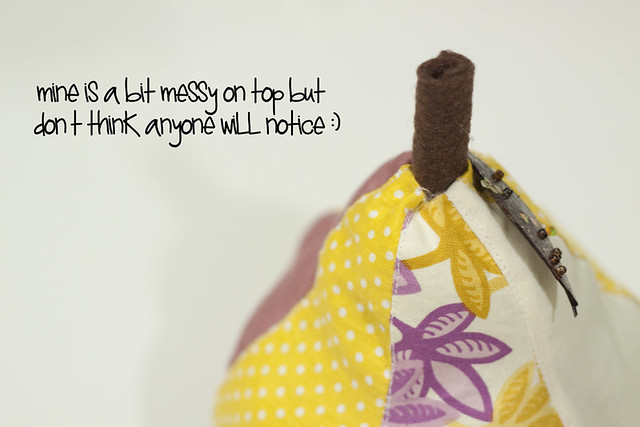
Now tuck in the top pieces of your pear, draw a line of hot glue around the bottom of your steam and insert it into the top of your pear, pushing the sides of the top of your pear around the stem and thus gluing them together.
Once you have attached your stem you can attach a leaf cut out of felt, a real leaf from outside or pilfer one from one of your Christmas decorations like I did :)
And there you have it!
So it is a bit of a stretch, a pear in a christmas tree...
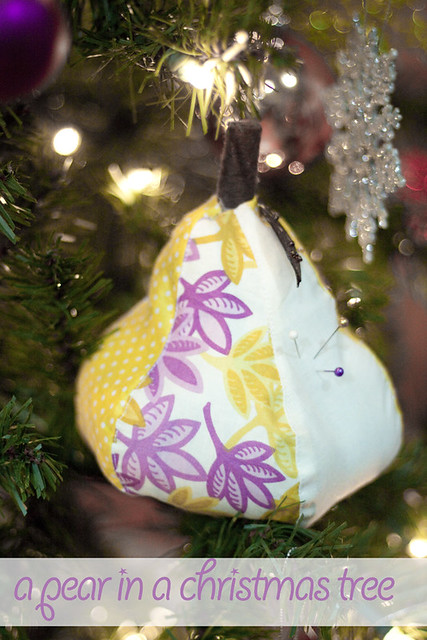
but I still think it is cute! Hope you enjoyed the first day of Christmas! See you tomorrow for Two Turtle Doves.
Grab a button on the sidebar and share the fun with your readers!


adorable!! Very cute idea :)
ReplyDeleteThis is a good idea for a cute potpourri bag too!
ReplyDeleteI love it!!! I have a thing about pears...maybe because they represent patience, which as a mother of 3 boys...I need a lot off =)
ReplyDeleteI whipped up a little pear from your pattern today! So easy...blogged it here: http://bit.ly/fQyutT {and ditto what Jaime Leigh said...boys=lots of patience needed!}
ReplyDeleteoh my gosh! i love pears, my blog is called the perfect pear. So naturally i would LOVE this! this is SO adorable and lovely!
ReplyDeletexoxo
Lauren
Awesome pincushion! I linked to your tutorial over at Craft Gossip Sewing:
ReplyDeletehttp://sewing.craftgossip.com/tutorial-plump-pear-pincushion/2010/12/28/
--Anne
love the tutorial and the pear! thank you so much :) have linked to this from my blog at http://mygooseygoosey.blogspot.com/
ReplyDeleteThis is so cute! I'm including it my Friday Favorites feature this week!
ReplyDelete