


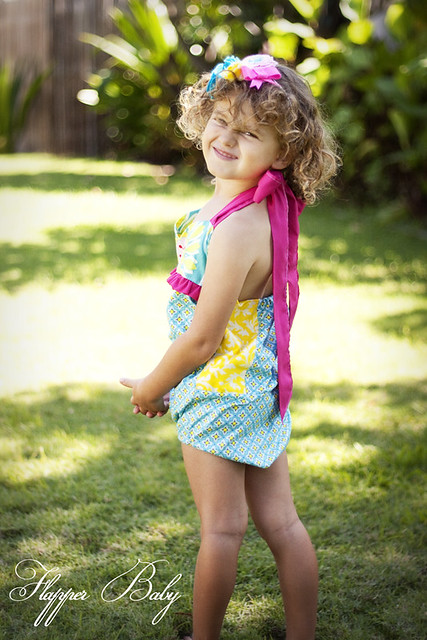
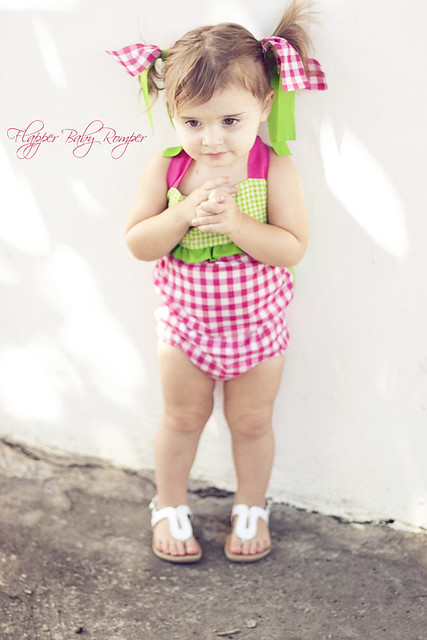
I have actually been sitting on this project for WEEKS and it has been KILLING me! I am so excited to share it today and be part of Jessica from Me Sew Crazy's amazing Sewing Remix series! Me Sew Crazy is one of my fav sewing blogs and one of the few I check very regularly for inspiration, a good laugh and some fun eye candy. My little contribution is the Flapper Baby Romper:

When Jess asked me to be part of Sewing Remix I was pretty excited to follow a pattern. But then I kept seeing little outfits like this everywhere:

Source: Simplicity Photography
Or this adorable retro version:

I thought, Evie HAS to have one!!! I wanted to stick to the rules though and remix a pattern. For the perfect place to start I headed over to Made to Dana's free down loadable perfect diaper cover pattern. This gave me a good jumping off point to create The Flapper Baby Romper:
After asking Dana for her permission I morphed the perfect diaper cover pattern into my own Flapper Baby Romper pattern which you can download HERE on my Scribd shelf. My first attempt was supposed to be Evie sized about 2T... but ended up Carmen sized or about 3-4T
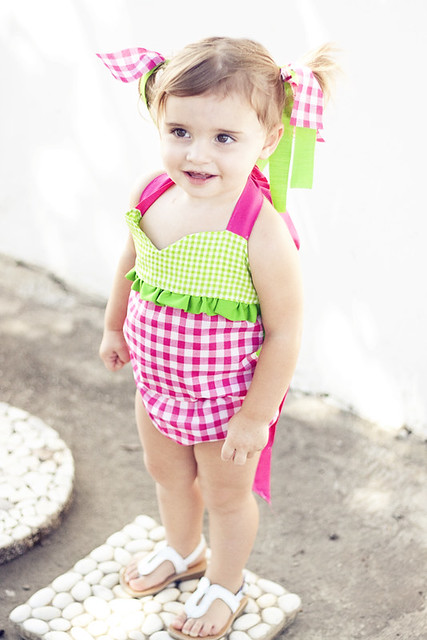
I tweaked it a bit and then shrunk the pattern you can print out by 80% to get my Evie sized Flapper Baby Romper:
I dunno what it is but these little rompers make their little bums look so adorable ha!
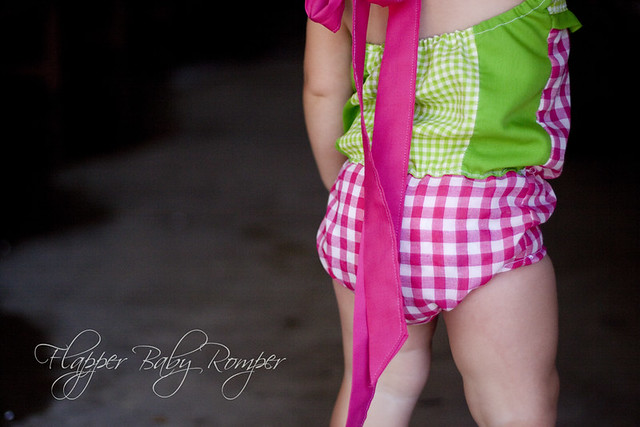
It is probably how great Dana's original pattern is! Carmen's was a little roomy so in the final tutorial I added an extra step to put some elastic around the waist and cinch it up a bit.

I also added elastic to the back shoulder blade portion to keep it nice and snug
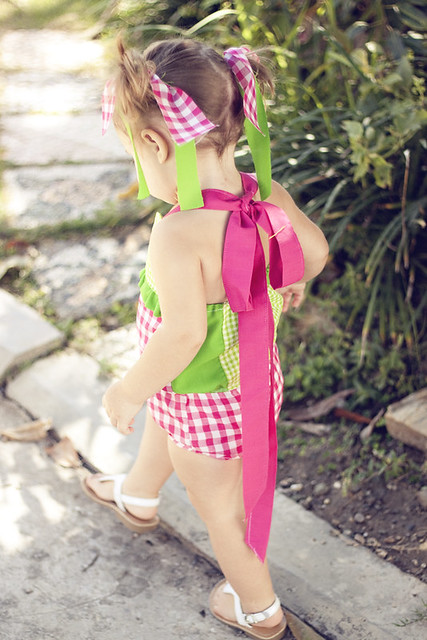
If you would like to sew a long and make your own Flapper Baby Romper
click learn more for all the instructions!! Jessica thanks so much for having me and I hope you are getting some much needed R&R before this little blue bundle of joy comes!
So funny story, we did this photoshoot right before everyone in our family got super sick. I don't think she was feeling the best this particular day so as a "thank you" for cooperating after pictures we took the kids for milkshakes. None of us were able to finish our entire shake, except for Evie.

Who not only finished her own shake but then proceeded to go down the line and polish off everyone else's

That night when Finn started getting sick I thought FOR SURE all those milkshakes were going to come back up

But Evie was the only cutie who DIDN'T get sick! Maybe all that calcium staved it off ha!
ANYWAYS on to the tutorial!!!
What you will need:
1/2 yard fabric for romper bottom
1/4 yard fabric for romper top
scraps for ruffle and straps
thin elastic
safety pin
iron
straight pins
scissors
sewing machine
The Pattern found HERE
If you would like a 2T size of the pattern simply print it out and then copy it at 80%
So funny story, we did this photoshoot right before everyone in our family got super sick. I don't think she was feeling the best this particular day so as a "thank you" for cooperating after pictures we took the kids for milkshakes. None of us were able to finish our entire shake, except for Evie.
Who not only finished her own shake but then proceeded to go down the line and polish off everyone else's
That night when Finn started getting sick I thought FOR SURE all those milkshakes were going to come back up
But Evie was the only cutie who DIDN'T get sick! Maybe all that calcium staved it off ha!
ANYWAYS on to the tutorial!!!
What you will need:
1/2 yard fabric for romper bottom
1/4 yard fabric for romper top
scraps for ruffle and straps
thin elastic
safety pin
iron
straight pins
scissors
sewing machine
The Pattern found HERE
If you would like a 2T size of the pattern simply print it out and then copy it at 80%
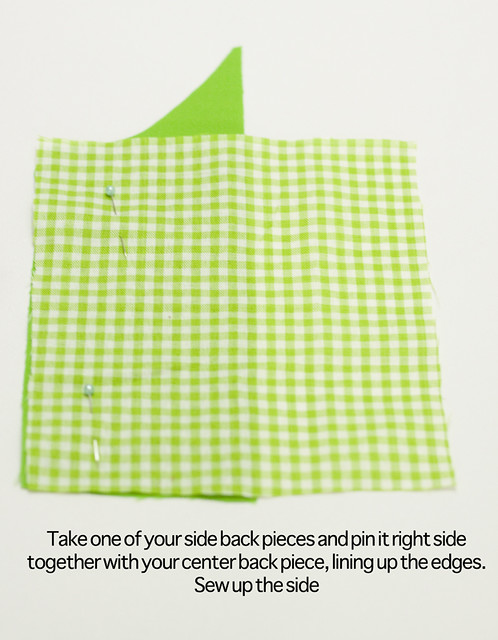
Getting ready to sew: Print out the pattern pieces, tape together where necessary, following cutting instructions, I like to iron all my pieces once cut. You will need to make your own straps. Mine were SUPER long, I might suggest doing a bit smaller ha! I just cut long strips of fabric, ironed over the long raw edges then ironed the entire thing in half lengthwise, then I sewed up the open side. Easy Peasy. I also did the extra step or serging the arches that would eventually become my leg holes. I did this before sewing anything else, I think it makes the process easier, but thats just me. If you don't have a serger don't worry at all and don't even bother doing a zig zag stitch ;)


On Carmens romper I made little pleats by lining up the pleat lines on the pattern and stitching. I did not do this on the 2T size, it was not necessary.


I wanted to make sure that the romper didn't look like a sac on Evie so I added the extra step of sewing a loop of elastic all the way around the waist. Cut a length of elastic a little under half the length of your waist. Start at one side of the waist and topstitch it in place all the way around the waistline pulling the elastic as you sew.

The elastic will naturally coil back up gathering the waist.

Keeping your romper wrong side out we are going to hem over the leg holes creating little pockets for elastic to thread through.

Once you have hemmed them feed a small length of elastic through and all the way around. I tied the ends together but you can stitch them if you like. Let them slip back into the hem and stitch closed your little hole. Repeat on the other leg band. For Awesome pictures and instructions for this part click HERE on Dana's tutorial. Why mess with a good thing right?
All done!!

Now watch your cutie patootie march around enjoy a comfy little romper!!
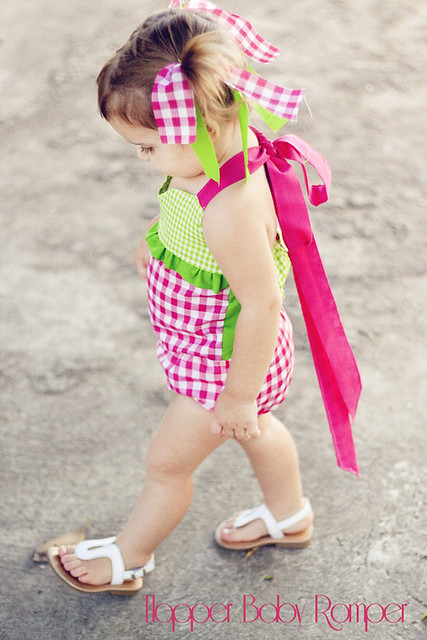
Have fun with fabric selection and strap colors!!

Now that you have everything ready lets get going!!
On Carmens romper I made little pleats by lining up the pleat lines on the pattern and stitching. I did not do this on the 2T size, it was not necessary.
I wanted to make sure that the romper didn't look like a sac on Evie so I added the extra step of sewing a loop of elastic all the way around the waist. Cut a length of elastic a little under half the length of your waist. Start at one side of the waist and topstitch it in place all the way around the waistline pulling the elastic as you sew.
The elastic will naturally coil back up gathering the waist.
Keeping your romper wrong side out we are going to hem over the leg holes creating little pockets for elastic to thread through.
Once you have hemmed them feed a small length of elastic through and all the way around. I tied the ends together but you can stitch them if you like. Let them slip back into the hem and stitch closed your little hole. Repeat on the other leg band. For Awesome pictures and instructions for this part click HERE on Dana's tutorial. Why mess with a good thing right?
All done!!
Now watch your cutie patootie march around enjoy a comfy little romper!!
Have fun with fabric selection and strap colors!!


I am so in love with this, it is unreal! Thank you so much again Kelly! You are amazing!
ReplyDeleteYayyyyy!!! I have been DYING to do this too!!! And in the bigger size too! Usually romper patterns are only in the smaller baby sizes! Thank you, thank you, thank you!!! They are ADORABLE!!!
ReplyDeleteLove it! Thanks so much!!!
ReplyDeleteOh man this is adorable!! Thanks for sharing!
ReplyDeleteFun to see the finished product! I love all those bright colors! Cute Kelly :)
ReplyDeleteI have been sitting on this forever waiting for the perfect time to make it. My little girl turns ONE in a few weeks and is already walking like a champ. So I needed an outfit she could look insanely adorable in as well as be freely mobile. I just made it today and I love it so much! Thank you for sharing!
ReplyDeleteThat is so adorable! Thank you so much for sharing it! If I want the larger size, do I print it out at 100%?
ReplyDelete