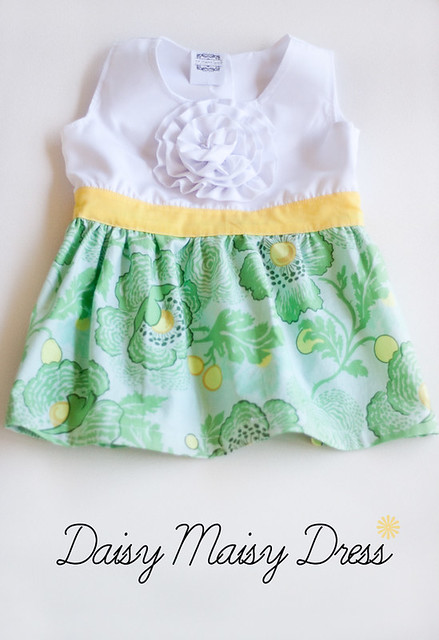
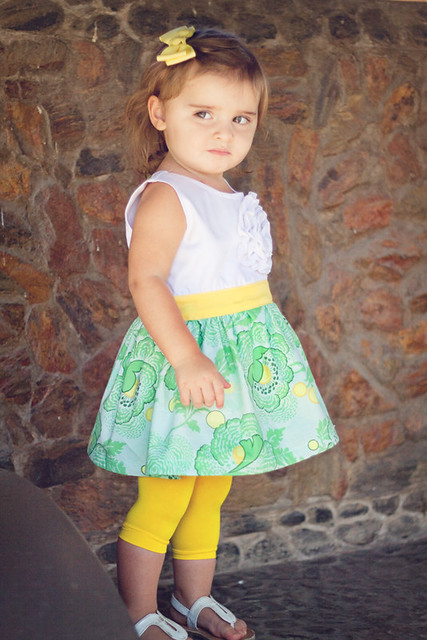
I am so excited that there was such a great response!!! I hope it is okay but I have gone ahead and made a pattern for the "Toe The Line" dress. I will be sharing it as soon as I finish using pieces of it for the "create a digital pattern" tutorial. That way you can follow completely along! The first step (and an extremely useful thing to have on hand for ANY seamstress) is finding your
correct measurements. There are plenty of places you can find how to do some of these measurements but I will walk you through and extremely thorough measuring of yourself. It is based on a 1950's guide similar to
THIS one. It is pretty crucial that you have a "partner in crime" while doing this. There are some measurements you just realistically cannot get accurately on your own. Plus then you can concentrate on your posture (crucial to goo measuring) and you don't have to worry about yourself sneakily pulling the tape just a tich tighter if you know what I mean :) In some pictures my tape is not perfectly straight or has twisted. Having another person measure you will prevent such things from happening. This can be a slightly time consuming process and once you have done it you want to make sure you keep track of your measurements. I have created a fun little sheet with all the different spots typed up and locations for you to enter your info. I also included places that when making a pattern your should include the indicated "ease" to make sure it sews up nicely. You can find this measurement worksheet
HERE on my Scribd shelf.
Once you have printed it out grab your friend, a pen, a measuring tape and maybe some ribbon. Please forgive some of my duplicate numbering ughhh.
The first measurement I take is my waist. Several of your other measurements will be based on this location so make sure to get it right. Make sure it is not at your "high waist" but the thin part of your waist. (which is hard when you are totally preggers ha!) Once I measured my waist I placed a ribbon at this exact location.

This way I know I am measuring from the same spot every time. Try to avoid letting your tape slip:

Next up the bust. Make sure there is a finger between your bust and where the tape ends meet. This gives you some nice wiggle room.

Having another person measure you helps avoid this common mistake when measuring the bust:

Funny side story. If you go to Victoria Secret they are well trained at getting your perfect bust measurement. I went in one time and was shopping and one of the workers chuckled when I looked at a particular size and said "um, sweet heart do you want me to measure you so you get one that actually fits?" Yeah... as if shopping for under garments wasn't awkward enough for me ha! Anywho if you want a good one go there! This next one is commonly skipped but is a nice one to have to determine whether you chose the correct size in a pattern.

No one likes to do this next one but you HAVE to do it correctly or your outfits will always be a bit ill fitting. Do not pull the tape tight, be generous, a dress that fits like a glove will look way better then a dream sized dress you have to stuff yourself into. (oh and try to avoid having the tape twist like it is on me ha!)

Even though it says 6, number five measurement should be:

The next measurement will help to ensure when you sit down your skirt doesn't rip ha!

When taking this next measurement make sure you tell the person helping you where you generally like your skirts to hit. I like them right above my knee.

Next find your collarbone and follow it down to the center of your neck.

Now do the same thing in the back.

Alright this next one is fairly impossible to take correctly on your own. As you can see from my sad sad attempt to do it ha! The measurement should go from sleeve to sleeve across your shoulder blades, much higher then seen here.

Now we will repeat in the front. ** Evil Glare at person helping you is optional**
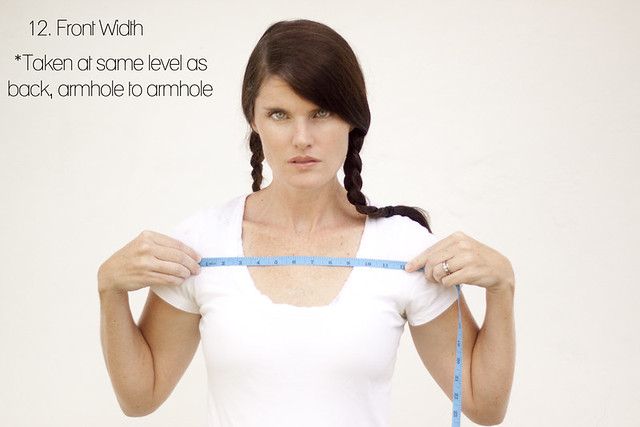
This is also a pretty tricky one to get on your own:

Now continue to your wrist

The next measurements are for pants or long dresses. When measuring for pants remember the longer you can make them (without stepping all over them) the more flattering they will be. Also consider what kind of hem you like, I like mine chunky so I add some length.

I probably went a little too high in this picture for this measurement. When it says center of neck in means center of circumference not height.

Next you will measure the largest part of your arm.

This last one may seem like an odd measurement but it really helps to make sure pants fit correctly when you sit down.

Once you have them all written down I put mine in a plastic page protector so I don't accidentally throw it away and it last longer. I use it when I buy a pattern and am wondering what size to make, making my own patterns etc. Hopefully this was helpful! You will certainly use it making your own patterns!


