


While we were living in Williamsburg with the hubby attending law school, our best friends Kristen and Wes were in Cleveland with Wes attending dental school. We would take turns visiting each other. On one trip to Cleveland Kristen showed me a few of the dresses she had bought her gorgeous girl from Shabby Apple. When she showed me the Strawberry Patch I said "Oh man we can so make that." We dashed to the fabric store (ahh the good 'ole days when I could {dash} to the fabric store ha!) By the end of the night we had made 3 identical copies of the dress.

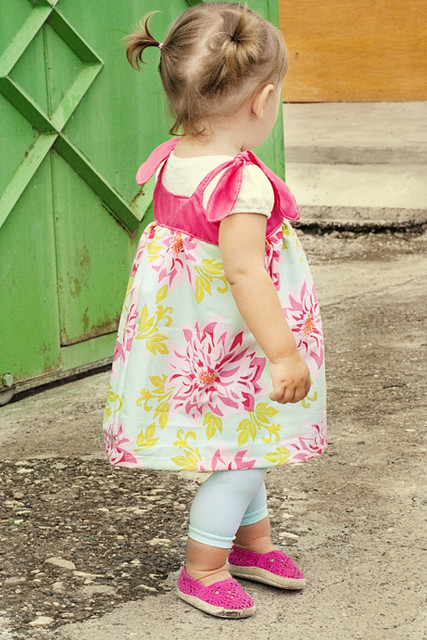
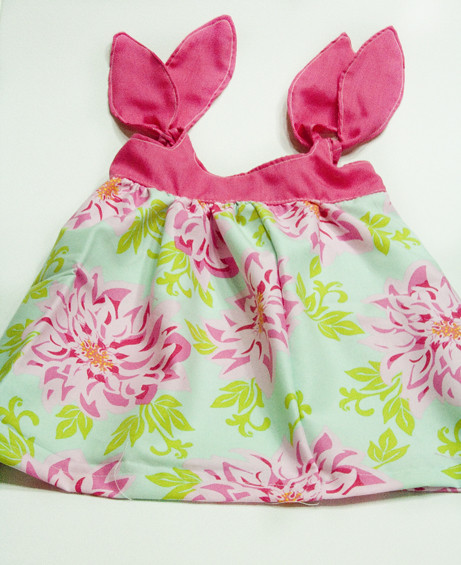
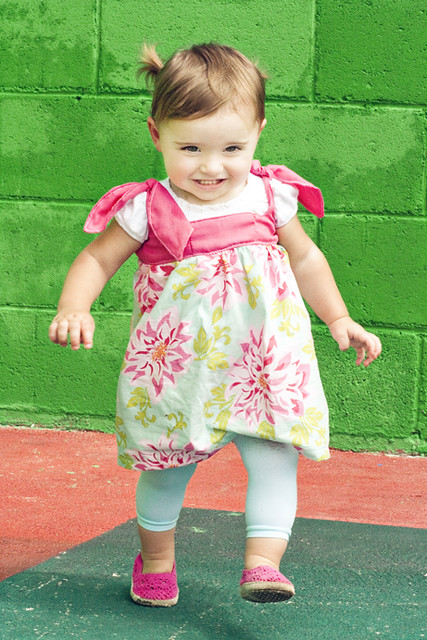
While this is not the exact same dress I made in Cleveland (I simplified it by taking out the center sash) it is along the same lines and I have to say I super heart this dress. It was soooo easy (I know I say that a lot but this is REALLY easy) and only took me about 15 minutes to make! The fabric is from my wonderful friend Jes (who made the most wicked awesome queen of hearts costume I have ever seen HERE) I believe you can purchase it in her Etsy store Chirpy Designs. The leggings are as ever from my favorite We Love Colors, I am telling you if I was somewhere chilly I would have a pair of these in every color, as it is I only have them in half the colors ha! These are my favorite pair and they are actually starting to get some runs, this after 9 months of wear and tear. Anyhooter on to the dress.

As I mentioned earlier I finally was able to work out some of the kink on Media Fire, so the pattern for the top portion of the dress will be up on Monday after I am able to scan it in (no access to scanner on the weekend but was dying to get this up) I totally free handed it and I am sure you could do just as good of a job :) Just make sure you have a nice long "thin" part before your wider ear looking part so that you can tie a nice knot. Also on the back I made the neck portion a little higher up.
Sorry the pictures are a bit grainy. My camera has officially given up the ghost so it is all set to be mailed back to the states for repairs. I should start a bet on whether or not it will return in one piece, eeekkkk, fingers crossed.
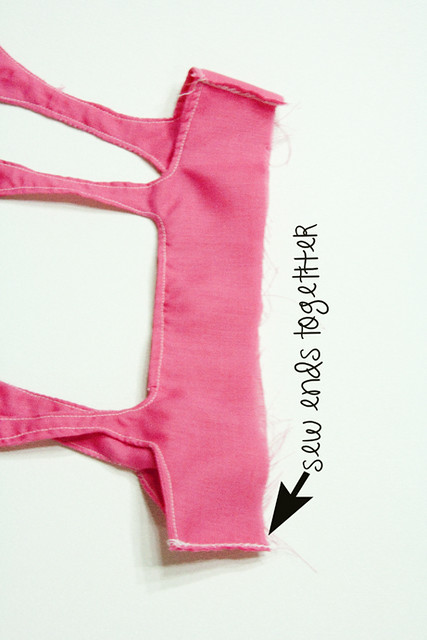
Once you have all four of your top pattern pieces cut out, place the two front pieces right sides together and sew all around the top. Do not worry about sewing the sides or bottom. Flip the entire thing right side out and topstitch the same thing you just sewed. Once you are done repeat the process with the back pieces. You should now have two nicely finished pieces.

Now place the front and back right sides together. Sew both ends together.
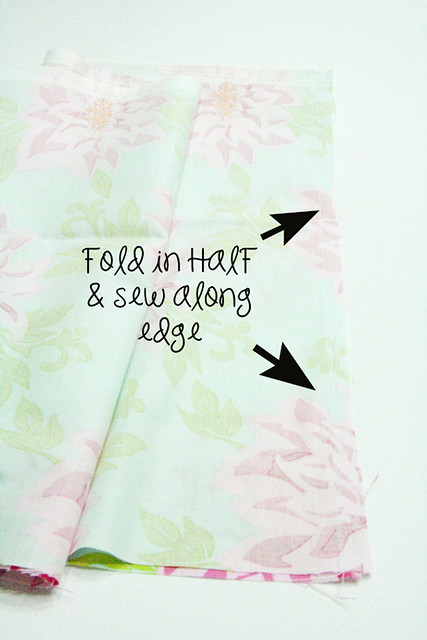
Once again your bottom piece is an arbitrary size. How long it is depends on the length of the dress you would like. You could easily make it shorter then mine and have a super cute tunic! I wanted mine pretty fluffy so I made it about 1.5 times the circumference of the top. Once you have cut your rectangle, fold it in half and se up the side.
Now hem up the bottom. I usually do a rather large hem so that I can let it out as she grows. Then sew a gathering stitch around the top. Gather the top until it is the same circumference as your top. Now take your top and slide it over your gathered bottom so that right sides are together.
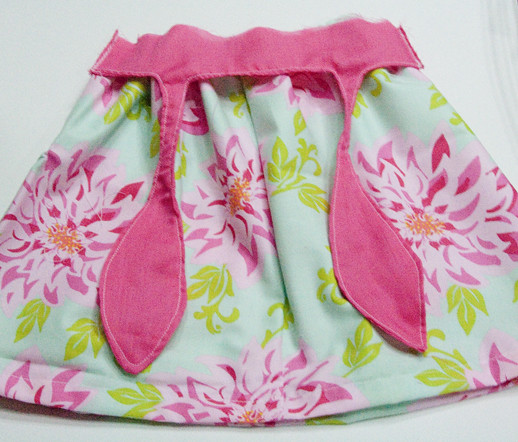
Sew around the raw edges, attaching the skirt bottom to the top. When you are done flip the dress top up and topstitch what you just sewed.
I thought about adding pockets but really wanted her to be able to wear it to the Harvest Fair the school was putting on to raise money for the orphanage, so I skipped it on this one.
Of course while taking pictures and trying to get her attention but not really paying attention to what she was doing.... I watched her walk right into a puddle
There go her super cute shoes!
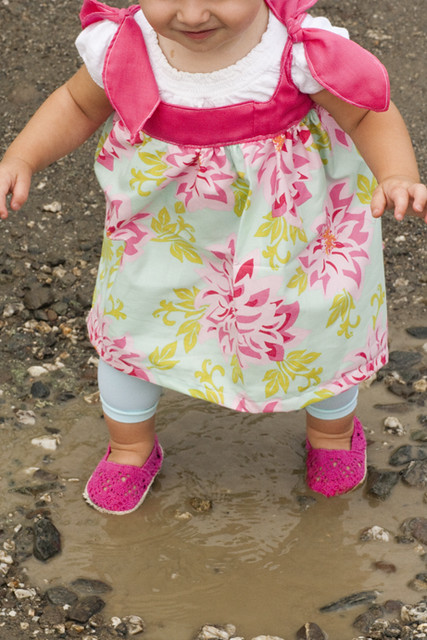
But it is all for the cause right? :)


Oh my gosh - so super cute! I am ALWAYS looking for a new dress pattern for my little girls. Probably my favorite thing to make!!!
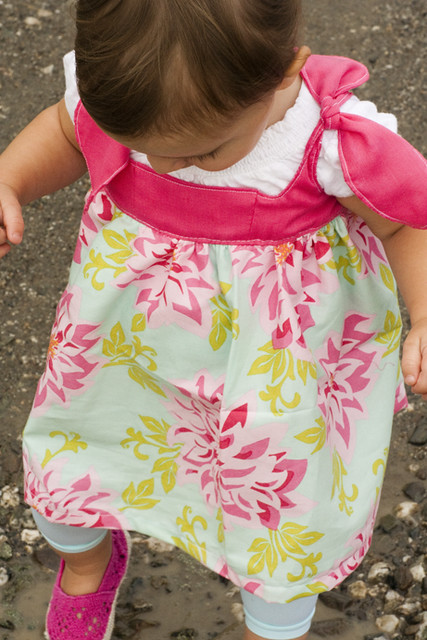
ReplyDeleteLove the straps on this one!
That's such a cute dress! I linked to your tutorial over at Craft Gossip Sewing:
ReplyDeletehttp://sewing.craftgossip.com/tutorial-little-girls-dress-with-tie-top-bodice/2010/11/06/
--Anne
Very cute! The dress and the model!
ReplyDeleteSo Cute - I have a friend that is adopting a 18mo girl and I have been looking for something to make her - I think this one is IT.
ReplyDeleteOk I had to go check out the shabby apple version and dare I say....I think I like yours better! It could be that I really LOVE Spring Dahlia but I think it is because it does not have the center sash. I love how bright and colorful your version is! As I am finishing reading the post Hailey pops over and says Mom will you make one of those for me?! I suppose I must oblige. It has nothing to do with the fact that I love it just as much as she does....Hey! That could make a totally cute adult tunic....ideas ideas!
ReplyDeleteLove and Hugs, Jess
Thanks so much for sharing this! I've been wanting to try and make a dress for a while. This will be the first one I attempt. I love it!
ReplyDeleteThanks for sharing this one..I just attempted your shabby evie dress last week...and even though I did have some problems;) i got through it..It was my first ever dress or anything i should say that i have made from a pattern!!
ReplyDeleteLOVE this dress. I can't believe you whipped it up so quickly. That picture of your darling girl in front of the green brick wall is so great, too.
ReplyDeleteWow the awesome dresses with a cute girl,Thanks for sharing such a wonderful blog !!
ReplyDeletegirls easter dresses
Thanks for the tutorial!
ReplyDeleteAnd btw your dress looks MUCH nicer than the one for $37!!!
I haven't been able to find the link to the bodice pattern, but I think this dress would be perfect for my little cutie.
ReplyDelete