I am positively GIDDY to be over at Grosgrain today. I have been following Kathleen for so long I don't even remember when I started! When we both took a photography workshop together I was too timid to introduce myself, I just slunk around standing next to her hoping some genius would rub off.... that sounds creepier then it actually was ha! Anyway, I have been saving this particular pattern for a long time waiting for just the right moment. I was going to save it For Sewing In No Mans Land one year anniversary but I thought Grosgrain called for my favorite! That's what this is, my favorite outfit I have made my Evie (my 18 month old girl). Because of my location on a small island close to Bali I have been heavily influenced by Balinese fashion. Light, airy, cotton and super super comfy.
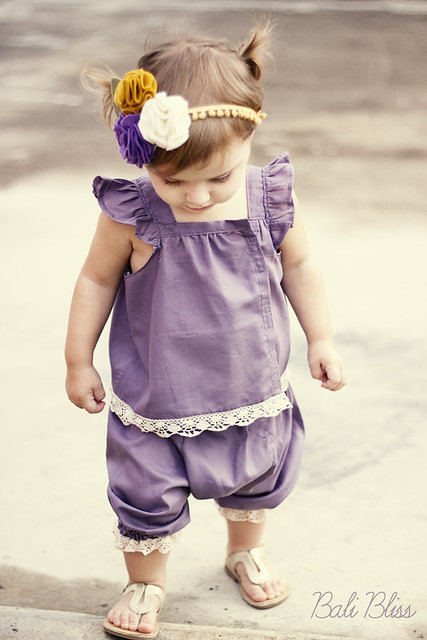
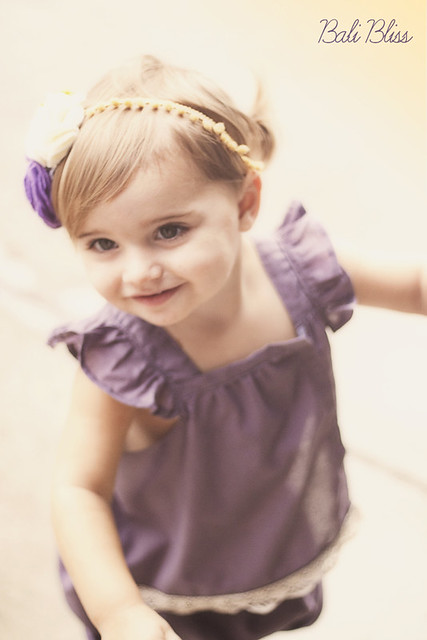
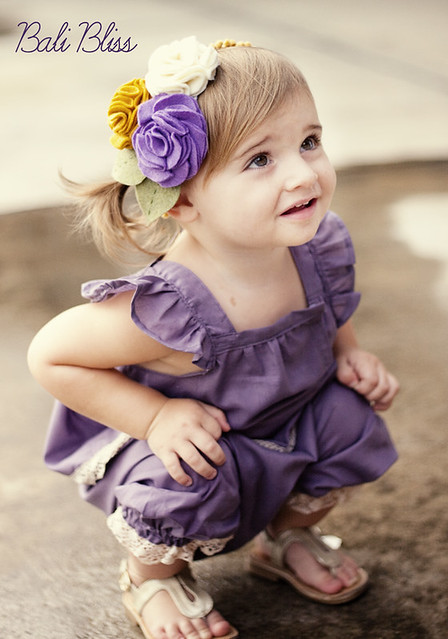
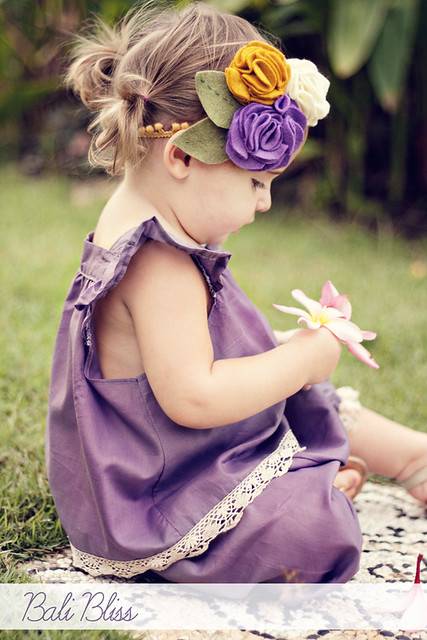
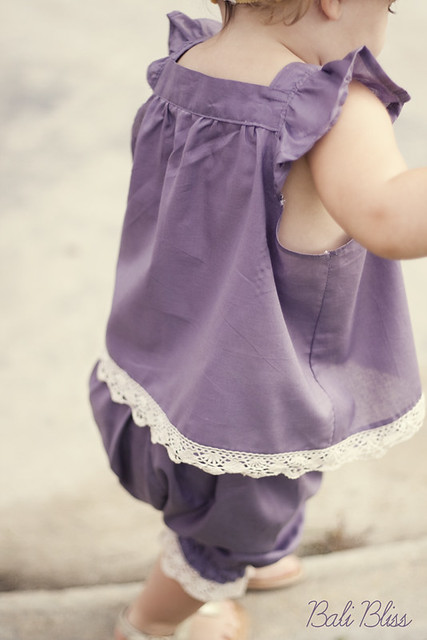
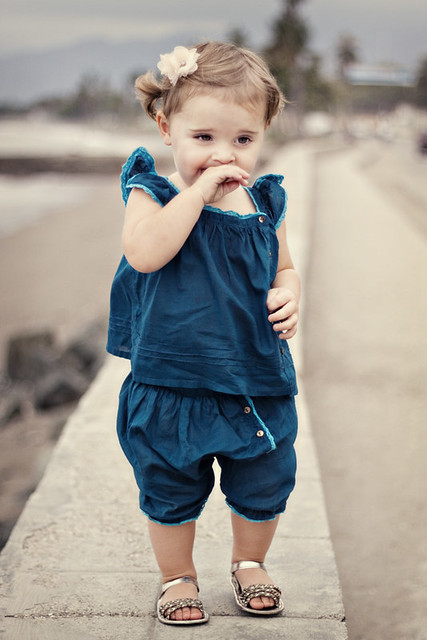
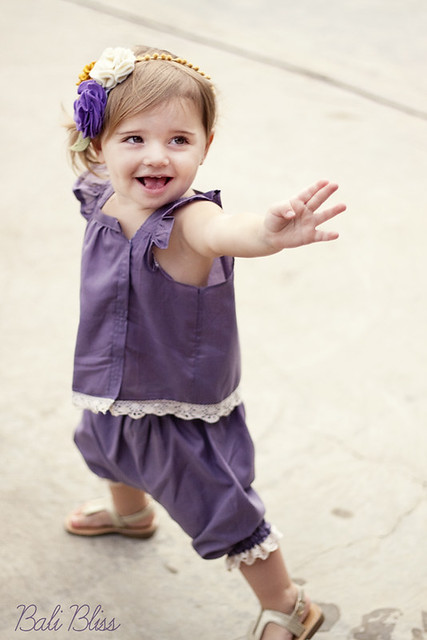
When Evie wears it she looks blissfully free and cool, so I named it the Bali Bliss outfit.
The pattern can be found and printed out HERE on my Scribd account. It is for an 18 month old and will need to be enlarged using a copy shop if you would like it in a larger size (someday I'll get some pattern software ha!) I used a soft organic cotton in light purple for this particular one
But she also has the outfit in bright blue, black and white ha! Told you I love it :)
This particular one has the top velcrod together while the others have buttons down the front. The back is safe :)
I have found that with an 18 month old, the trickiness of getting buttons off is probably better ha!
So, come on over to Grosgrain and lets make this outfit!
Lets make this outfit!
PS while you are over there grab my button and share the free pattern month love!
PS while you are over there grab my button and share the free pattern month love!
What you will need:
1.5 meters fabric (cotton works best)
Very thin Elastic or elastic thread
Embellishment for pant bottom and sleeves if you like
Wide elastic for pant top
Buttons or velcro
Sewing Machine
Scissors
Straight pins
Iron and ironing board
Pattern pieces all cut out
Alright lets get sewing. What I have found makes this outfit go much more smoothly and quickly is to iron the many "bands" that go along with it, you can wait and do this as you go if you prefer. You should have one long back band and two shoulder bands. You should then cut an extra back band that you can trim to fit the two front pieces later. All these bands once cut need to have their raw edges ironed over, then ironed again in half lengthwise to create a sort of bias tape like band:

I then iron my two pant legs and pant center so the seams are nice and crisp. Once you have ironed to your hearts content we can start sewing! Grab your two shirt front pieces. You are going to want to hem the armpit portions and the inside raw edges.

At this point I attached my velcro. You do NOT have to do your velcro or buttons right now. They can wait until last if you prefer.


Repeat this process with the other side. Which should be a TINY little band.

Now we are going to repeat this process on the back piece


Take your shoulder pieces and and stitch the ironed over edge so that you have a finished band. Then:

This should all be on the wrong side of the shirt....

Repeat this process on the back, again on the wrong side.

Grab your two shoulder ruffle pieces


All you need to do now is hem the bottom! If you would like to add embellishment on the shoulders or bottom of the shirt obviously feel free, it looks super cute!
Now on to the pants. I used some pictures for this part of the tutorial from the black pair and white pair of shorts I made, so please excuse the color change ;) If you haven't already cut your pant legs, then hem.

I totally forgot to take a picture of this part but it is so easy. If you have elastic thread shirr one line right above your hem. This will gather up the bottom. If you do not have elastic thread, take a very thin elastic and stretch it from one side of the pant leg all the way across to the other. You don't want to over stretch it just enough that it will bounce back after sewing. Attach the end of the elastic to the end of the wrong side of the pant leg just above the hem by doing a back and forth stitch. Now attach the thin elastic by puling it as you sew, stretching it just so. Then back and forth at the end. The black pants were the first I made and I made the mistake of adding the thin elastic after sewing up the side seam. It is much better to do it now, believe me :)


Now we are going finish the top! Gather all the way around the top of the pants.

Now we are going to attach the front and back bands. When ironing the front band you want the long raw edges and short raw edges so that the entire thing is finished. First grab your "back" band though:


(ignore the drawstring)

You are all done!!!

Unless you want to make a fun matching headband ha! Hope you hope over to No Mans Land to see some other fun patterns! Thanks so much Kathleen I am honored beyond belief!


I LOVE this outfit! So beautiful, and your daughter is just gorgeous. Thanks for the free pattern!!!
ReplyDeleteRachel @ Maybe Matilda
Oh, I'm so making this one! I LOVE it!
ReplyDeleteQuick question about your patterns: why do you load every page as a separate file? Why not just have one larger pdf with all 14 pages? Or even two or three pdfs with 3-4 pages each.
ReplyDeleteI'm really not complaining - you're providing a wonderful service here, with all these great free patterns. But having just downloaded all 14 pages separate, it is a bit frustrating to make sure I got every page, instead of the same one twice (which I did, more than once!)
I'm sure there's a great reason you upload things this way. I just wondered if you'd ever considered doing it differently.
So cute and comfy looking! I am making one for sure! And the pictures are just as gorgeous as ever, I will never understand how you get her to pose so well, I myself have a runner...
ReplyDeleteSo cute and comfy looking, I love it!! Great favorite :). Your pictures are always so gorgeous too, makes me want to go to Bali...like today
ReplyDeleteadorable !! really like the trims you used on the outfit & headband :)
ReplyDeleteOh my goodness, so cute! I didn't realize you're near Bali. My husband and I will be spending 2 weeks there coming up later this month. I can't WAIT to fabric shop, and this is so inspiring!
ReplyDeleteThis is such a great look. I love the Bali pants. They look so roomy!
ReplyDeletehttp://mommacdesigns.blogspot.com/
Just found your blog via grosgrain, absolutely love it! I'm now a new follower. Can't wait to see what you come up with next!
ReplyDeleteoh i'm going to whip some up for my girls right now love it
ReplyDeleteThey are so cute!
ReplyDeleteI love the idea of adding extra nappy room in the pants, and the ruffles when on just make they extra adorable.
http://dressmakerelves.blogspot.com/
So cute! Now I just need to get up the nerve to try sewing clothes again! I haven't made any clothes since I was 15 and cut a patterned fabric upside down. Needless to say I chickened out after that! Love your pattern, thanks for sharing.
ReplyDeletehttp://loveaffairwithmybrother.blogspot.com
IF only I had a granddaughter to sew this for! It is super cute!
ReplyDeleteSo cool to see this one on U-Create :) Great job Kelly!
ReplyDeleteThis is so cute, I will be making one or two or...
ReplyDeleteThis outfit is adorable. If you ever make a tutorial for the headband please contact me I would love to add it to my free bow tutorial blog. http://fabricbowsandmore.blogspot.com/
ReplyDeleteCould you PLEASE make a tutorial for the headband?? Yours are the cutest I have seen:)
ReplyDeleteOh yes. I'm loving the headband too! Will you please make a tutorial? Pretty please?
ReplyDeleteHas anyone made this? I am having a hard time lining up the pattern. Do the four pieces that are 3a, 3b, 3c and 3d - all fit together to create the back piece??? Help please :)
ReplyDeleteYour tutorials are gorgeous, thanks so much for sharing them! I don't have a Serger, just a regular sewing machine. How big should I make the seams?
ReplyDeleteHi, Love the pattern. Is there anyway to download without uploading something of your own? or paying? This screen keeps coming up when I hit download or print. Any suggestions?
ReplyDeleteI love this pattern. Is it still available? I can't open it.
ReplyDeleteAnnalena3000@yahoo.de
I love this pattern. Is it still available? I can't open it.
ReplyDeleteAnnalena3000@yahoo.de
have you gotten a response yet? I'd love to get this pattern too.
DeleteThe pattern is showing that it is no longer available and I'm dying to make this for my new niece who will be here soon. I know she wont fit it for awhile but I'd like to get a head start!!!
ReplyDelete