Cheers!
Kelly
Hi everyone! My name is Michelle and I blog over at DohDums, a fairly new blog where I like to talk about all my favourite things – sewing, food and the “little dude” who will be joining my husband and I in November. Kelly was kind enough to let me put together a little tutorial for you while she is away on vacation with her family. Hope you are having a blast, Kelly!
Sewing is a huge passion of mine and one of my favourite things to sew are pillows – they are so quick and easy and they can totally transform a room.
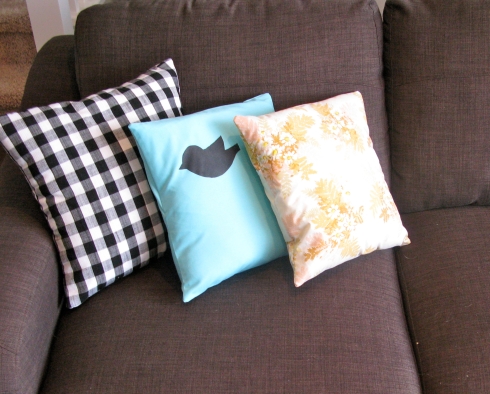

I am going to show you how to make a pillow case from a pillow case. Confused? It’s OK, all will make sense shortly. We are going to take a pillow case for a bed pillow and turn it into a decorative envelope pillow case for your sofa (or bed, or office, or chair or.. etc).
This is seriously the easiest thing to do and so so satisfying, especially for novice sewers. You can whip these up in no time. In-laws coming over and you need to spruce up the place? Selling your home and you are afraid your old tired and drab pillows will get you below asking price? Angry at your husband and feel like taking it out on fabric? Got 10 minutes (or less) to spare? Then read on, my friend.
I really hated the pillows that came with our lovely gray couch. They are so drab and boring looking – right?
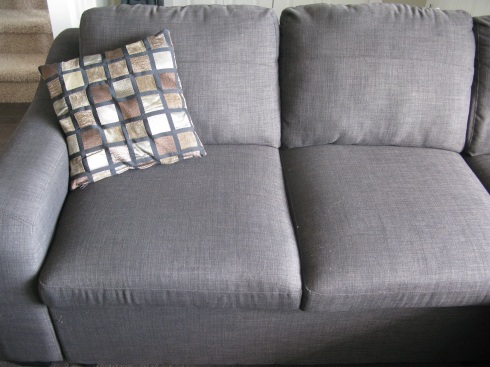
I found super cute pillow cases at the thrift store (for just $0.99!) that I had to buy – so cute! I thought they would make great pillows for our front room and thought that I could probably use the finished edge of the pillow case for the “envelope” back of the pillows – I was right! And a bonus – do you hate hand sewing? Closing up open edges when you turn something the right way around? Well you don’t have to do that with this type of pillow! You will even be able to remove these pillow cases and wash them if you need to. Follow along as I show you the way…I really hated the pillows that came with our lovely gray couch. They are so drab and boring looking – right?

Supplies for 2 pillows
- 2 pillow forms (I used the ones that came with my couch, but you can buy these at any craft store, fabric store or even IKEA)
- 2 pillow cases (I used two that I found at the thrift store – granny chic not your style? Or can’t find any pillow cases that you like? Feel free to use regular quilting cotton. Depending on how big your pillow forms are, you’ll need just under 1 yard for 2 pillows)
- Coordinating thread
- Straight Pins
- Iron
Directions for using a pillow case (see below for regular quilting cotton)
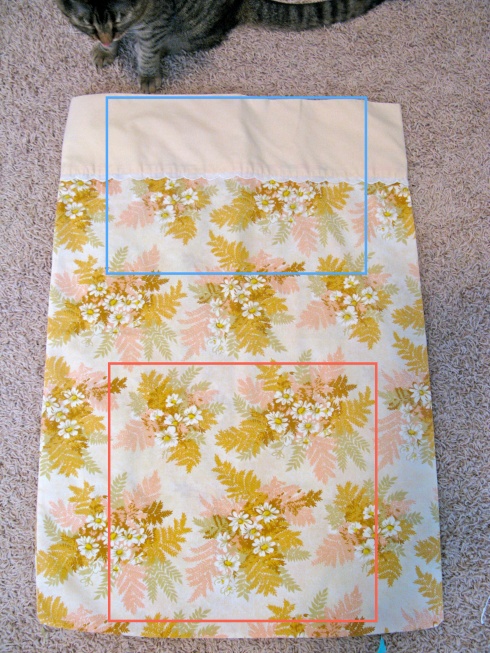
Step two: Let’s work on one pillow at a time. Take one front piece and place it right side up. Take one of your back pieces and place it with the raw edges matching the top of the front of the pillow case, right side facing down. Then take your second back piece and place it with the raw edges matching the bottom of the pillow case, right side facing down. Pin in place.
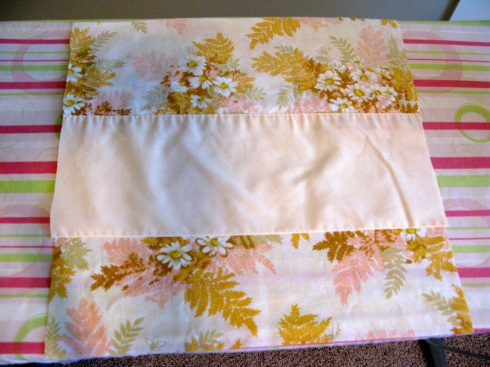
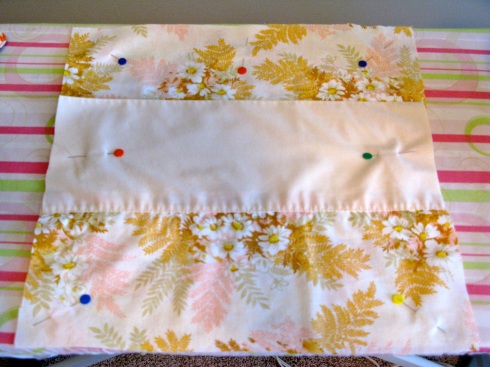
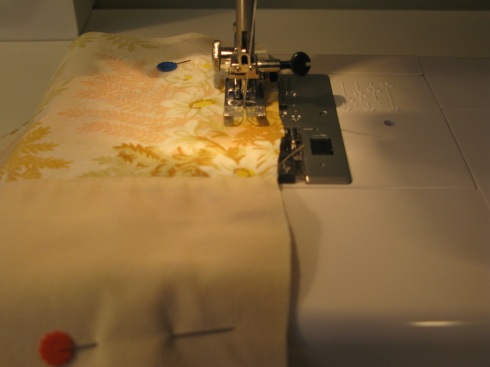
Step three: Sew all the way around your pillow starting at one of the sides. Use 1/4″ seam allowance. Back stitch at the beginning and end.
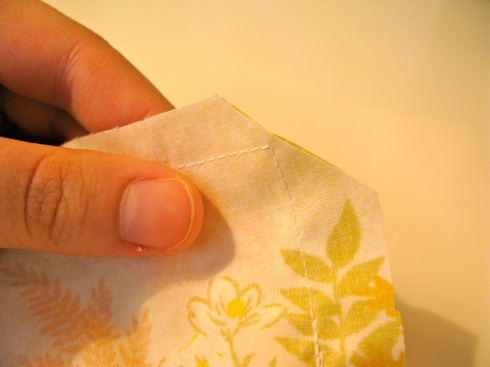
Step four: Trim your corners.
Step five: Turn right side out and press. Stuff your pillow by putting it through the back “envelope” opening.
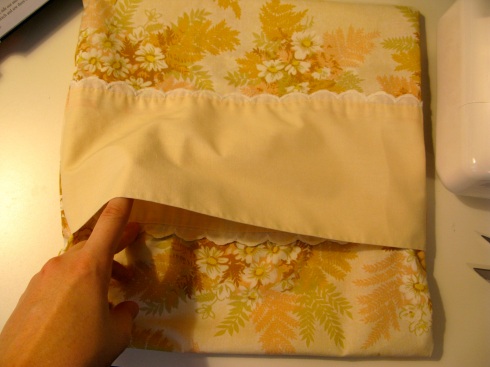
Repeat with the second pillow. And voila pretty pillows for your couch! See some embellishing ideas as well as some troubleshooting tips at the end of the post.
Directions for regular quilting cotton:
Step one: Your pillow form should say how big it is on it, or you can use a measuring tape and measure. Most are around 14″x14″ or 16″x16″. Take those measurements and add 1″ and cut out 2 squares to that measurement (my pillow forms were 14″x14″ so I cut two squares 15″x15″). Next you’ll cut out the back pieces. You’ll need 4 pieces measuring the width of the front of your pillow (15″ in my case) by 10″ or 11″ tall. The bigger you make this part, the more overlap you will have between the two back pieces.Step two: Hemming the back pieces. On one of your back pieces iron 1/4 over on one of the longer sides, then iron over again about 1″. Repeat with the other back pieces. Note – you can pin this if you want to, but I find it faster just to iron it really well and sew away.
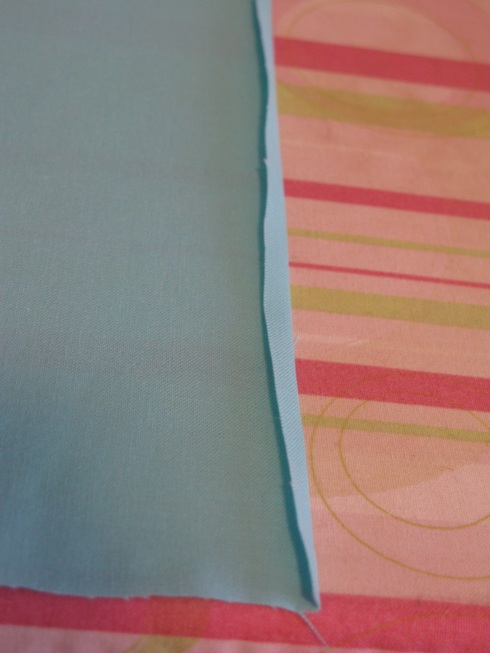
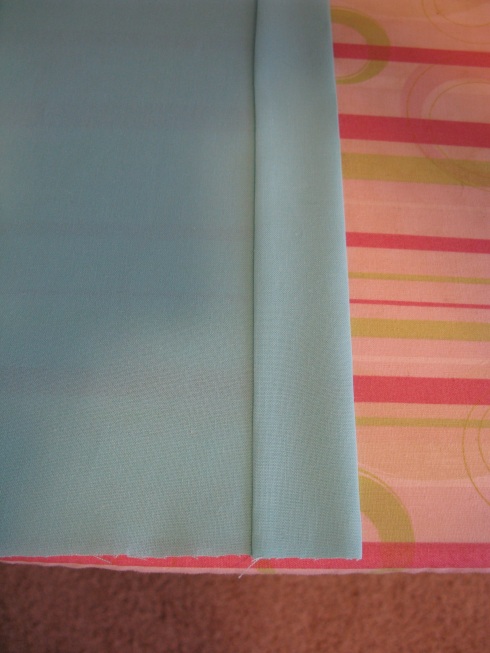
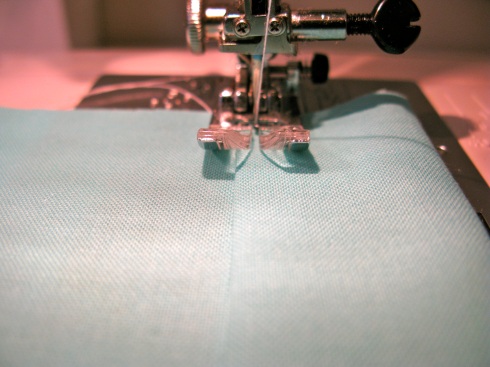
Step three: Sew down the hem – you want to make sure you are sewing the edge that has the 1/4″ turned under. See photo below. Repeat with remaining back pieces.

Follow from Step Two above.
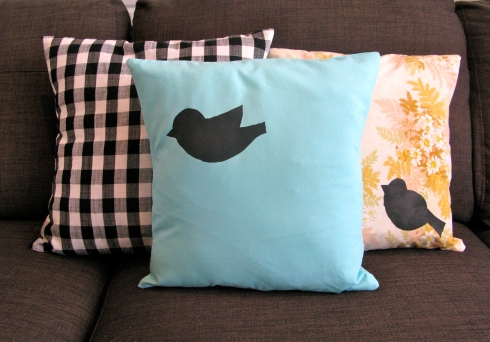
You can embellish these with pretty fabric flowers, ribbon, buttons, ruffles or fabric paint (see my tutorial on freezer paper stenciling here) or just leave them as is. If you want to embellish your pillows, make sure you think about that before you start sewing as you may have to embellish before you put everything together.
Troubleshooting
Problem: My pillow case is too big for my pillow form.Solution: Easy fix – take your pillow form out of the pillow case, turn the pillow case inside out and stitch around the pillow one more time inside the stitches that you made before. Before you trim off the excess turn the pillow case right side out and make sure that it fits better. If it’s still a little big then do this step again until you have a proper fitting case.
Problem: My pillow case is too small for my pillow form.
Solution: Well this one is a little trickier to fix. You have some options, though: 1. Live with the fact that your pillow case is a little small and therefore you have a bunchy looking pillow, 2. Buy a smaller pillow form or 3. Make your own pillow form. How do you make your own pillow form? Well, take two squares of a light coloured cotton, sew all the way around three sides and partway on the fourth. Turn right side out and fill the form up with poly-fill, then just stitch the opening closed. I do this on my machine and I don’t worry about tucking the raw edges in or anything like that because I don’t care if the edges don’t look finished – after all it’s going in your fancy new pillow case, now isn’t it?
Problem: I made the pillows and realize that I want to embellish them. What can I do after the pillow is already made?
Solution: I would say the two easiest things to do with a finished pillow would be pin on flowers, hand sewn buttons or a freezer paper stencil (which is somewhat easier to do before you make the pillow but easy enough to do after the fact – just make sure you follow the instructions I linked to above and make sure you put some cardboard between the front and back of the pillow.
Problem: I started making pillows and now I can’t stop!
Solution: Join the club! I say there is no such thing as too many pillows
Let me know if you have any questions or if something isn’t clear. Happy pillow-making!

Hope your vacation is going well and you are getting time to relax, Kelly! Thanks again for letting me contribute a guest post.
ReplyDeleteTo everyone else - I'll be lurking around the comments to answer any questions you may have :)
Michelle from DohDums
I love this idea! Now to just find cute pillow cases to cover the pillows that came with my couches. They're not too bad, but totally the wrong color for my living room!
ReplyDeleteoh, I love this! and the little birds you added to yours are awesome!
ReplyDelete