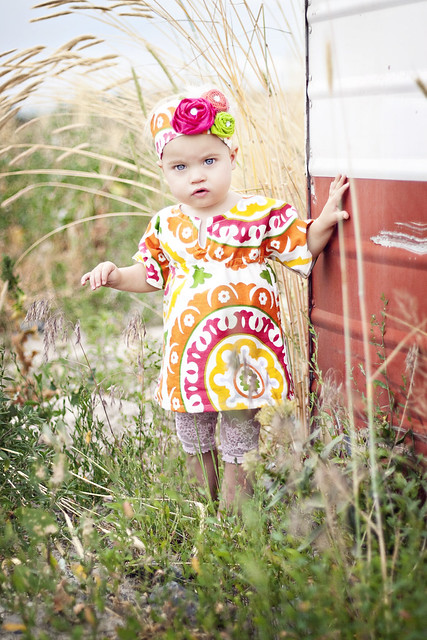
I would lay down at night and work through how to make it and make it as simple as possible. I wanted it to be reversible and that took some serious thinking.
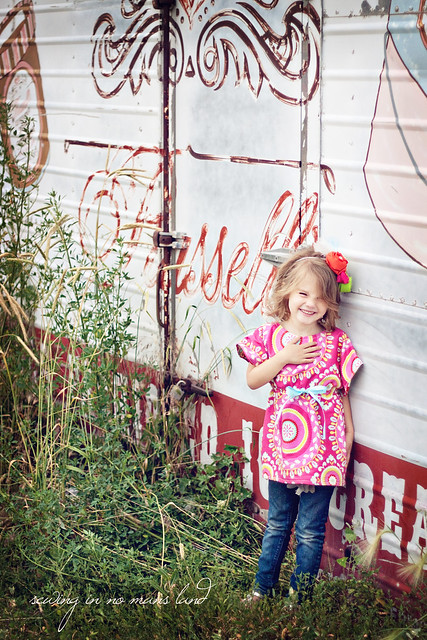
By the time I got my hands on a borrowed sewing machine I had it all worked out. I wanted to make them for Ruby and Lola our friends little girls who I have bluntly informed Sawyer and Finn they will be marrying (they also have an adroable little boy for Evie!).

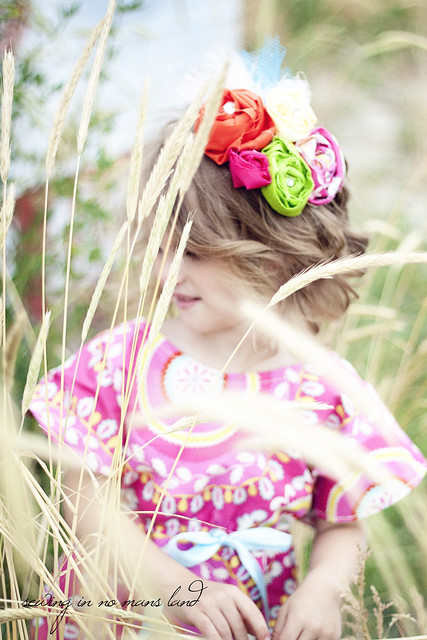
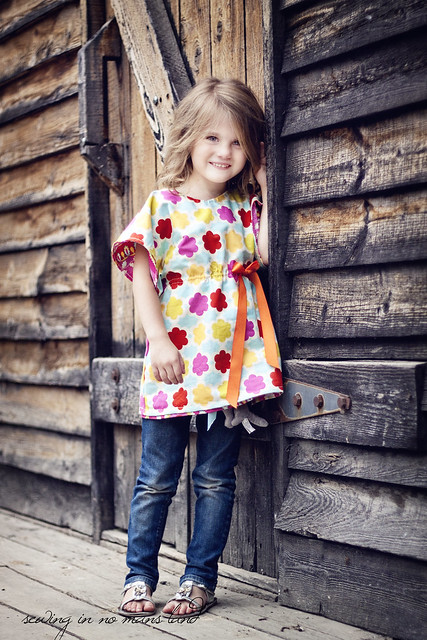
We have been staying with thtem for the past two weeks and just absolutely adore them. This dress is made in 12 simple steps and needs no pattern! You can switch up the length and wear it as a tunic like Ruby:
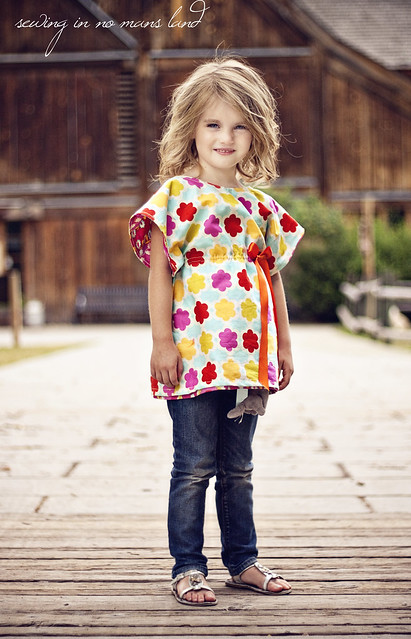
Or lengthen it and make the back the front for a tunic dress like Lola:
I was so excited to do a photoshoot in front of this "abandoned ice cream trailer" that just showed up magically a few days ago right down the street.

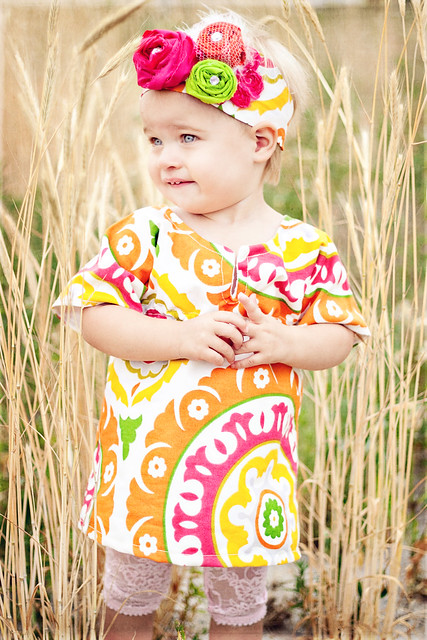
It was kind of photographicllly frustrating though because I know a better photographer could do something amazing with it, I just didn't really know how to do it myself. Time for more classes! We had a blast making their over the top headbands.
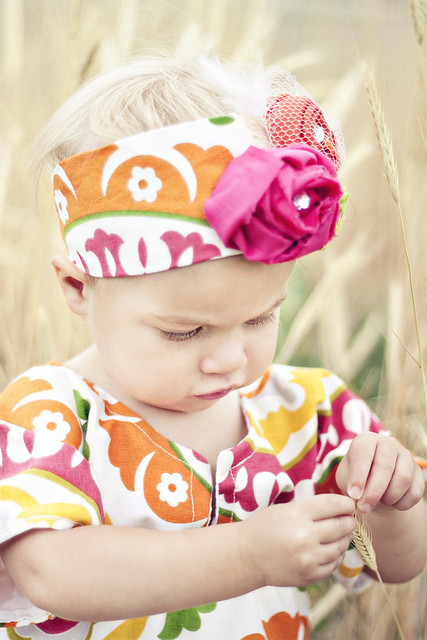
Once we got to the farm we were taking the kiddos to that day they came right off ha!
Anyway, if you would like to make the tunic simply click below and follow the simple steps.
If nothing else hop on over to I Candy Handmade and have a feast for your eyes!!
What you will need:
1/2 yard of two fun cordinating fabrics
Sewing Machine
Measuring tape
1 button
Length of elastic
Scissors
Safety pin
ribbon (for embellishment)
First you need to meassure your litte cutie. Measure from her arm pit down to where ever you would like your dress to hit. Make sure to add some for hemming. Lay your your two half yards of fabric on top of each other. They should be folded in the manner they came off the bolt. 
Using your measurement we are going to cut at an angle and then straight across

Now we are giong to cut the neckline

Now you can decide if you want to round the neck or if you want a tunic type neck.


Noce you are done fold the fabric so right sides are together.


If you are going to have the slit in the back you should slide a loop of elastic in between the two layers so you can have a button enclosure


When I was done I stitched a tied bow on either side of the sundress. I was going for the look that the ribbon tied through the waist :)

Now throw it on and head out and look for some duckies!

Or maybe have a sucker

Hope you enjoy making your own reversible sumer dress. Big hugs to Jen and Autie who were kind enough to invite me to participate in this adorable series!


That is very cute. How feasible is that to make for an adult?
ReplyDeleteWhere can I get this fabric?
ReplyDeleteThat is adorable, and so simple! I love it! That's my kind of sewing project. It looks fantastic but it's feasible that I could actually get this done during nap time! :) Thanks!
ReplyDeleteI'm with Matzig. Love this fabric and would love a source if you have it! I will definitely be making this tunic. Thanks so much!
ReplyDeleteSuper cute! You make such cute outfits. Thanks so much for the tutorials.
ReplyDeleteI love the tunic! so cute. I'm confused on one thing. How do you decide on the width under the arms. I imagine that you didn't use the same width for both sized (and cute) little girls. I imagined you measured underarms, around, but did you add anything to the measurement?
ReplyDeleteI just found the name of the tunic fabric on Me Sew Crazy: it's Dena Designs, for Free Spirit, from the Kumari Garden collection. I just love it!
ReplyDeleteI am a friend of those cute little girls mom! She is the one who showed me your wonderful blog. They are such cuties, and the tunics are adorable. I bet she loves those pictures, and, of course, the clothes. I also love the fabric you used!
ReplyDeleteThis is really cute Kelly!! and so versatile! I think something like this is going to have to be on the options list for Christmas gifts for my nieces this year :)
ReplyDeletegorgeous, as always. you do such a great job with the creating and the photography!
ReplyDeleteI've been thinking about you and your housing situation, hoping that y'all figure something out soon. and wishing I lived in the same town as you. :)
love
k
Those are beyond adorable. I can't sew, not one stitch, but I sure feel ambitious after seeing such beautiful finished products.
ReplyDeleteDang, those are some pretty models as well.
I've just made 2 for my girls! And third girl is waiting for hers! We all are so in love with the tunic (and tutorial)!
ReplyDeleteI've been seeing this all over Pinterest. I've been way behind on my blog reading and what a neat surprise to see you are the one behind it. This is adorable!
ReplyDeleteThis is adorable!!
ReplyDeleteThe tunic is awesome and the bokeh on those pictures is INCREDIBLE. I bet you shot those with your 85mm 1.2???
ReplyDeleteAwesome! And so simple! Thanks!
ReplyDeleteNew follower. Oh, this is so cute!
ReplyDeleteI really want to make this but I'm afraid I'm missing something - what do you do with the hem? If you stitch the two pieces together all they way around you won't be able to turn it right side out. Did you do the hem the same way you did the sleeves? Thanks!
ReplyDeleteWhat a cutie and Great Idea.. love it
ReplyDeleteI was hoping she answered some questions.. She doesnt give many details on any of the patterns.. like the size of the bias tape, on the butterfly dress, very little details like the size of the rectangles, but her ideas are sweet as pie
ReplyDeleteDo you sell this pattern on Etsy?! I would love to buy it so that I can make it in all sizes
ReplyDeleteVery, very pretty and lovely photos. Can't get over that ice-cream trailer. What a magical backdrop!
ReplyDelete