Alrighty day one! I am PUMPED! Especially starting out with this tutorial. I have been wanting to share how to make Evie's green pants for a while.
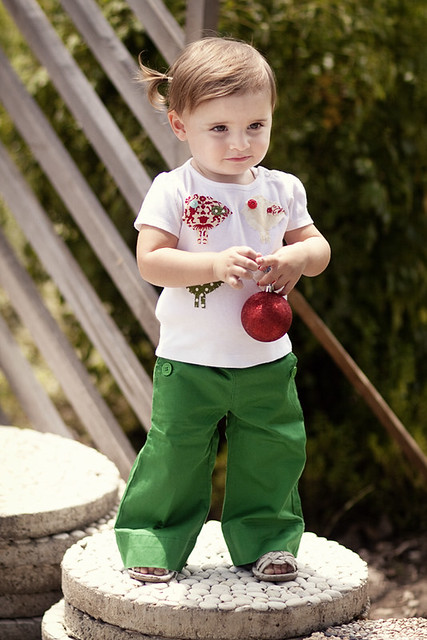
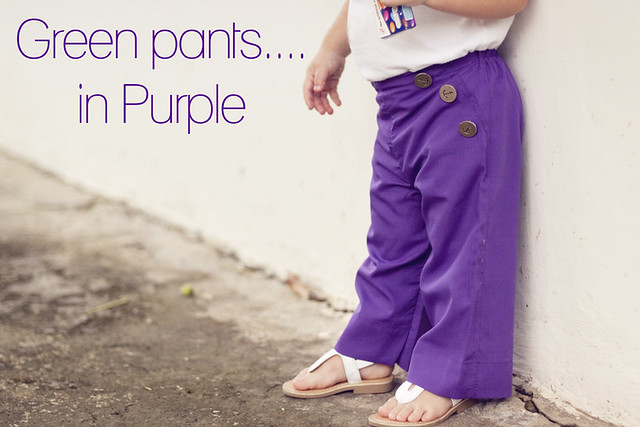
The problem is that I cannot find the correct material ANYWHERE. To make a good looking children's pair of pants there are a few crucial steps (that I will share with you today) the first being the right material. If you make pants with a flimsy cotton they are not going to look nice. They are going to billow and wrinkle and not hold shape. You need a thicker cotton like Poplin or Khaki that is stiff but still soft and washable. While the fabric shop here has enough polyester to fill your every odd desire it has nothing like this, and keeping to my own rule of not ordering fabric I have been a bit stuck. Thankfully I received a package last week from my Mom and sister. It has some sweet fabric in it and luckily it had a thicker cotton. Now it isn't really as thick as it needs to be and you can see in the pictures it doesn't lay quite as nice BUT it was a far cry closer then anything else I had (so thank you Mom!). So today I will be showing you how to make the green pants... in purple!
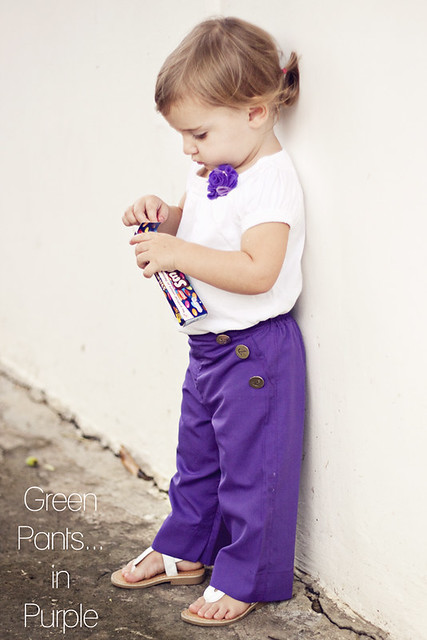
Now for my green pants I did take the extra step of lining them with a super light thin white cotton and I did make actual pockets, but for this tutorial to be more useful to more people I took those steps out :) Again I would stress that to make these just like the green pair use stiffer fabric. Now, even if you don't plan on making these pants I would totally suggest reading through the tutorial because I share some tricks on how to make your pants look less home made :)
Oh and by the way there is no way I could have done this photo shoot without the help of our "sponsor"
Even when I thought we had lost a few to the grass, Evie proved me wrong
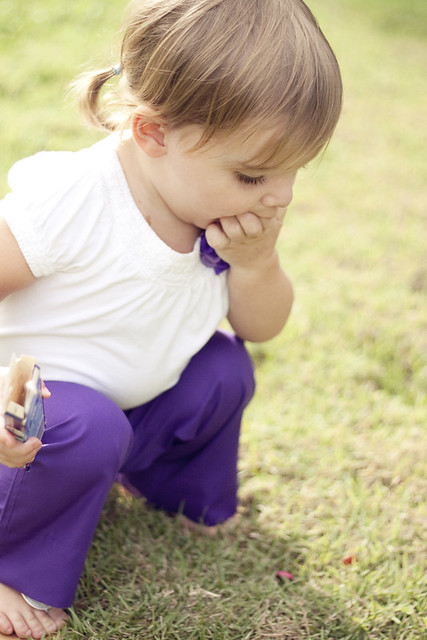
Thank heavens for candy ha! Hope you read the rest!
Before we begin you should probably know what you need:


The problem is that I cannot find the correct material ANYWHERE. To make a good looking children's pair of pants there are a few crucial steps (that I will share with you today) the first being the right material. If you make pants with a flimsy cotton they are not going to look nice. They are going to billow and wrinkle and not hold shape. You need a thicker cotton like Poplin or Khaki that is stiff but still soft and washable. While the fabric shop here has enough polyester to fill your every odd desire it has nothing like this, and keeping to my own rule of not ordering fabric I have been a bit stuck. Thankfully I received a package last week from my Mom and sister. It has some sweet fabric in it and luckily it had a thicker cotton. Now it isn't really as thick as it needs to be and you can see in the pictures it doesn't lay quite as nice BUT it was a far cry closer then anything else I had (so thank you Mom!). So today I will be showing you how to make the green pants... in purple!

Now for my green pants I did take the extra step of lining them with a super light thin white cotton and I did make actual pockets, but for this tutorial to be more useful to more people I took those steps out :) Again I would stress that to make these just like the green pair use stiffer fabric. Now, even if you don't plan on making these pants I would totally suggest reading through the tutorial because I share some tricks on how to make your pants look less home made :)

Oh and by the way there is no way I could have done this photo shoot without the help of our "sponsor"

Even when I thought we had lost a few to the grass, Evie proved me wrong

Thank heavens for candy ha! Hope you read the rest!
Before we begin you should probably know what you need:
1 yard of sturdy cotton fabric
matching thread
scissors
small piece of wide elastic
sewing machine
hand stitching needle
Hot iron/ board
Now a few things to know before you start cutting. The thing that makes these pants look nice is the chunky hems both on the bottom of the legs and on the waistband. Make sure make sure make sure when you are cutting to add a good extra chunk at the top and the bottom for these. I did not on the top but there was a reason, I am all out of wide elastic and if you put thin elastic in a wide hem it looks awful. To get the best results us a wide hem at the top filled with a wide elastic :) Alright lets get going.
Take a pair of your cuties pants. Preferably a soft cotton pair not a denim pair. One of the BIG mistakes I see in the blogging world when making pants is using only on piece for all four pant leg pieces. This is just wrong, easy, but wrong. The front of your pants does not look like the back so why would you cut them the same? Using a more malleable pair of pants for your pattern will help you fold and mold the pants so you are tracing the true front and back pieces. Just real quick the main difference is the pant legs in the front have a much steeper rise then those in the back (I share pictures later) but keep that in mind while cutting.
Once you have cut out your 2 back pieces lay them to the side and re-fold your example pants so you can cut out the front pieces
It really is important that you make the pant pieces the same length. While you can trim them later it is always nice to just get it right the first time :) Once done take your two front pieces and lay them right side up
When you are done you should have something similar to this:
Now the pants come together like most other pants with a few little extra steps to give them a bit of omph.
Match up one front pant leg with one back pant leg, laying them right sides together and lining up their outside edge. Then sew up the outside edge
Topstitching this on the right side will keep the fabric laying nice and straight and give it just that much more sturdiness. Now is a good time to hem the bottom of the pants. Head to the iron and lay the pant legs so that wrong side is facing you.
Now with right sides facing each other sew up the center seam. Again I flipped these right side out and topstitched them to give them the more professional look.
Now we are going to sew the "seat" of the pants because I don't like that other word for it ha! Yup, I am a lame mommy. :)
Okay so this is a sort of but not really tricky part. I explain in the photos but I am going to reexplain really quick. First you are going to ONLY sew down the part of the top hem that is in back. Start at one side seam and sew to the other. This way you have an opening through which you feed your elastic.
I sewed three buttons on each side on a slant. My first button is right up on the waistband and then gradually goes diagonally until the 3 button is right by the side seam. If you did pockets you will need to be careful because the button hole and button will need to go through all the layers. So there you have it! I promise that if you take the time to do the few extra steps your pants are going to look a lot nicer!
Even if they will just have Smartie juice drooled on them it's worth it right :)


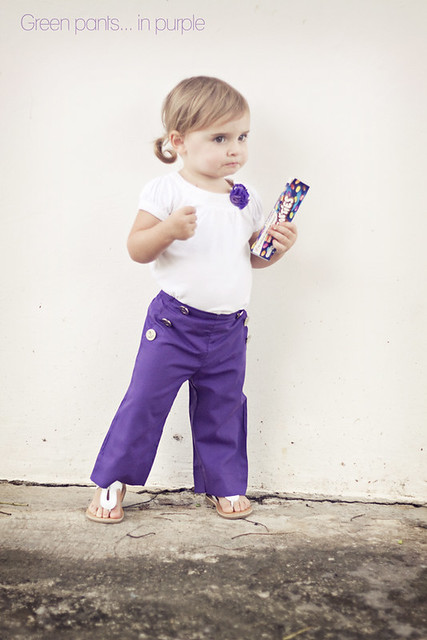


You are amazing. I love how adorable Evie looks in these pants ... and the shirt from the previous tutorial. Thanks for another great design.
ReplyDeleteThank you very very much for this extremly detailed tutorial. These pants are extremly cute and I was looking for something like that in the past few days.. You read my thoughts! ;)
ReplyDeleteThe only thing I don't understand (a question of language, not because it is not clear but I'm French..).. what does it mean: sew the elastic just under the hem.. I can't figure it out. Could you or somebody have it explained to me again?
The pictures are really cute.. with smartie juice as well! ;)
Hope this doesn't offend you but the first thing my eye went to is the smarties!!! I'm British, currently living near St Louis MO and have been in the States for 20 years. Smarties just immediately make me think of my childhood.
ReplyDeletePants are supercute by the way!!
Thank you for sharing your wisdom so generously. You are right, I always get so frustrated when I see people recommend making only one pattern piece for pants, it's just so wrong.
ReplyDeleteAnd I love the wide hem.
love these pants!!! I also love the flower detail on Evie's shirt, so cute!
ReplyDeleteI'm glad to see that an American knows what real Smarties are. Being a Canadian in the States was hard to get use, I always had to think twice when someone asked it the girls could have a smarties.
ReplyDeleteAnd I love the pants. I just need to get the courage up to try and make one.
Awesome pants! I linked to your tutorial on Craft Gossip Sewing:
ReplyDeletehttp://sewing.craftgossip.com/tutorial-good-looking-kid-sized-pants/2011/04/13/
--Anne
I think I just had a lightbulb moment..haha!! I have tried and tried to trace a pair of pants and they have NEVER turned out...and I think its bc i never trace the fron and the back separately...Thanks for teaching a newbie!!!
ReplyDeleteThank you for this! I just LOVE it!
ReplyDeleteWonderful, wonderful! Not only do you make me appreciate having great fabric stores within reach, but you have inspired me to tackle these for my one-year-old. Thanks for taking the time to share your great plan!
ReplyDeleteThank you for this tutorial! my daughter is around the same age as Evie so thanks to your blog they probably have some of the same clothes. haha thanks!!
ReplyDeleteawesome! To make pants like this upcycled from adult pants, you just line up with the bottom hem and outer seam and cut with the rise in back on each leg. Then open the pants legs up and put them on top of each other, right sides together, and cut the inner rise. I made two pairs of pants for my daughter using that method and otherwise very similar to yours last week. Although when I did the dress pants, I didn't want them to have a hem look in the front, so I only topstitched along the top and tadaa, self faced front.
ReplyDeleteAwesome tutorial, I'm definitely going to be linking up to it. I was thinking of doing a tutorial for the upcycled pants but I think now I'll just link up to yours and explain the differences if you're doing the upcycled method!
Ok I'm making these! Only...I think i am going to make them like a knee length shorts. It is getting REALLY hot here (like it was 90 yesterday) I dont think they babes will tolerate pants much longer...I LOVE them Kelly! Once again you totally inspire me! And...I might just have a TON of wide band elastic that I am putting in your pile right this minute!!
ReplyDeleteLove and Hugs, Jess
I will be making these for my dear Presley who just turned 2 :) One question, not regarding your tutorial at all, but her shoes... where did you find those?? I have that exact pair myself, but every picture you have on here, my eyes go to her shoes!
ReplyDeleteFABULOUS! And I love (love love love) the "Spring Line" idea. Fantastic, and not at all pretentious! Can't wait to see what else Evs will be wearing this season! :)
ReplyDeleteVery cute! I second the thicker fabric, if you use thin cotton they turn out like PJ pants.
ReplyDeleteGood Morning!
ReplyDeleteI wanted to let you know that I am linking to your tutorial in my boys dress up for Easter post (I think they'd be cute on boys!)
Here's the link: http://bisforboycreations.blogspot.com/2011/04/fabulous-finds-for-boys-all-dressed-up.html
Aaaaaah. I was wondering how to top stitch the outside seam...I have been sewing pants seat first then inside leg, then outside leg. This makes it easier. Thanks!
ReplyDeleteHi - I just found your blog on recommendation from my friend Megan from Edan Rose. I was supposed to move to Dili in the next month or two but will be staying in Darwin because I'm pregnant, due in September.
ReplyDeleteIf you need anything in particular, I can buy some fabric from spotlight here in Australia (not sure if you've ever been to Oz and to a spotlight store, but it's a big fabric / crafty place) and I would be happy to gift it to you! My husband travels to Dili once every week or two, he's usually fairly booked up but arrangements could be made for pick up / drop off or just leaving it at an office.
On a different topic, I would love to email you and pepper you with questions about life in Dili - my biggest concern is having two kids, one a newborn, and mitigating the risk of mosquito borne diseases...
Ok I know you posted this a little while ago but I finally found time to make pants and I just wanted to say THANK YOU THANK YOU THANK YOU for showing me how to make those fake pockets! I totally don't have the patience for real ones yet but I really love that look! This tutorial helped me soooooo much!
ReplyDeleteAwe first of all those tiny little sandals/shoes look so adorable on you cute daughters tiny feet, hehe...
ReplyDeleteand THANK You so muchhh..! for the tutorial...! you rock...!
I love the little baby slacks!! cute model too!!
ReplyDelete(((following)))
Just a quick note to tell you that I have made pants following your tutorial and it is absolutely perfect! My little girl loves them and they fit perfectly! You can see a picture of them here:
ReplyDeletehttp://gingkoblog.wordpress.com/2011/05/10/de-la-couture-en-veux-tu-en-voila/
(Well, it's in French but if you scroll to the bottom of the article, you'll see the pants.. they are red).
Thank you very much! Such a great help!