There are only a few hours left to vote over at Sew Much Ado for the knock off prizes... its not lookin' to good for my entries but the other ones are fantastic I don't feel all that bad :)
Alright so before we start sewing I want to answer a few questions posed in the comments. As for choice of fabric I would suggest a cotton. Poplin would be lovely. If you can find one with a touch of spandex for stretch that would work well (when I say a touch I really mean very little). I don't think this would work well with heavy fabrics. They way the dress is folded on each side would make sewing through the heavy fabric very hard and probably involve broken needles ha! I would die to see this dress in a stripe. (Bare in mind it is summer in my neck of the woods) a gorgeous yellow strip or turquoise... heaven! I think I am going to try and pick up some stripy fabric in Bali next week and if I am able to I will make sure to post the results. As for sizing. This pattern runs large. Sewing with 3/5 seam allowance will make this dress a large 6 or small 8. If you would like it smaller I would sew with a larger allowance and keep it standard through out. If you need it dramatically smaller or larger I would take the printed pattern pieces to a Kinkos and enlarge or shrink them. I have found that 20% seems to go up a size or down a size. If you would like a ten I would enlarge it 120% if you would like a 4 I would shrink it by 80%. It also is LONG. A nice chunky hem is what makes this dress hang so nicely. I would HIGHLY recommend ironing your hem as it has a bit of a curve to it.
As for downloading I re uploaded the patter pieces had mentioned they had problems with and was able to download them from 3 different computers. Media Fire is not the best hosting company. I have not been overly pleased with their service but it is super cheap a month and since I don't do advertising or charge for the patterns I need to keep it cheap.
Lets Start Sewing!!!
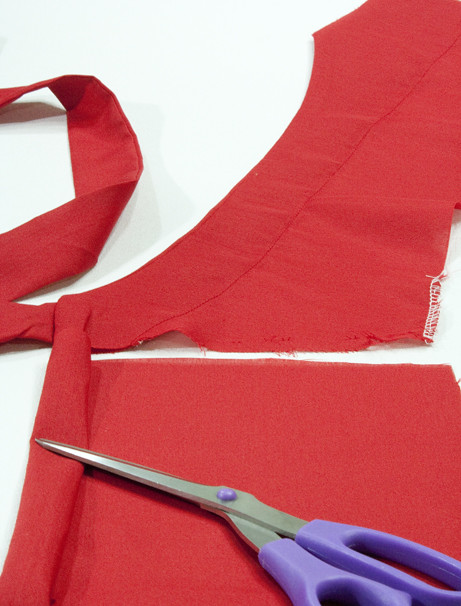
First you will need to make your LONG belt pieces. I did not make a pattern for these because it depends you your taste. Do you want a SUPER long belt that wraps around a bunch of times? Then do it! Do you want a thin one or a thick chunky one? All you HAVE to make sure is that one is shorter then the other as only one wraps all the way around your waist. All you need to do to make the belts is cut a LONG piece of fabric, double as wide as you would like the end result to be. Once you have cut it fold it in half lengthwise. Sew all the way along the raw edges. You only need to "finish" one end. All I do is once I get to the opposite end then I started from, with my needle down in the fabric I lift my foot, twist the belt and sew at a sharp angle back to the folded side. Turn it right side out and you are done!
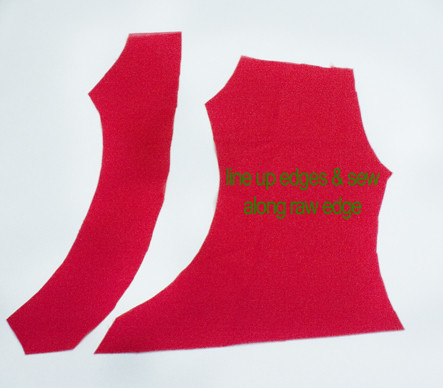
We are going to start out with pieces 11 and 10
pieces 11
Take your one of your piece 10's and lay it right sides together with piece 11.
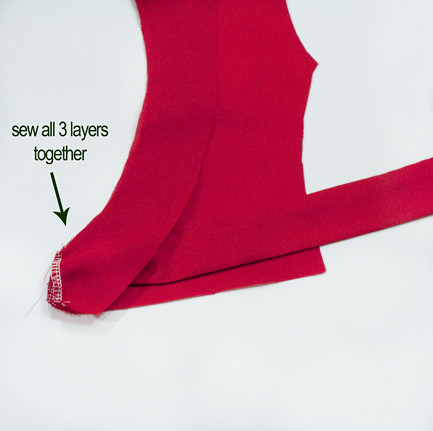
Now sew from the top down to the bottom of the arch. DO NOT sew down the 90% angle. When you have sewed down the arch, slide one of your belt pieces in between the two pieces gather the end of it slightly. There needs to be a space in between the belt and the bottom of the piece so that later when we attach this piece to the skirt the belt can swing freely.
Now sew through all 3 layers
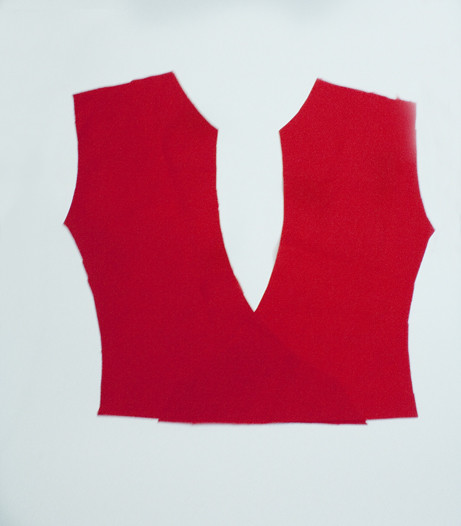
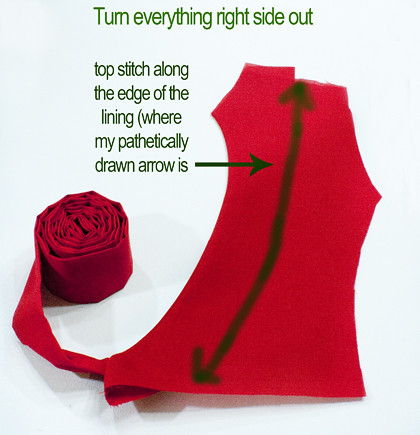
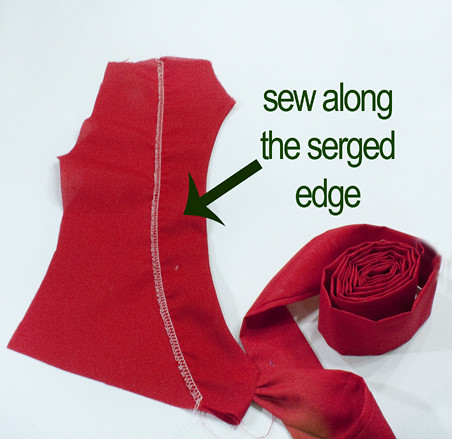
Now flip everything right side out and I highly suggest ironing it. Now instead of topstitch along the very edge of the piece you just made, flip it over and sew along the edge of piece 10
This is a better picture:
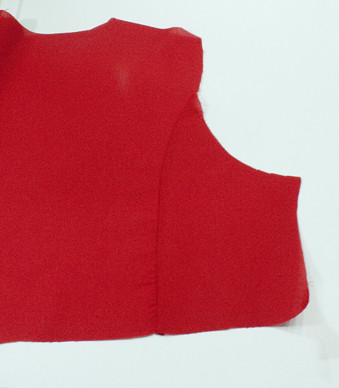
When you are done with this piece repeat the process on the second set of pattern pieces. Now we are going to work on the Back bodice portion with pieces 2 and pieces 4. This may seem awkward at first but these two pieces do fit together. As you sew do not worry about how the fabric is lying, just worry about lining up the raw edges. Ease stitch (gently work with the fabric, twisting and turning gently as you sew) the two pieces together.
Once you have sewn them together you can open them up and see how good it looks!
Now repeat the process on the other side.
Now we are going to make the back, dress bottom with Pieces 1 and Pieces 2
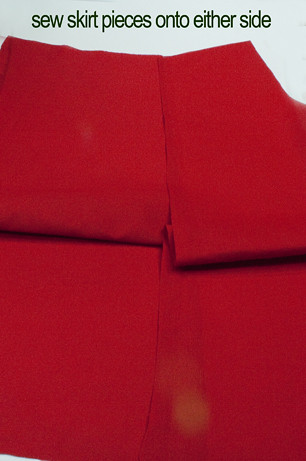
With piece 1 in the middle you are going to sew a "piece 2" onto either side.
To do this lay your piece one right side up, take one of the piece 2's and lay it right side down lining up the raw edges. Now sew along the raw edge thus connecting the two pieces. Now repeat the process on the other side. Once you are done iron the seams. Now we want to make sure that the seams on the skirt line up with the seams on the back bodice top.
If they do not line up, go back and sew a wider seam allowance until they do match up. Then you are going to connect the back bodice to the "skirt" you just made. With right sides together match the seams on the bottom of the bodice to the seams on the top of the skirt. Now pin across. Once you have everything lined up sew across the raw edge. When you are done you should have what looks like the back of a dress.
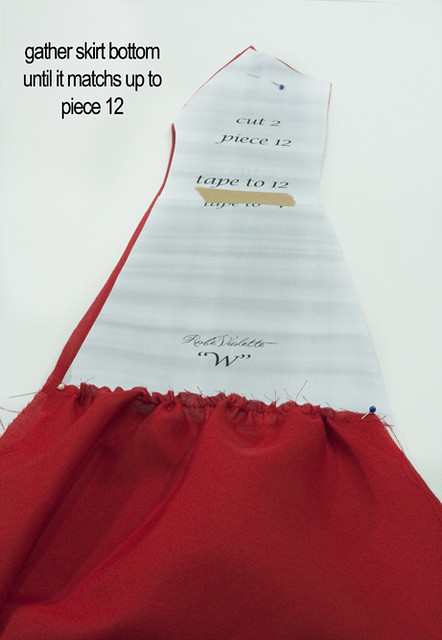
Now we are going to work on the front of the dress. Grab your pieces 12 and 14. At this point you can decide if you want to do pleats on the top of piece 12 or just do a gathering stitch and gather it up. Either way you decide to do it, the top of piece 14 needs to become the same size as the bottom of piece 12
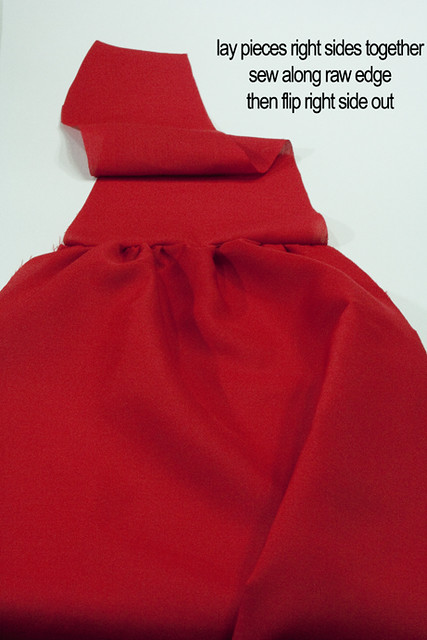
Once you have made them the right size we are going to connect them! Match the two pieces up so that rights sides are together with the top gathered part of piece 14 lining up with the bottom of piece 12. Now sew along the raw edge.
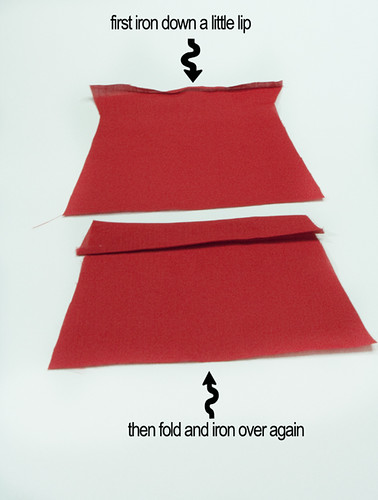
At this point we are going to attach the pockets. Find your piece 9's. Fold over a little lip on each pocket top and iron it down. Then fold it over again so that all the edges are flush.
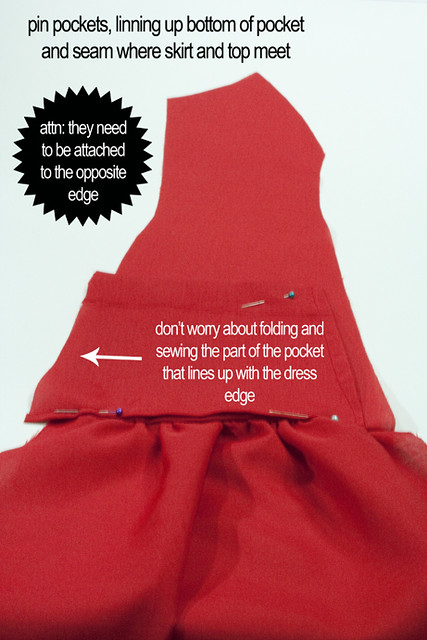
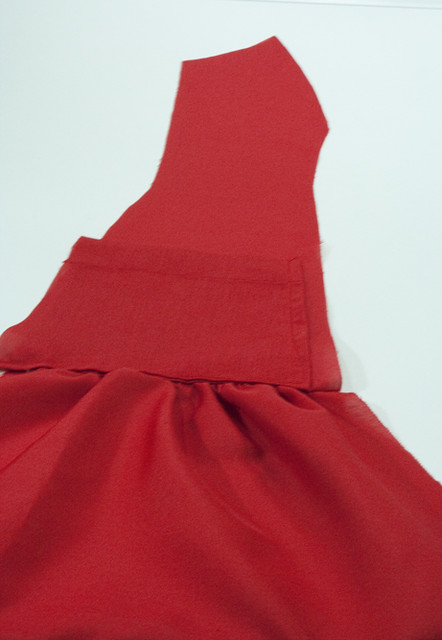
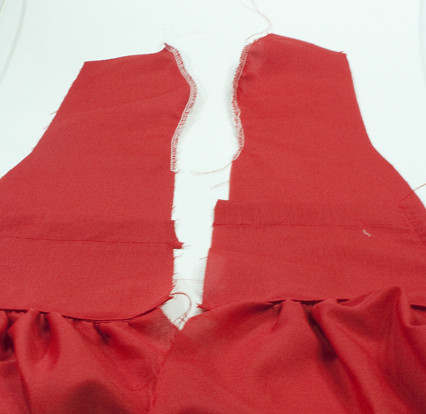
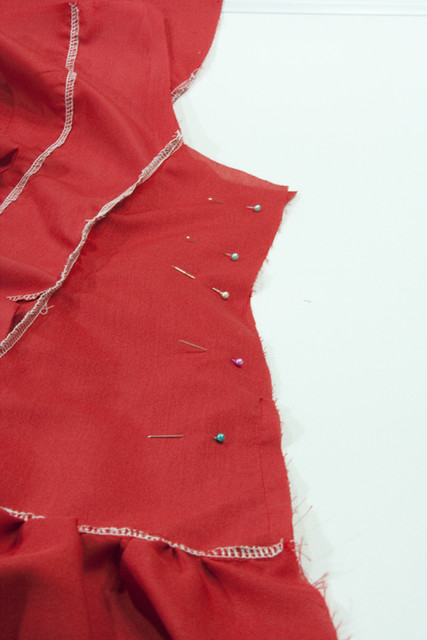
Now we are going to pin the pocket onto the piece we just made. Fold over and iron one edge of the pocket and the bottom. If you fold over and iron the right side on one you need to fold over and iron the left side on the other. You only need to fold one side because the other side will be sewn into the seam. Here is the catch. You REALLY need to be aware of where you are pinning it. I totally sewed them onto the wrong side first and had to unpick everything.. ughhhhhh. Essentially pin them on the opposite side as pictured in the FIRST picture. I corrected it in the picture with both finished pieces.
Sew along the bottom and up the one folded side.
When you are done repeat the process with your other pocket
If you have a serger I would suggest serging down the top edge (as shown in the picture above) as this is where your belt will feed through. If not a zig zag stitch or some fray check will do just fine. Lay these pieces to the side for a moment. Now grab one of the top front pieces you made and your piece 13. You will find that your piece 13 is about an inch wider then your top piece. This is going to be the fold where the wrap dress opens. So first we need to hem the side of piece 13. Make a hem large enough that when you are done the width of piece 13 and the bottom of your bodice top will be the same.
When you have hemmed your piece 13 connect the two pieces by laying them right sides together with the top of piece 13 lining up with the bottom of the bodice top. Sew along the raw edge. When you are done iron the seam flat and then repeat the process on your second set of pieces.
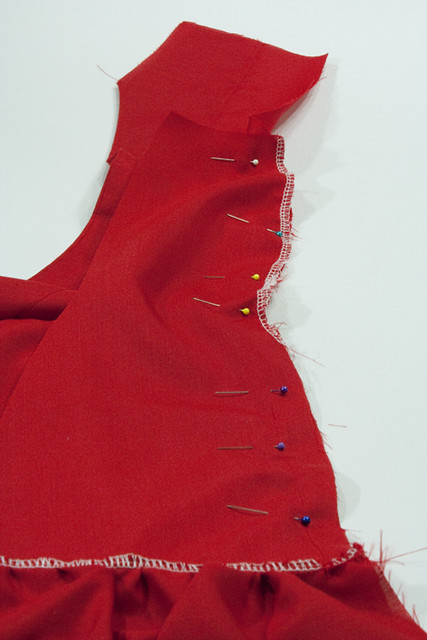
Now pick back up the pieces we made with the pockets. These will correspond with the two top pieces we just made. The "pocket skirt" portion will NOT go all the way to the top of the bodice top. Lining up the arch in the "pocket skirt" portion with the arch in the top bodice portion. Pin all the way a long then sew along the raw edge.
When you are done iron the seams. Ohhhh we are getting close! Now we are going to attach the two front pieces to the back of the dress. Take one of your front sides and lay it right sides together with the back of the dress. Line up the edges and pin all the way along.
Now stop for a moment and think. If this is bodice top piece with the shorter belt, then it is also the piece you are going to need to leave a gap at the waist for the longer piece to feed through. If it is sew all along the edge stopping and starting about 2 inches above the waist line, then begin sewing again a tiny bit above the waist line. Once you are done repeat the process on the other side. If you already made a gap you don't have to worry about it on this side you can simply sew straight down. If you need not make a gap on the last one you need to do so on this side. Once finished iron your seams. You should have the semblance of a dress! At this point I would try it on and make sure you do not need to take it in anywhere for a perfect fit. If everything fits great it is time to attach the sleeves. Grab your Piece 6's.
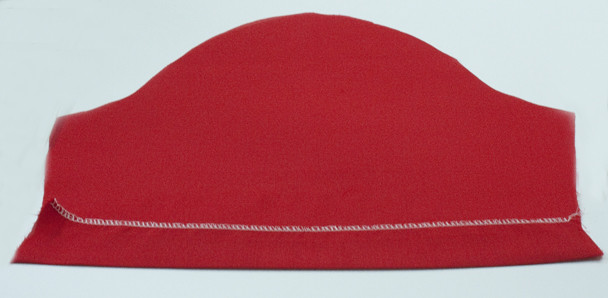
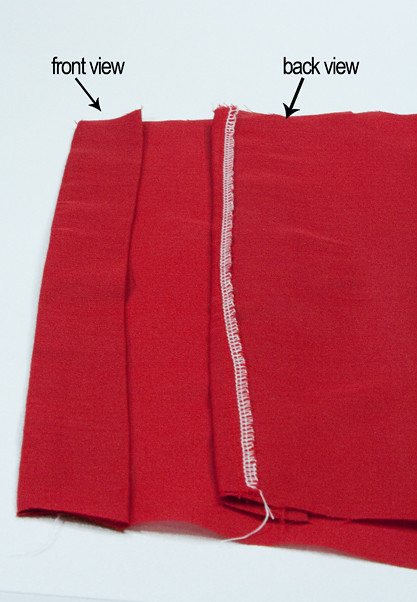
As pictured above iron up the bottom edge (which I serged) of the dress so that the triangles al match up nicely. Now stitch across what would be the serged edge. Now you are really going to need your iron. Flip your sleeve over so that the right side is facing you. Fold up the bottom of the sleeve until you are almost showing the serged part, but not quiet and iron it down.
Now fold the entire sleeve in half so right sides are facing each other. Sew up the side:
Now you are going to sew a gathering stitch across the arch of your sleeve and then gather them.
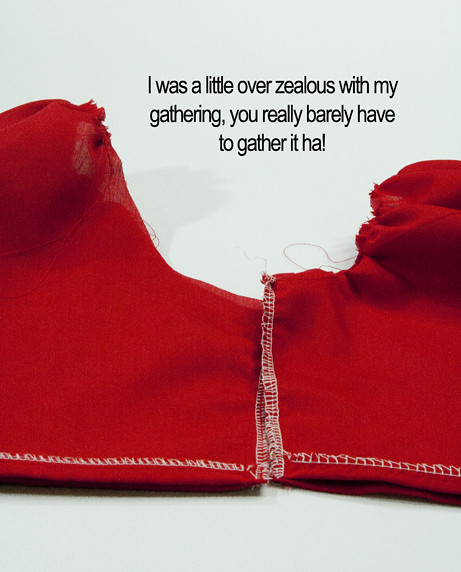
Now we are going to attach the sleeves to the dress. The easiest way to do this is turn y our dress inside out. Now, slide your sleeve (which is still right side out) up through the dress and line up the center seam of the dress with the seam on the sleeve and pin it. Then go around matching up the edges pinning as you go. Now sew around along the raw edge! Okay sooo close! All you have to do is the collar!
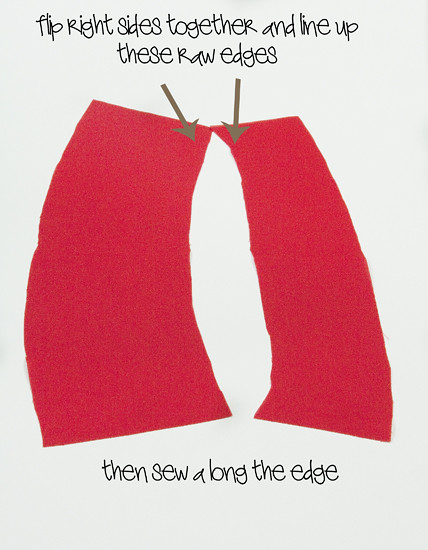
Grab pieces 7 and pieces 8
Just like the top of your bodice you are going to have to ease stich these together.
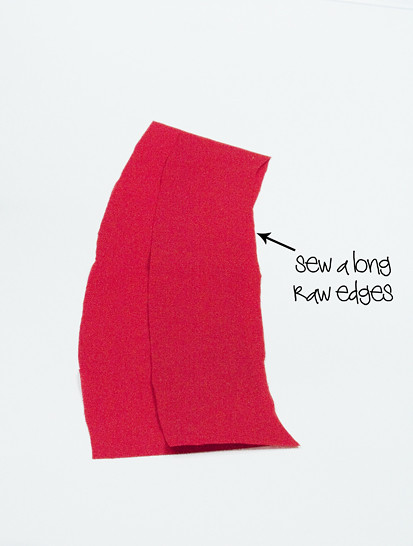
Lay the two pieces so they are right sides together and sew along the raw edges
Once you are done repeat the other process with your other two pieces. Then iron your seams. Now lay the two pieces so that right sides are together.
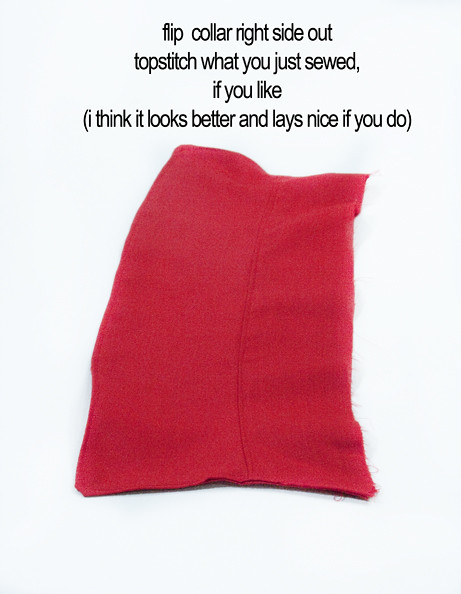
Sew around the edges and across the top. Do NOT sew across the bottom. When you are done slip your collar right side out. I then ironed mine and topstitched what I just sewed to make it lay nicely.
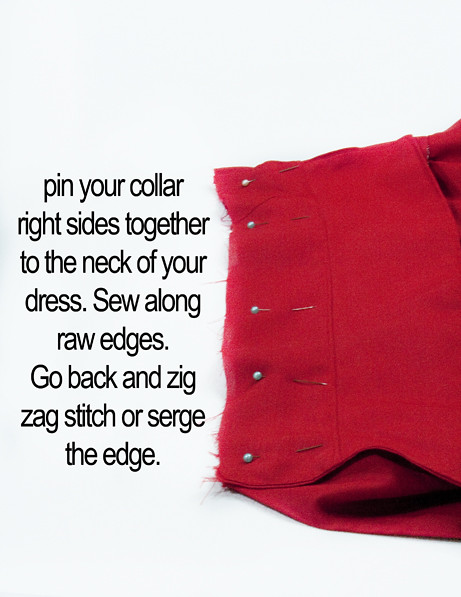
Now we are going to pin our collar to the neck of our dress with right sides together.
Sew along the raw edge. Then go back over it with a zig zag stitch.
OH MY GOODNESS YOU ARE DONE!!!!
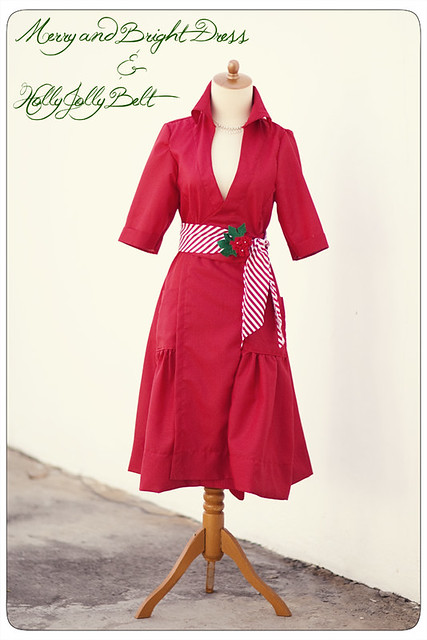
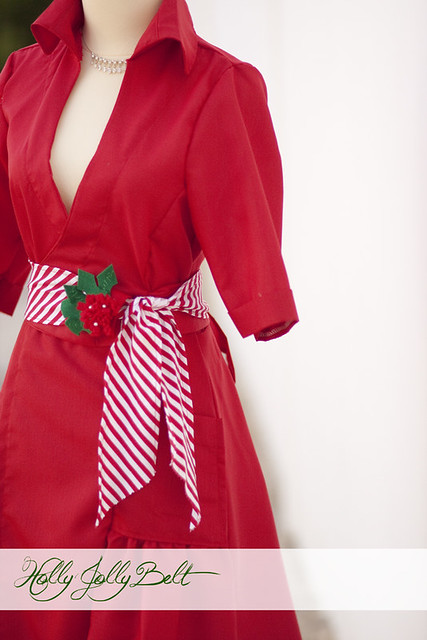
I gave my entire dress and iron then slid on my Holly Jolly Belt (Tutorial forthcoming)
I hope everything was clear and straight forward. This was a MAJOR undertaking and I would REALLY love to see any dresses you make out of it. Some one PLEASE do one in a pattern/ print. I would love to see how it turns out. I hope this is a fun weekend project for you!







You are so talented! I love this dress!
ReplyDeleteshelblogs.blogspot.com
Now Offering FREE button space
Thanks for posting info on re-sizing. Have you thought of using Google Documents for your patterns? I believe that it's free to use.
ReplyDeleteoh yeah...so glad you posted the tutorial....it looks like i might be capable if I really take my time! haha! I hope that it doesnt end up looking like a really bad halloween costume by the time I'm done - that would be just my luck and talent!
ReplyDeleteWow! That is SO stunning! I don't think poor old Kinkos could get me up to a size 20 on it though! LOL! Shame, too, I'd LOVE to be able to make this! You're really talented!
ReplyDeleteOH kelly!! This is AMAZING!! Thank you so much for taking the time to work this all out for us! I'm truly grateful and in awe of your skills! I can't wait to make this dress for myself- wish us all luck!
ReplyDeleteI'm ready to make it! But I have one question: how much fabric does this dress take? 2 yards? 3? How much do I need to get?
ReplyDeleteThis dress is just fabulous! I am definitely saving this for when I lose some more weight and am ready to sew for myself. Gorgeous belt! Your blog is amazing.
ReplyDeleteHey Sweetie...you are so AWESOME...Your blog site is amazing and I have enjoyed looking thru your site. We miss you guys SO SO much...if there is anything we can send you..let us know.
ReplyDeleteShelyn G
I've got a question about yardage for this dress as well! Am getting online to order fabric this afternoon and getting ready to print out my pattern and realized I have NO IDEA how much fabric I would need for this dress? 3 yards? Size 8 is fine, maybe the original size is fine also. Just wondering or maybe I'll estimate up and then scale it WAAY down and with any leftovers make two for my little girlies.
ReplyDeleteI have sewed since I was 5 yrs old, am now 60. this has got to be the hardest thing I have ever made (not finished yet) HOW do the shoulder seams go together? And that neckline and collar, don't match up at all. I have made 5 or 6 prom dresses and THEY where never like this. I am very disappointed this pattern and instructions
ReplyDelete--Darlene June 8, 2011 e-mail is knitaholic23@gmail.com