What you need:
One container, size of your choosing
One can spray on primer
One can spray on chalkboard paint
Some white paint
A cup of water
A paint brush or sponge (depending on the finish you are going for)
Painters tape
Some paper
A well ventilated area. (I did this on our balcony in DC and I don't think our neighbors were all that appreciative ha!)
After I grabbed the container at Ikea I headed over to Home Depot to get spray primer and spray chalk board paint (did you know they even had such a thing? How cool is that!?). I always rationalize myself out of using a primer because it takes THAT much more time and I have zero delayed gratification. In this case with the shiny metal I knew I would need it though. Thankfully you only need one bottle and the spray paint primer worked fabulously! Spray the entire outside of your container. I let mine sit over night but this is mainly due to the fact that I didn't get around to it until 10:30pm. Once it is all nice and dry you can break out chalk board paint. If you would like to be super adventurous you can find a recipe for home made chalk board paint at Nikki's blog HERE. I REALLY wish I was anywhere near a place that I could get these supplies. I would go pink or blue all the way! Which ever you decide to do you are going to once again spray the entire outside of the bucket with paint. (Or paint it on.) Let it dry, this is the great part about the spray is that it dries super fast! Once you have it all dry grab some paper and cut a nice long rectangle. Mine was about seven inches in width and 20 in length. Grab your painters tape and tape it to your bucket about 3 inches from the top all the way around. The key part here is to make sure your tape line is nice and straight. I would recommend using several cuts of tape to make sure it is nice and smooth. (again sorry the picture is with it already painted)
Next you are going to tape the bottom. This will be a but trickier since the top is smooth. To make it easier I cut little slits every now and then in the paper so that it would lay flat. Then I worked hard to make sure the tape line was nice and straight.
Once you are all taped up you are ready to paint. For mine I wanted a more rustic feel so I watered down the white paint and used a paint brush so it would be nice and streaky and look almost like I did it with chalk. If you prefer you can use nice thick paint and a sponge brush to get a smoother finish. Make sure the paint is nice and dry before you remove your paper. Once it is voila!
I then took the side of my chalk and rubbed it all over the chalkboard portion
Then I wiped it off to leave it with a sort of broken in look
This gets ride of the left overs from previous writings (see those swirls? thats what I am getting rid of) So there you have a super cool container that you can change to say whatever you like!
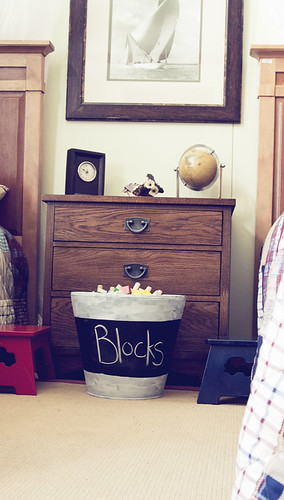
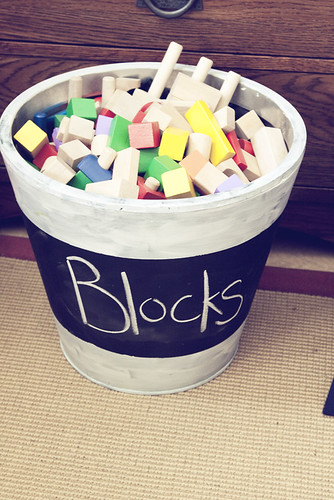
I have one in the boys room for blocks
And it is great because it holds ALOT of blocks
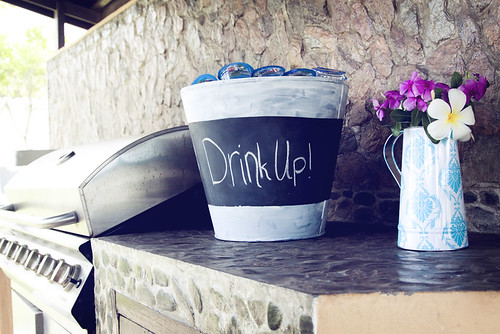
I use it at parties to hold drinks
If you want to put ice in it and not have it rust but not look tacky all you have to do is grab a small trash bag, open it up and then tape it so that it stays right below the lip of the bucket. You won't even notice it and your drinks stay cold!
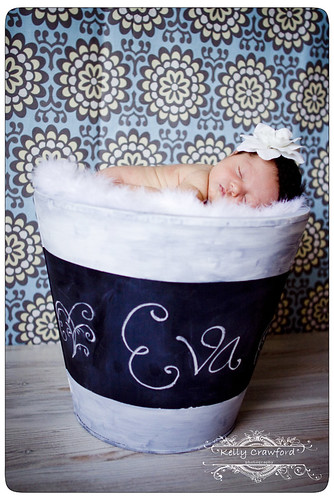
When I am going to use it for something more important like pictures etc. I will use one of the chalk pencils you can get at sewing stores (they are used to write on fabric) to write my message and then go over it with the larger chalk. That is how I did the swirls and Eva's name so nicely. Hope you like it and have a fantastic weekend!
Cheers
Kelly
PS The internet rarely works here on the weekends so see you Monday!


Very cute i love the baby one. Gives me ideas when our little one arrives for a baby announcement
ReplyDeleteThanks
Michelle
Oh cool! I love how you changed it up a bit...from blocks to drinks... :)
ReplyDeleteThis is a really cool idea and I love that you can reuse it for so many things but it is still personalized each time!
ReplyDelete